Introduction
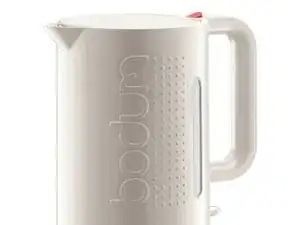
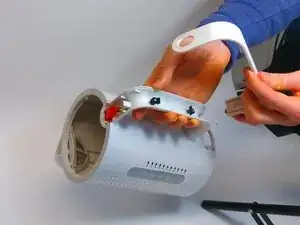
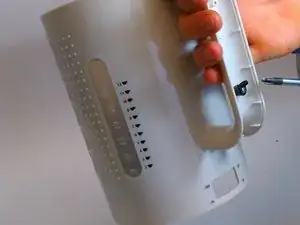
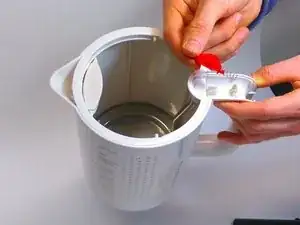
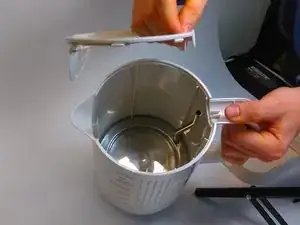
The disassembly of this water kettle can be done by anyone with the help of this manual and the required tools. At one point, you might need and extra pair of hands, so make sure that someone is available when needed.
Tools
-
-
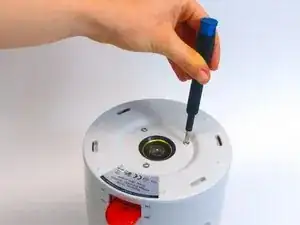
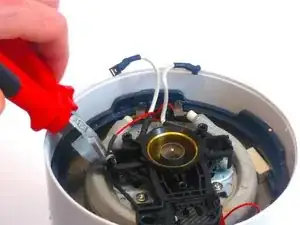
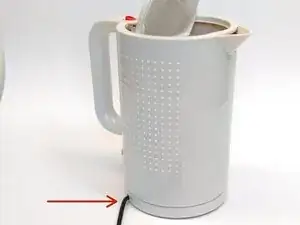
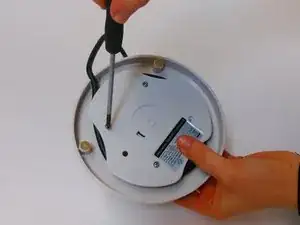
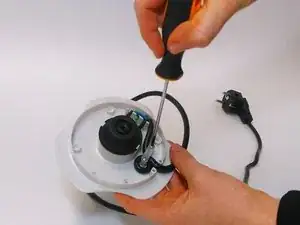
We start off with unscrewing the three screws from the bottom of the water kettle. Two of the three screws can be unscrewed with a Philips Ph 1.8 screwdriver. The other screw can be unscrewed with a spanner screwdriver.
-
-
-
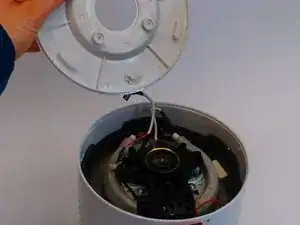
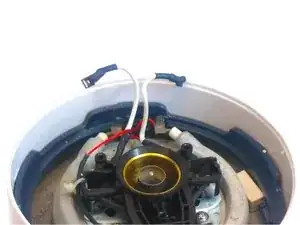
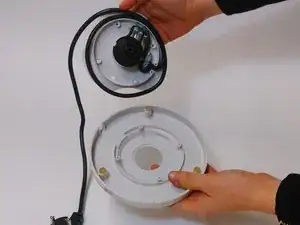
After opening the bottom , you see two white wires with black taped ends connected to a metal base. These two wires can be disconnected by pulling them away from the metal.
-
-
-
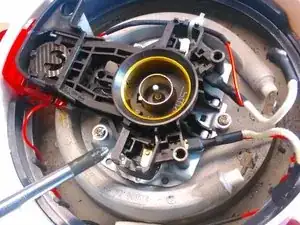
After this, locate the three, already visible screws and unscrew two of the three screws with a PH2 and the other one with a PH 1 screwdriver.
-
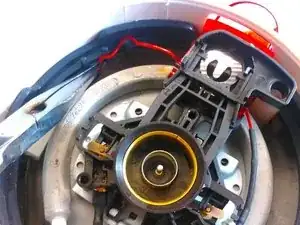
Next, you can detach the black plastic part with the switch after loosening the red wires from the plastic. With this, you can remove the plastic tube as well.
-
-
-
To continue, we focus on the black plastic parts that we just removed from the water kettle. On this are two metal rings located, these can be slipped out with the help of a levering tool. With the two rings, two little grey pins will come out.
-
-
-
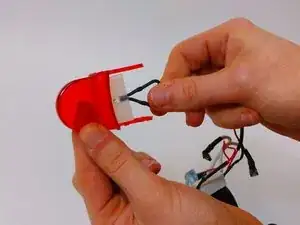
Next, you can remove the red casing from the light. This might take some power, so hold on to the light so you don't break the wire.
-
-
-
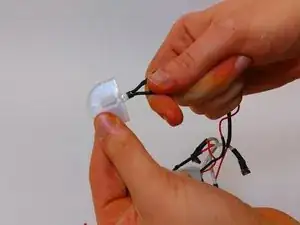
After removing the casing, you can remove the rubber filling in the same careful way. You now have access to the LED.
-
-
-
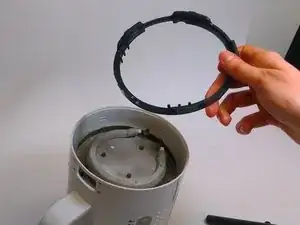
Here we end this part of the disassembly and go back to the main base of the kettle. From the bottom of the kettle, you see a black plastic ring. This can be removed by undoing the snap fits. This can be done easily by hand.
-
-
-
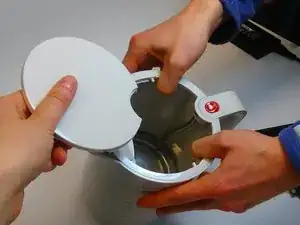
After removing the ring, flip the kettle and remove the lid by pulling the kettle a little bit to transform the circle,. You might need another pair of hands for this step.
-
-
-
After this, you can remove the grip by sliding the snap fingers at the top, located at the switch, out. This can easily be done by holding the grip with your hand, and sliding the grip with your thumb.
-
-
-
The screws with the black plastic that became visible with the removal of the grip can be unscrewed with a PH1 screwdriver.
-
-
-
Then, you can remove the switch by just picking it up from the kettle. When it is not coming of easily, you might need to transform the spring a bit.
-
-
-
Subsequently, you can remove the white ring with the filter from the top of the kettle. You can do this by pulling the half round plastic white circle on the opposite side of the filter. (see image for location)
-
-
-
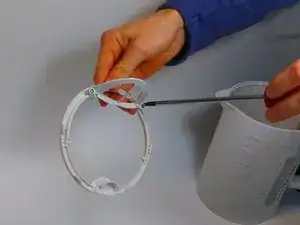
After removing the ring, you can remove the filter and its housing from the ring with a PH 1 screwdriver.
-
With this, you can remove the filter from its housing by sliding it out.
-
-
-
The base can be disassembled by unscrewing the four screws with a PH1 for three of them, and slightly less high PH1 with the other one.
-
-
-
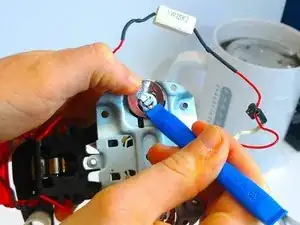
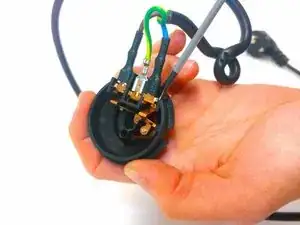
After this, the electronic part can be removed and the wires can be disassambled from the plastic with the use of a flat screwdriver.
-
You are now finished. Well done!
-
To reassemble the device, follow these instructions in reverse order.
