Introduction
You can remove glued-down components in all kinds of ways. One of the simplest is to use a solvent, such as iFixit Adhesive Remover, to dissolve the glue. Follow this guide for general tips and instructions for using adhesive remover on any device.
Parts
-
-
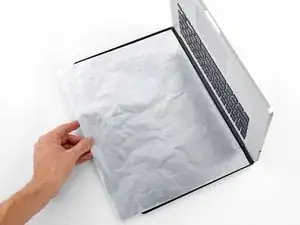
Cover or remove any components that may be vulnerable to damage, in case the solvent drips or leaks somewhere it shouldn't. (A sheet of aluminum foil offers good protection.)
-
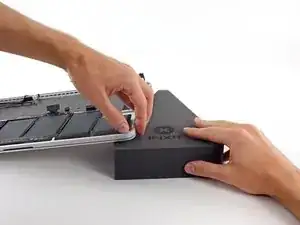
If necessary, direct the flow of solvent away from sensitive components by elevating one side of your device.
-
-
-
Now that your device is prepped, it's time to prep yourself.
-
Wear eye protection when handling and applying the adhesive remover. (Eye protection is included in your kit.)
-
Do not wear contact lenses without eye protection.
-
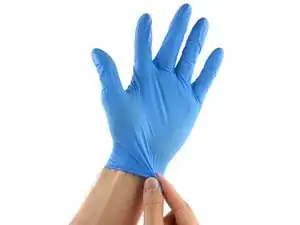
Protective gloves are also included in your kit. If you are concerned about possible skin irritation, put your gloves on now.
-
-
-
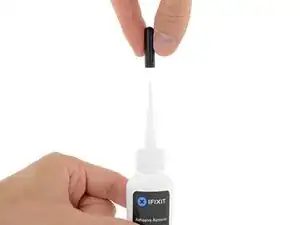
Pull off the black rubber stopper from your bottle of adhesive remover.
-
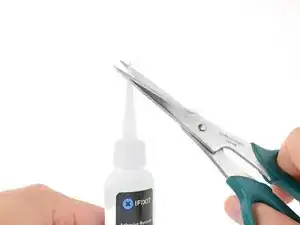
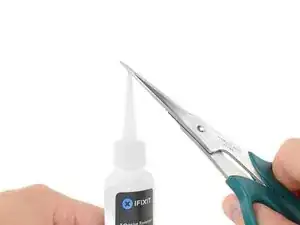
Use scissors to cut off the sealed tip of the applicator.
-
-
-
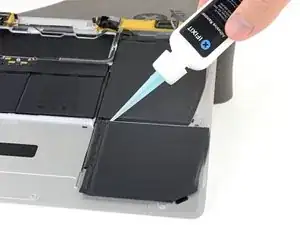
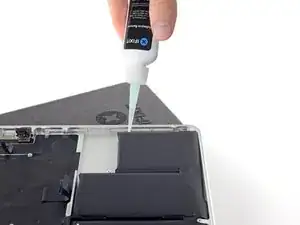
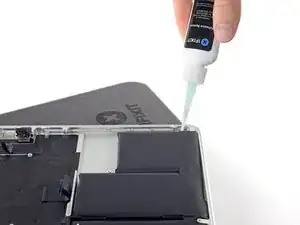
Apply a few drops of adhesive remover evenly along the elevated edge of your glued-down component.
-
-
-
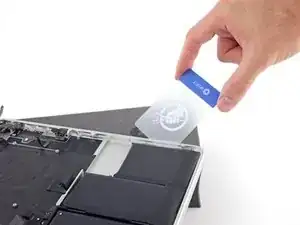
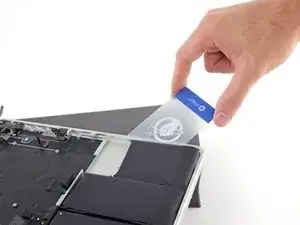
Gently slide a plastic card or other thin pry tool under the adhered component.
-
If you're struggling, apply a few more drops of adhesive remover and wait about a minute before trying again.
-
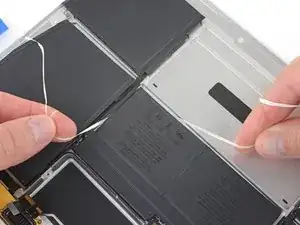
If your device has an especially tight fit and you have trouble inserting a tool, try working a piece of floss or wire underneath the component, and pull it side-to-side in a sawing motion to separate the adhesive.
-
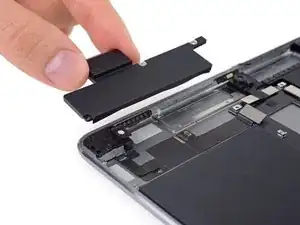
Lift and separate your newly-unglued component.
-
-
-
Before installing or gluing down any new components, remove any remaining adhesive residue from your device.
-
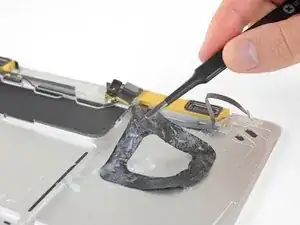
Peel off larger pieces of adhesive using tweezers or gloved fingers.
-
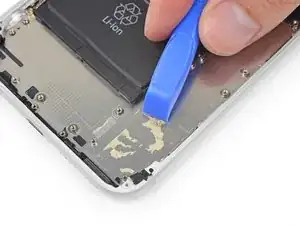
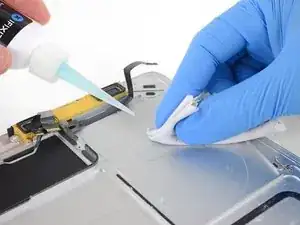
Scrape away any remaining adhesive with a plastic tool, and clean the underlying areas with adhesive remover or isopropyl alcohol. Wipe in one direction, not back and forth, until all the adhesive residue is gone.
-
When your device is clean and dry, go ahead and install your new part and reassemble your device.
-
Nice work! If you have any leftover adhesive remover, you can save it for your next project.
Take your e-waste to an R2 or e-Stewards certified recycler.
Repair didn’t go as planned? Check out our Answers community for troubleshooting help.
8 comments
Can I use adhesive remover on glued down flex cables? Like the cable for the Touch ID button on the iPhone 7 Plus. Or will this damage the cable? How about isopropyl alcohol based adhesive remover?
havarh -
Mild heat and/or a little isopropyl alcohol should do the trick. You don’t need to risk using anything more aggressive than that.
Can I used this to pop open my iPhone 8 Plus?
can i use this to remove thermal adhesive from a s70 adata ssd, the dram modules are glue directly to the heatsink
