Introduction
Knowing how to rip a seam is essential for basic sewing and clothing repair. Whether you want to make alterations, replace a zipper, or fix a sewing mishap, ripping the seam properly will make the changes nearly invisible.
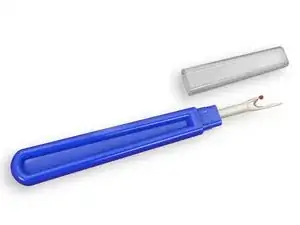
Tools
-
-
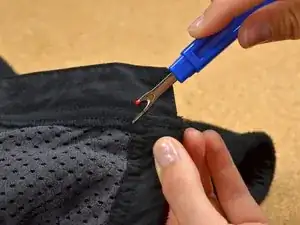
Slip the sharp end of the seam ripper through a single stitch in the seam you want to remove.
-
-
-
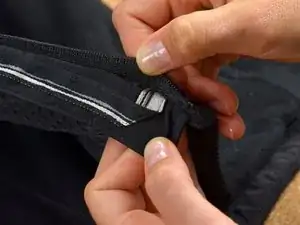
Separate the two pieces of fabric held together by your seam.
-
Bring the sharp end of the seam ripper between the two pieces of fabric.
-
Slip the sharp end of the seam ripper beneath one of the stitches. Be careful to avoid catching the fabric.
-
-
-
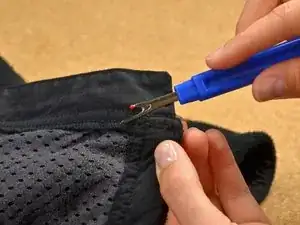
Slide the seam ripper forward. Bring the thread into the crux of the fork and onto the blade.
-
Gently push the seam ripper forward again, cutting the thread.
-
Continue working, stitch by stitch, until the seam has been removed. Take your time, being careful not to damage the fabric.
-
Remove all of the loose threads from the ripped seam to prevent tangling when you resew the seam.
-