Introduction

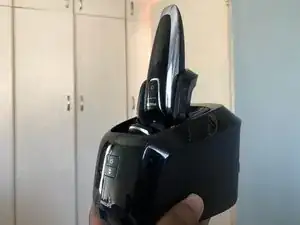
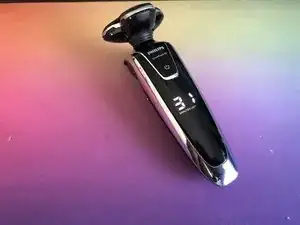
If the shaver is left dead and uncharged for too long, the battery depletes to a level that is unrecognisable by the charger. Many may think the device is past its prime, since the battery does not charge, but it is not the case.

A quick fix to get the device back online is to provide 3.7 - 4.2 V to the battery, enabling the circuitry to power up, and be recognised by the charger.

  1. MisMSRctVCqNU1gB
    • Follow the disassembly/teardown guide to gain access to the device internals.

    Where is the disassembly/teardown guide?

    Phil -

    It’s more of a tear down than a proper disassembly guide.

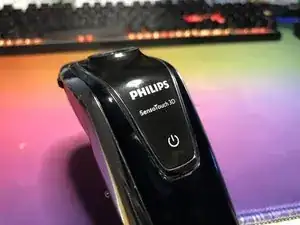
    Philips - Norelco RQ1280 SensoTouch 3D Teardown

    Rushil Kisoon -

  2. qKDgfXMHJWpNVyqp
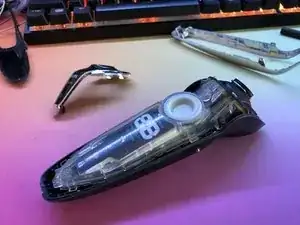
    • Disconnect the motor, and remove the motherboard and battery assembly from the housing.

  3. UJWALE3kKNR3yEd6
    UJWALE3kKNR3yEd6
    E6EHWXNWfkCnhEse
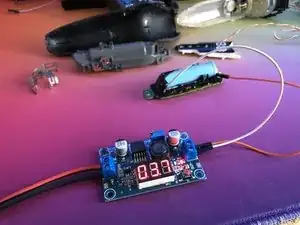
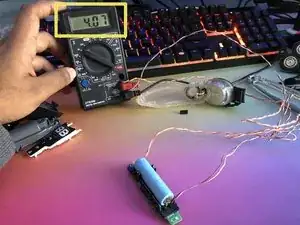
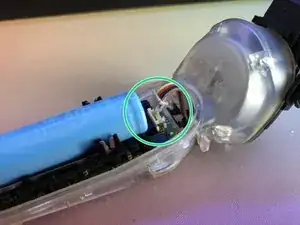
    • Provide 3.7-4.2 V to the battery using a voltage-controlled power supply or buck converter. (A charging circuit might work, but since the battery voltage is so low, it might be undetectable)

    • Depending on how depleted the battery is, the period of 'charge' will vary. Monitoring the rate of voltage discharge provides an indication of the "holding capacity" of the battery.

    • Quickly assemble the shaver when the battery holds a voltage for a few minutes.

    • Lithium-ion batteries are sensitive components, always monitor the voltage whilst charging without a proper charging circuit.

  4. GmJoLnUmmAmCcFdi
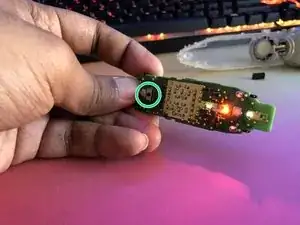
    • Briefly testing the system by pressing the power button shows signs of life.

    I didn't get any signs of life after applying charge to the battery. I eventually found some comments on a YouTube video that included an additional step. I had to apply a charge of at least 12 volts across the two metal strips at the side of the battery (i.e. the strips that are connected to the +/- solder points on the underside of the board). As soon as I applied this charge the board lit up.

    Apart from not having this step (which was essential in my particular case), I found this guide to be most helpful.

    Neil S -

  5. Hv4wmITq5HZGcmNX
    • Assemble the device in preparation for charging.

  6. qnjDXKiTsHFoTNTF
    • Place the shaver on the charging dock or cleaning station to begin the charging process.

  7. onN5MFTtQmuXDBq1
    • Once charged, the shaver worked as expected.

    • Naturally after many years of use, the battery shows sign of reduced capacity.

Conclusion

To reassemble your device, follow these instructions in reverse order.

Rushil Kisoon

Member since: 18/02/18

655 Reputation

One comment

I rather send it in to be reset. Mine is new never used just sat until i finally started ahaving again like 4 or 5 yrs.
Random shaver -