Introduction

This guide will help anyone who needs to replace the key fob battery of their 3rd generation or 2007-2013 Honda CRV. Some signs that your key fob battery is almost dead are if your key fob is unresponsive or the range is getting smaller. If you are experiencing any of these problems, use this guide to replace the battery.

If your key fob stopped working after a specific incident such as dropping it in water or on the floor, this guide will not be helpful. The battery isn't the problem in those cases. You would probably need to replace the key fob itself.

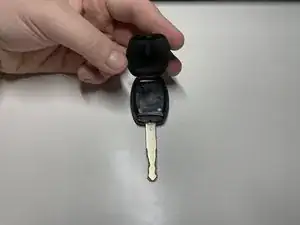
Make sure that your key fob isn't attached to a keychain before you start this guide. Keychains might cause some problems during disassembly.

  1. 5NbuMwpOCTlQ5ReP
    5NbuMwpOCTlQ5ReP
    aHOxSoEDsyrfMRtI
    BRbGDLHpGqCkQs1j
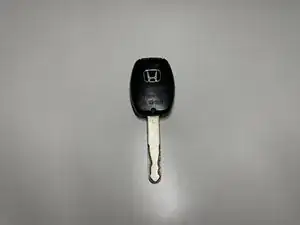
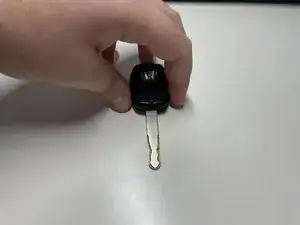
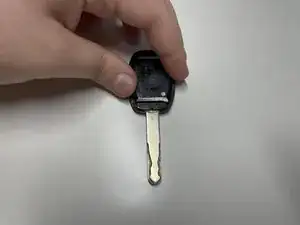
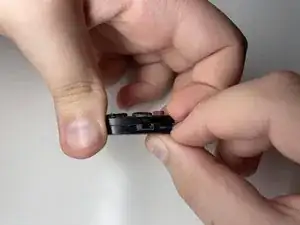
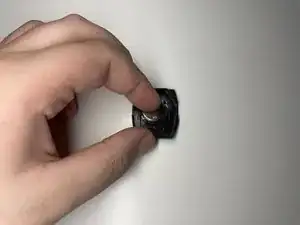
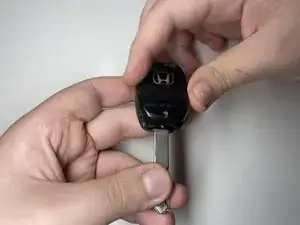
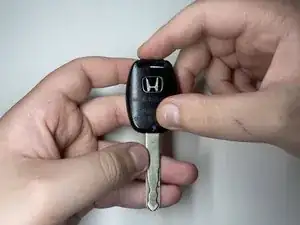
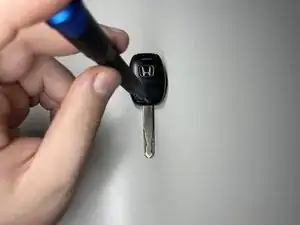
    • Flip the key fob on the side with the Honda logo.

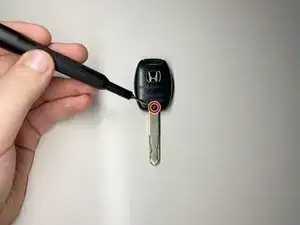
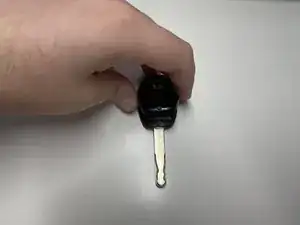
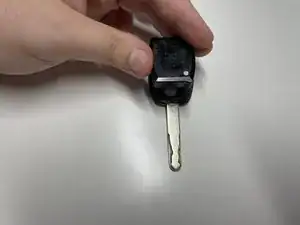
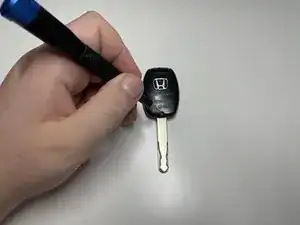
    • Use a Phillips #00 screwdriver to remove the single 3 mm screw.

    Screw head is stripped. Solution?

    frank friedman -

  2. ewyFAeNCsXOtgvoc
    ewyFAeNCsXOtgvoc
    DdTqGX5jKA41cudi
    rmCoHJjy1SFidfPJ
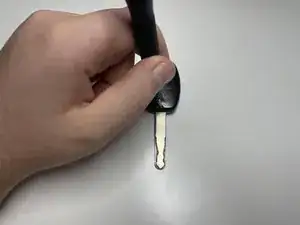
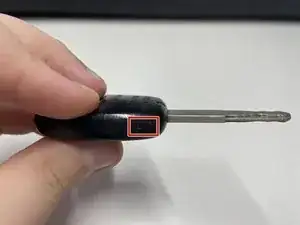
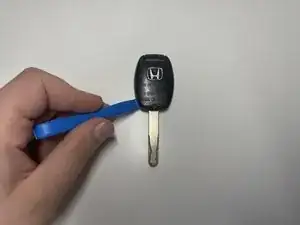
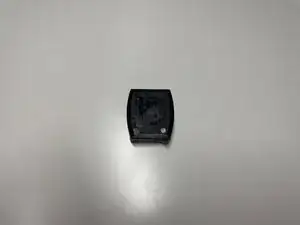
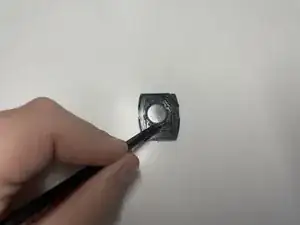
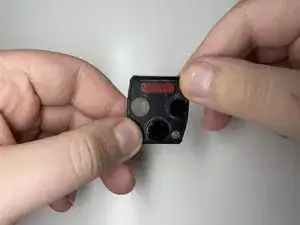
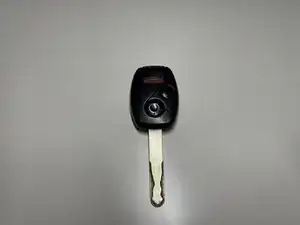
    • Use an opening tool to pry the shell of the key fob starting from the notch on the bottom left corner.

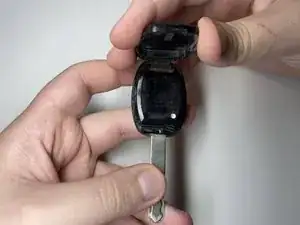
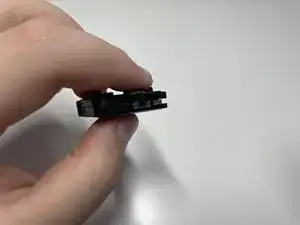
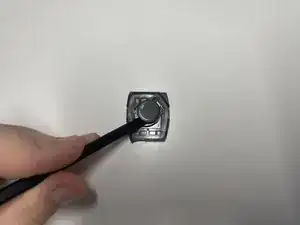
    • Work your way around the bottom side of the shell but don't pry the top side of the shell yet.

    • Don't use excessive force when prying. The top side of the shell is not supposed to be pried yet.

  3. x1XgYUXtuBDvSrjW
    x1XgYUXtuBDvSrjW
    eRMpyofUMYHQw2u2
    vwNOEmcMWD5bGHHp
    • Use minimal force to lift the shell and separate the two parts.

    • Exercise caution when applying force, as the case is connected by a plastic hinge that could break easily.

  4. 25IvrO14BqqsL5QS
    25IvrO14BqqsL5QS
    yVbXHPBpkXODBbDh
    vTrexTf4oRodfSNK
    • Pull out the internal component of the key fob.

  5. FHDiWdxr6W1SLFoT
    FHDiWdxr6W1SLFoT
    nMukUPmABudtJPZj
    tmCkwsvyVR2y5ydL
    • Use the notch on the top right to separate the two halves of the component.

  6. QIfuaJCFEqusZf3o
    QIfuaJCFEqusZf3o
    n5AJkDCAWeZcOrLc
    pSLABrFYbgM1WNiL
    • Use a plastic spudger to pry the battery out of the socket.

  7. m1VFIlemiYAh4vdW
    • Replace the old battery with a CR 1616 battery.

    • Make sure that the positive side of the battery is on the bottom.

  8. vvGuNOJxyWsqYGHB
    vvGuNOJxyWsqYGHB
    gHCTCDOKx6IrfKvO
    • Securely connect both parts of the internal component together.

  9. pNvxWOiFTVA65pbK
    pNvxWOiFTVA65pbK
    VTsJCMkJGfwGLCRE
    • Place the internal component back into the bottom part of the shell.

  10. Fg5jOHRgjhNaAW2T
    Fg5jOHRgjhNaAW2T
    da2vRFZyEmGFBX5X
    iYI4pUQ62SV2QbfO
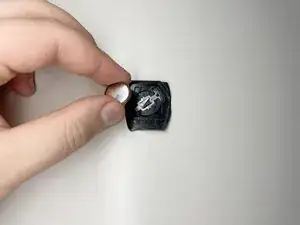
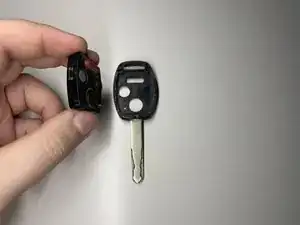
    • Align both halves of the fob shell precisely.

    • Join the two halves of the shell together starting from the top of the fob and work your way to the bottom.

  11. OSw1ggGXES2JANwX
    OSw1ggGXES2JANwX
    BTMM1t6UCWMTYGGr
    HeLIJYfMHlWBphHn
    • Use a Phillips #00 screwdriver to replace the single screw.

    Thank you so much! This took you a lot of time to present it to us so well and it was extremely helpful!!

    Tamala S -

Conclusion

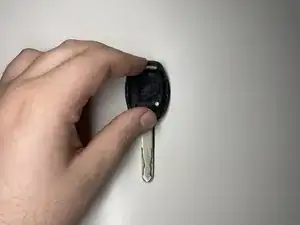
To reassemble your device, follow these instructions in reverse order.

David

Member since: 15/09/23

274 Reputation

0 comments