Introduction
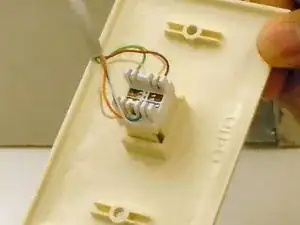
A cat5e wall jack is a piece of telecommunications equipment used to terminate Ethernet wiring on wall outlets and patch panels with removable jack modules. It is used to interconnect devices by acting as an extension of the cat5e Ethernet cable. By being able to interconnect devices, those devices can then communicate with each other and form a network. The jack is made of plastic with metal contacts, with a depth of approximately 3.7cm, and a height and width of approximately 1.25cm. The cat5e wall jack consists of two major parts, which are the distinct ends: (a) the end for terminating the cat5e Ethernet cable wiring in either EIA/TIA 568A or 568B standard, and (b) the end for connecting the device facing Ethernet cable with an RJ45 8P8C modular connector.
Before you start you need to know and have a few things. First, you need to have a wire cutter or something to trim the wires, and a screwdriver that matches the wall faceplate. Second, you will need to purchase a Cat5e jack. Third, you need to have a punchdown tool for wiring the jack, a plastic one should come with the jack. Fourth, before you remove the existing wiring from the jack, you will need to note whether its wired as EIA/TIA 568A or 568B. If you have the above, you are ready to get started.
Parts
-
-
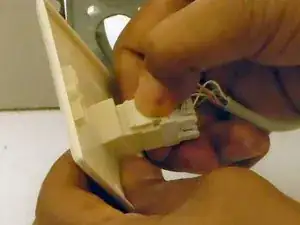
Once removed, un-clip the keystone jack from the wall plate by depressing the tab back side of the wall plate.
-
-
-
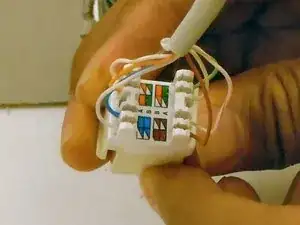
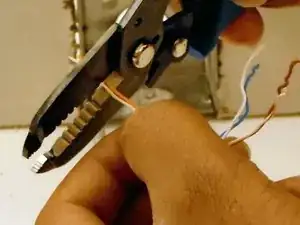
Trim the tips of the wires at the point where they were originally connected to help assure a good connection to the new jack.
-
-
-
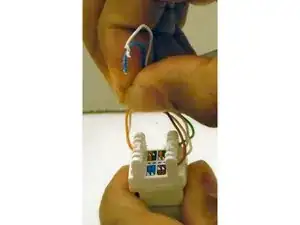
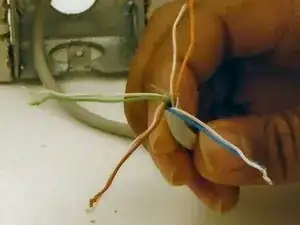
Separate the wires into the appropriate pairs and twist them together until about one half inch from the ends.
-
-
-
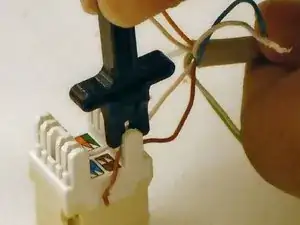
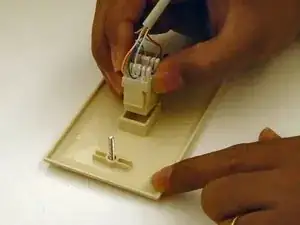
Using the plastic punchdown tool, (typically supplied with a new jack), press the prepared wires into their appropriate locations on the replacement jack.
-
-
-
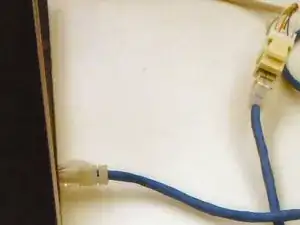
Once all wires have been properly installed test the Ethernet connectivity with a known good Cat 5E cable and a working device, such as a laptop computer.
-
-
-
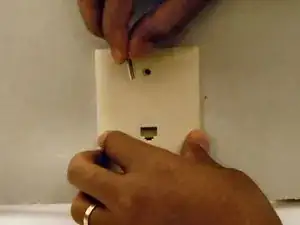
Carefully insert the Cat5E wiring back into the wall and screw the face plate onto the wall.
-

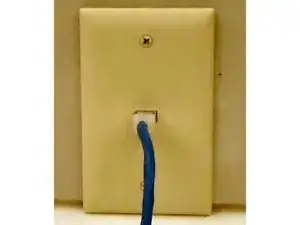
If you're having trouble you can try the following troubleshooting steps: (1)Try using a different device in case your test device is having trouble, if the device is sound, (2) then try using a different Ethernet cable, finally, if the cable is good (3) make sure you didn't knock any wires out of place when you screwed the jack back in place. If everything works as it should, you have successfully replaced the Cat5e wall jack.