Introduction
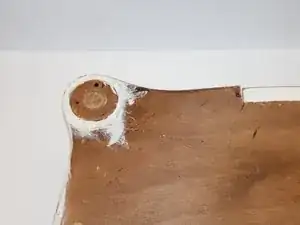
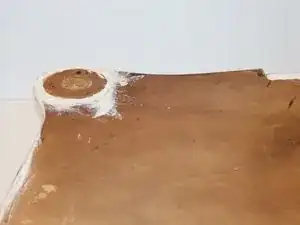
If your coffee table, dining table, or side table is suffering from a case of dry rot, this guide is the key to saving it. Dry rot is a fungus that consumes wood and can damage the structural integrity of a structure if it spreads. To avoid throwing out a favorite piece of furniture, use this guide to remove the dry rot and restore your table, chair, or other wood furniture.
I conducted this fix on my own in thirty minutes. It's fast, relatively easy, and worth the time and money spent on supplies to save yourself from buying a new table later on!
This repair requires the use of toxic epoxy, so work in a well-ventilated area and wear gloves to protect your skin.
Tools
-
-
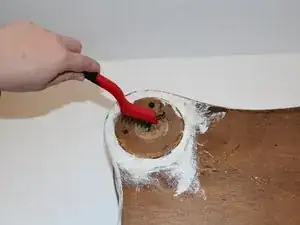
Scrape out the socket with a wire brush or chip away at the rot gently with a wood chisel.
-
Repeat this action with the table leg if needed.
-
-
-
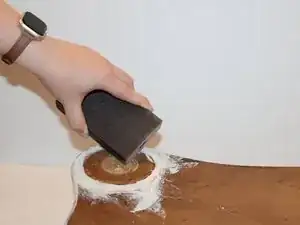
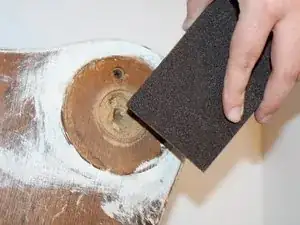
Gently sand the socket with a sanding block or a thin piece of sandpaper.
-
Repeat this action with the table leg if needed.
-
Clear out the dust from the socket once you are done sanding.
-
-
-
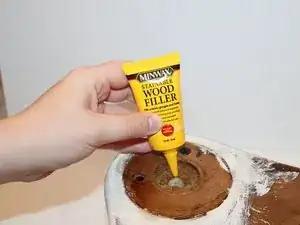
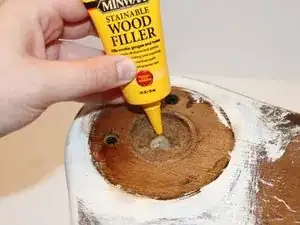
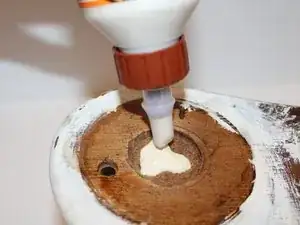
Use the wood filler to round out any uneven or jagged divots in the socket or around the screw holes.
-
-
-
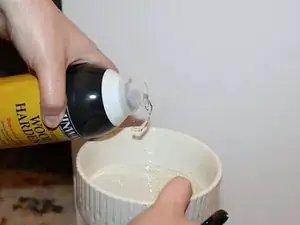
Pour the wood hardener into a small jar or bowl.
-
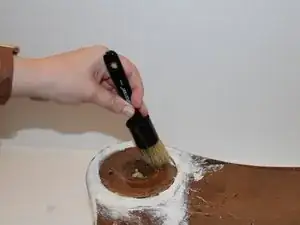
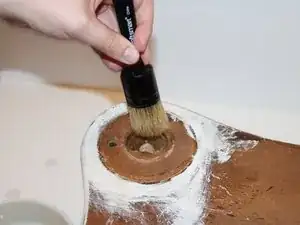
Take a small bristle brush and evenly coat the inside and outside of the socket.
-
Allow the liquid to completely soak into the wood and dry before moving on to the next step.
-
-
-
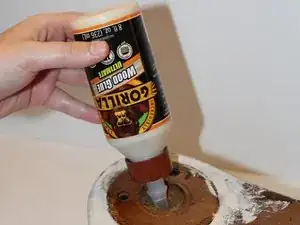
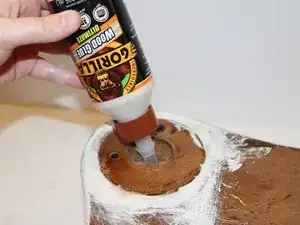
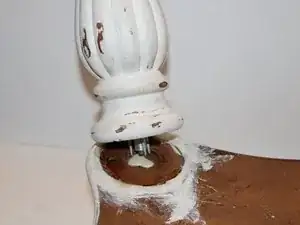
Align your table leg evenly with the socket.
-
With both hands, push the leg firmly into the socket.
-
If needed, straighten the alignment of the leg before moving on to the next step. Do this before the glue becomes tacky.
-
-
-
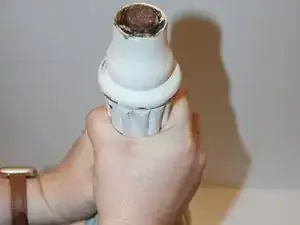
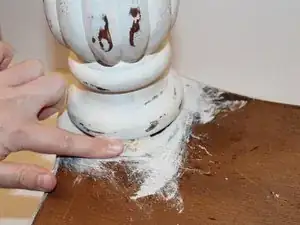
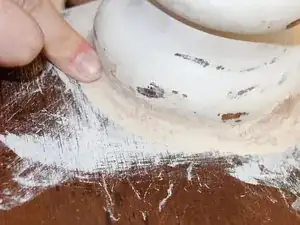
Pinch off a piece of the wood epoxy putty.
-
With your finger, push the epoxy putty into any gaps between the leg and the table.
-
Make sure that the gaps are sealed with the putty before proceeding to the final step.
-
-
-
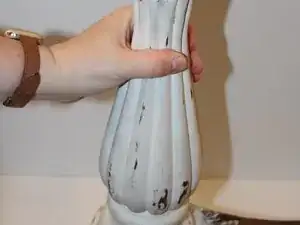
Flip the table over with assistance and make sure it is seated firmly on all four legs.
-
Allow the glue and the epoxy putty to harden and dry for at least 48 hours.
-
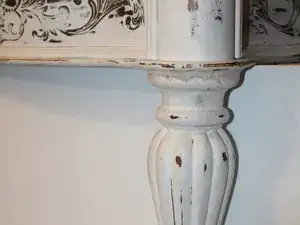

Make sure to allow all of the materials the proper time to cure and dry according to the instructions on their packaging before attempting to move the table. After that, your project is finished and yours to do with what you will!