Introduction
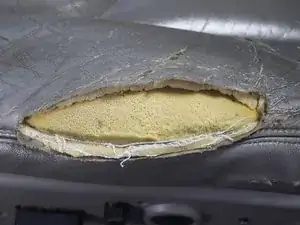
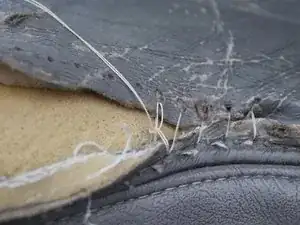
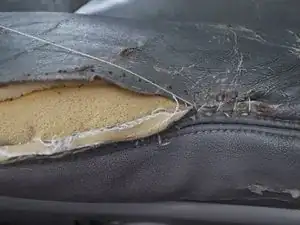
Leather car seats are stylish and durable, but rips can happen over time. Instead of opting for costly professional repairs, you can fix small tears yourself with a needle and thread. This guide provides simple, step-by-step instructions to help you restore your seat's look and durability, saving you time and money. Let’s get started!
Tools
-
-
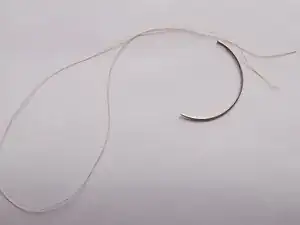
Cut the upholstery thread about 3 times the length of the hole.
-
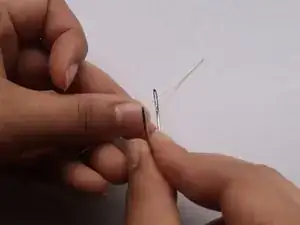
Insert the thread into the eye (hole) of the curved needle.
-
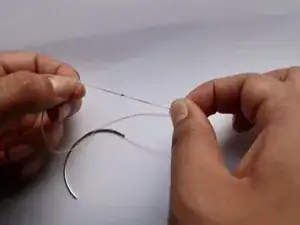
Take both ends of the thread and tie a knot together
-
-
-
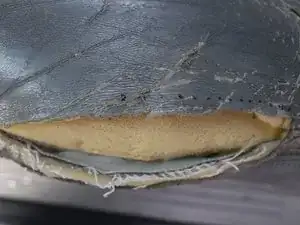
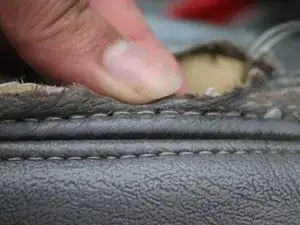
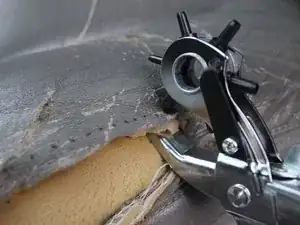
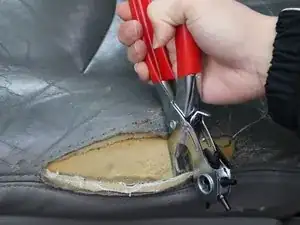
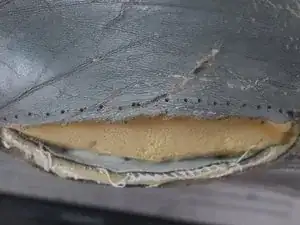
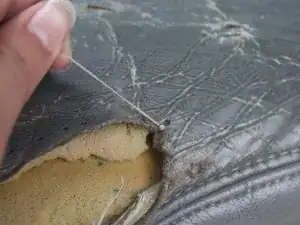
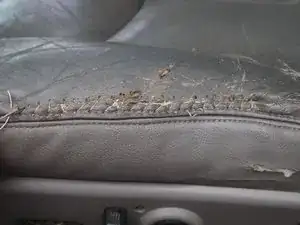
Mark a line of dots (1 centimeter apart) along the edge of the tear.
-
Do this on both sides of the tear.
-
-
-
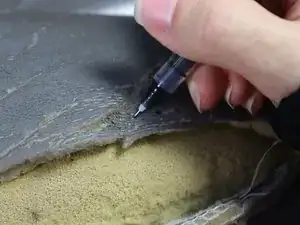
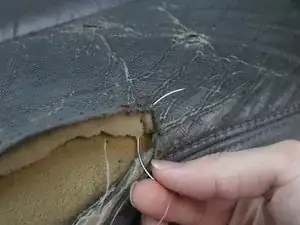
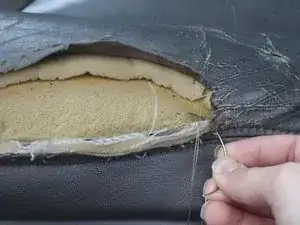
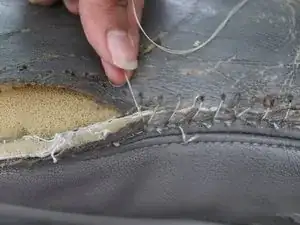
Insert the curved needle under the first hole in the top right corner.
-
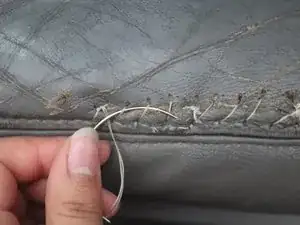
Pull the needle halfway through the hole; the thread will look like a loop.
-
Insert the needle through the thread loop.
-
Pull the needle all the way, anchoring the thread to the edge of the fabric.
-
-
-
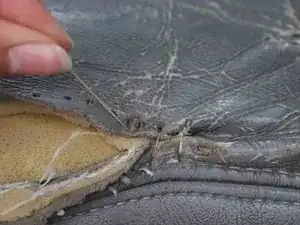
Insert the needle on the opposite side of the rip in the first hole on the bottom right.
-
Pull the thread all the way through.
-
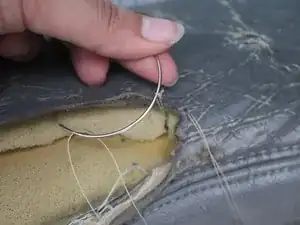
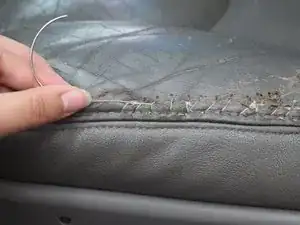
Insert the curved needle in the hole to the left of the first hole on the top row.
-
Thread the needle through the second hole on the bottom row and pull tight.
-
Repeat this process three more times.
-
-
-
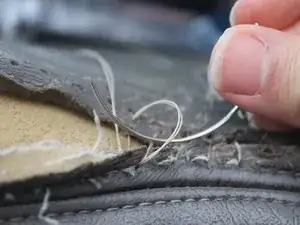
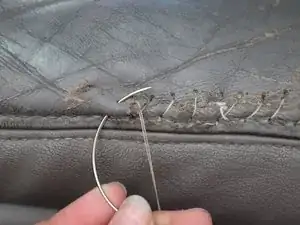
When you reach your fifth stitch, tie a knot to add extra strength before continuing.
-
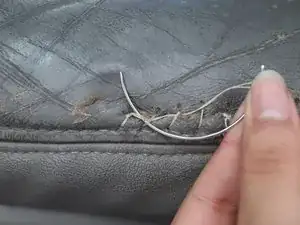
Loop the needle through the hole you just pulled the thread out of, creating a circle of thread.
-
Insert the needle through this thread loop and pull tight to create a knot.
-
-
-
Repeat step 6 and 7 all the way to the end of the tear. The two edges of the tear should be sewn together.
-
Loop the thread into the last stitch made.
-
-
-
Insert the needle into the last hole.
-
Insert the needle again into the same hole creating a loop of thread.
-
Insert the needle through the loop of thread twice.
-
Pull the thread tight creating your final knot.
-
Cut the remaining thread.
-


Fixing a leather car seat rip with needle and thread is a simple, cost-effective solution. With these steps, you can restore your seat’s look and durability, keeping your car’s interior in great shape for years to come.