Introduction
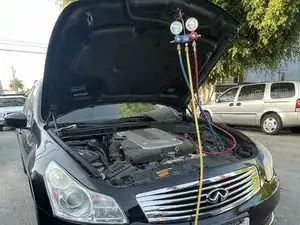
This guide can be used to repair your air conditioning (A/C) unit in your 2009 Infiniti G37.
On a hot summer day, cold A/C in your vehicle is needed. This repair guide will help you repair your A/C unit in your vehicle. When your vehicle has run out of cold air, there is a process that needs to be followed. This repair guide will describe this process.
Before starting your repair, be aware that you will need tools. A list of these tools is provided in the guide. Once you have the necessary tools gathered, make sure the vehicle's engine is up to date. If not, take your vehicle to a mechanic. If the vehicle's engine is fine, proceed to the rest of the guide. Be aware that if this guide is done incorrectly, you could damage the A/C ports. This would require a professional to fix the issue, and it would cost a lot of money.
If you need more help performing this repair, another repair guide can be found here, and more information can be given.
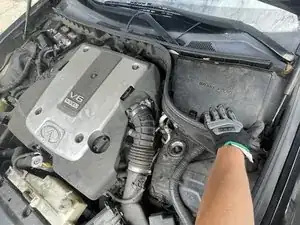
Once you’re ready to start, turn off your car, place it in park, and engage the parking brake.
-
-
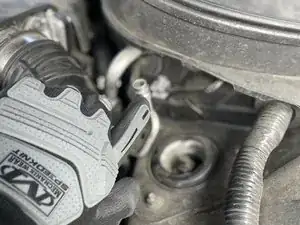
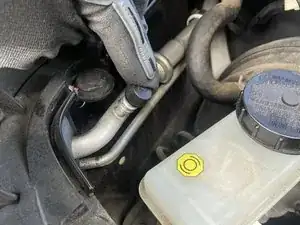
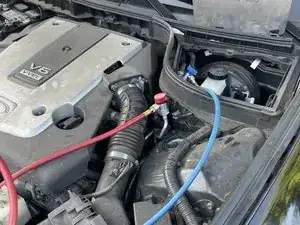
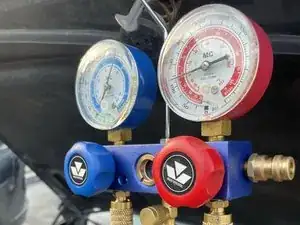
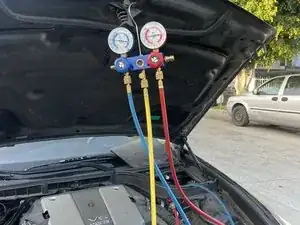
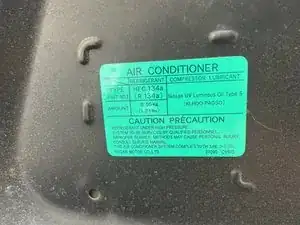
Connect the hoses to the gauge and the pressure ports.
-
Blue stands for low pressure.
-
Red stands for high pressure.
-
Yellow is where the new air flows through the two hoses.
-
-
-
Turn off the vehicle.
-
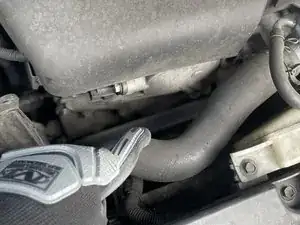
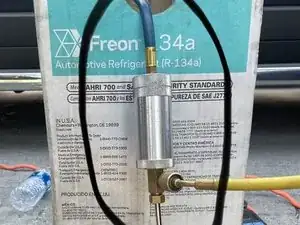
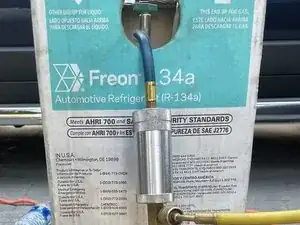
Connect one end of the tee valve connector to your refrigerant and the other end to the yellow hose.
-
Turn on your vehicle again.
-
-
-
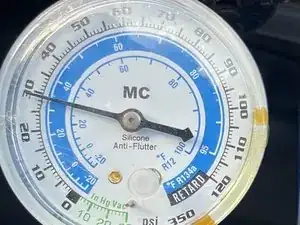
Pump the refrigerant until the pressure gauge gets to 25- 45 psi. This process can take 10 minutes.
-
-
-
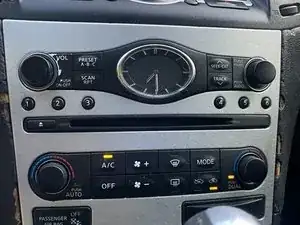
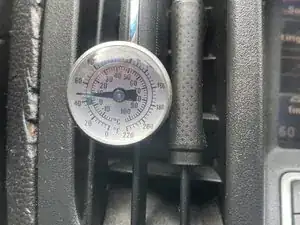
Go inside your vehicle and check the temperature.
-
The temperature should be from 35-48 degrees Fahrenheit.
-
Now that the temperature and air pressures are set, it's time to turn off your vehicle.
-
Proceed to remove all equipment (use safety gear).
-