Introduction
Hi there,
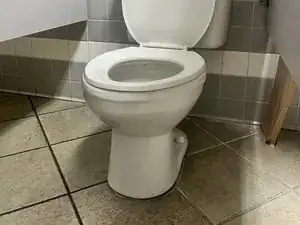
Welcome to another IFixIt repair guide, the go-to spot for all your repair needs. In this repair, we've got a common household woe on our hands - worn toilet caulk. But fear not, because we're diving headfirst into the world of toilet repairs, and are here to guide you through every step of the way. Whether you're dealing with worn caulk or damaged caulk, we've got you covered. So I guess it’s time to get our hands dirty.
Tools
-
-
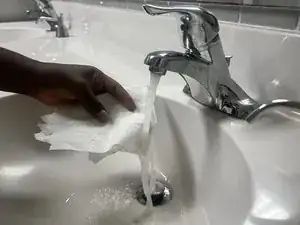
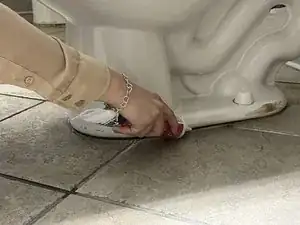
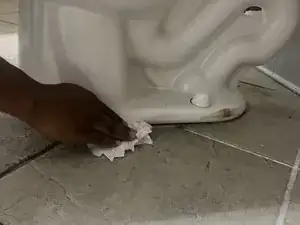
Wet a paper towel with warm water and wipe away any old caulk residue
-
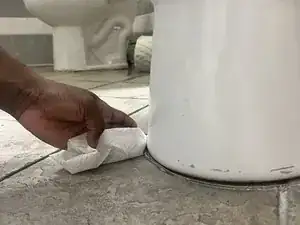
Once all the residue is removed, wipe away the remaining water with a new dry paper towel until the area is completely dry.
-
-
-
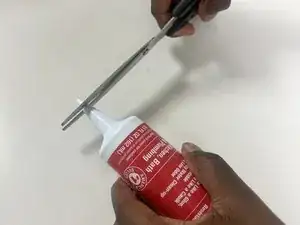
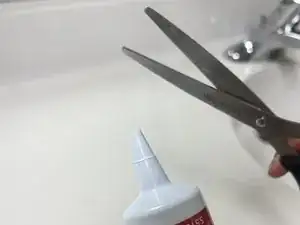
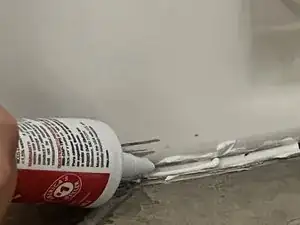
Using scissors, clip the tip of your caulk tube to it's intended length, which is indicated by a line on the tip of your caulk tube
-
-
-
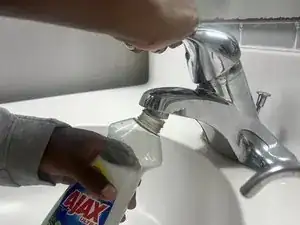
When you're done caulking the entirety of the rim, make soapy water by mixing liquid dish soap and warm water. Then apply the soapy water gently to the rim of the toilet.
-
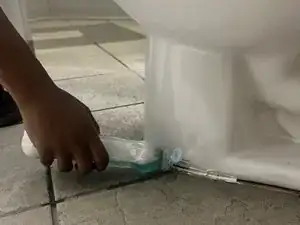
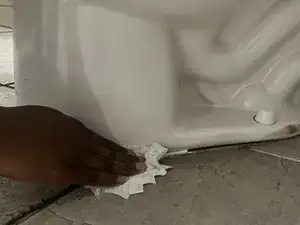
Using a paper towel, wipe around the rim of to ensure that the caulk is neatly placed around the toilets rim.
-
-
-
When you feel the caulk is well laid, wipe up the remaining soapy water with a dry paper towel
-

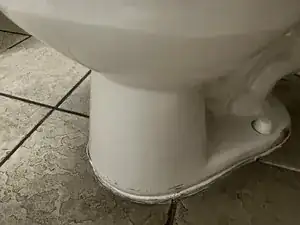
After twenty-four hours your toilet will be recalked like new and ready to be used.