Introduction
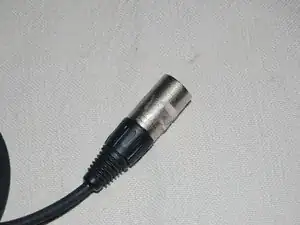
if your XLR cable isn't providing a solid clean connection whether it be for your microphone, audio-interface, or speaker, use this guide to restore that connection via soldering.
the most likely cause of that happening with your cable is a wire that has been detached or severed from the connecting point. the only other cause that could be the case is if there is dirt and debris underneath the cable (which you can just clean out) and you can use this guide to dissassemble the wire to clean it if that is the case.
before using this guide, if you are not experienced in wire stripping then I recommend that you get refreshed or learn how to do it using the guide from that link. Also, if you are not experienced with soldering and using a soldering iron than I also recommend that you use that guide that to learn or refresh.
be sure to test the cable on multiple devices before using this guide.
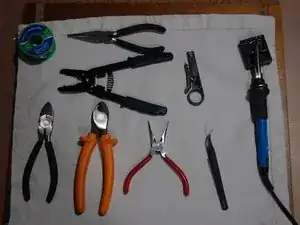
Tools
-
-
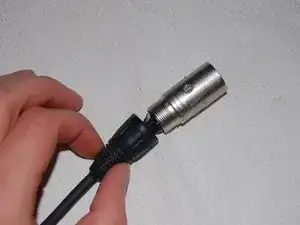
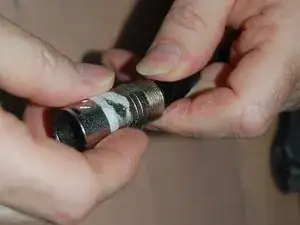
To do that, un-screw the black plastic bottom part of the base that connects to the connecting end.
-
-
-
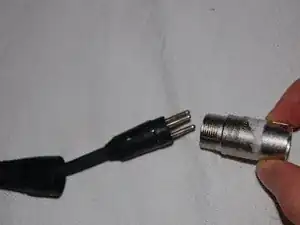
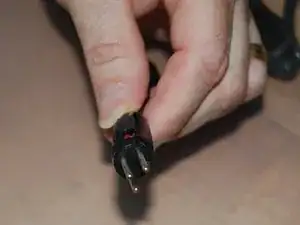
Remove the connecting end from its base.
-
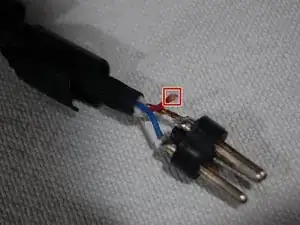
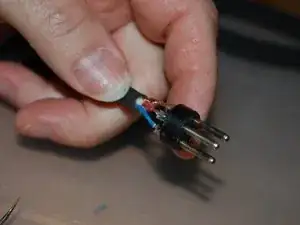
Remove the sleeve protecting the soldered connectors, exposing them.
-
-
-
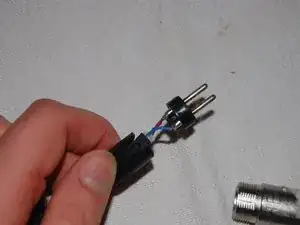
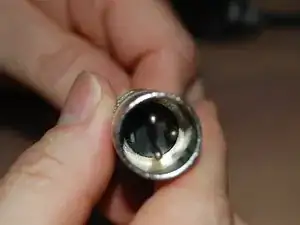
Identify the problem (check if the wire is severed or detached from the soldered connecting point).
-
-
-
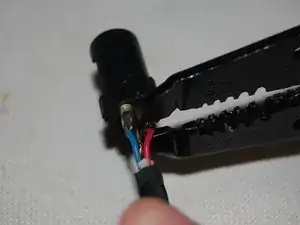
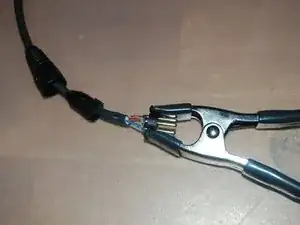
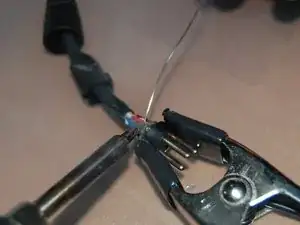
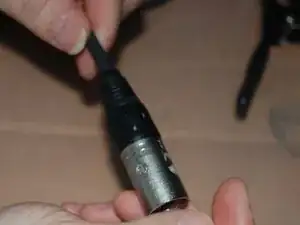
Use a wire striper (any kind works as long as there is a hole that is small enough to strip the wire while holding it down) to cut and remove the plastic cover of the wire.
-
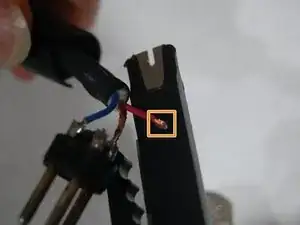
Make sure that you have a clean edge (only the wire) so that you can create brand new connections.
-
-
-
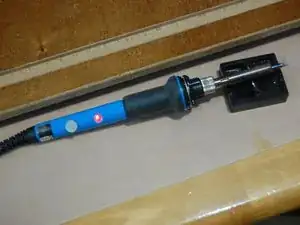
Pre-heat the soldering iron and leave it resting on an elevated surface (like the mount in the image).
-
Use a clamp to hold the connecting end in place since you are going to need both bands when using a soldering iron.
-
-
-
Slip the sleeve protecting the connectors back in and screw the connecting end back to the cable.
-


If the connecting end you took apart doesnt not have any issues, take apart the other end.