Introduction
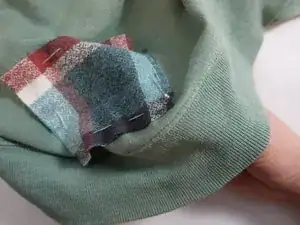
Branches, sharp objects, or even standard wear-and-tear can cause holes and tears of many varieties to appear in your clothing. This guide serves as a resource to assist you in taking the steps needed to patch fabric on your clothing and restore your hoodie to working order again.
Before You Begin:
- Check the Damage: Ensure the hole is manageable for patching. Advanced techniques might be required if it's too large or near a seam.
- Choose the Right Material: Select fabric similar to the hoodie’s material and stretch for a seamless repair.
- Prioritize Safety: Handle sharp tools like scissors and needles with care to avoid injury.
Repairing your hoodie saves money, reduces waste, lets you personalize your clothes, and helps you learn a useful new skill!
Tools
-
-
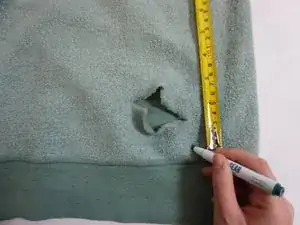
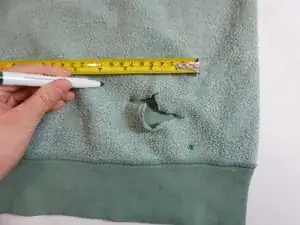
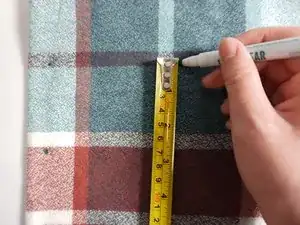
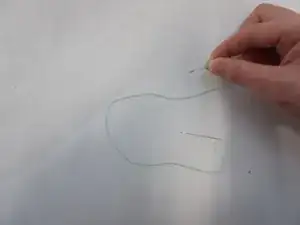
Identify the hole and measure a square that covers the damaged area, noting the length and width in millimeters (mm).
-
-
-
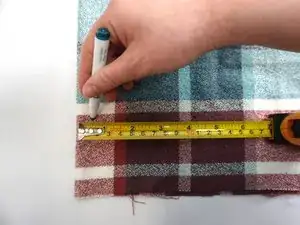
Before marking the new measurements on the replacement fabric, ensure that there is a quarter-inch gap on all sides.
-
Place a mark for each side of the previously gathered measurements.
-
-
-
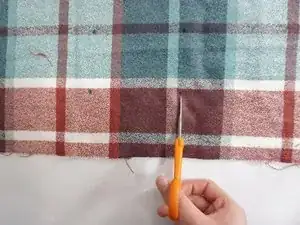
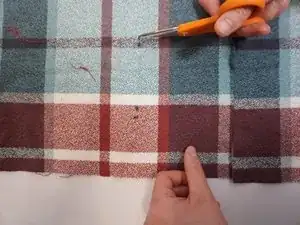
Cut the replacement fabric along the marked dots, ensuring that the quarter-inch space before each mark is included in the cut.
-
-
-
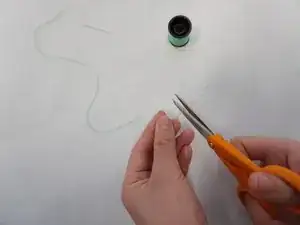
Cut a length of thread that is approximately twice the perimeter of the square patch.
-
Thread the needle and tie a knot at the end to secure it.
-
-
-
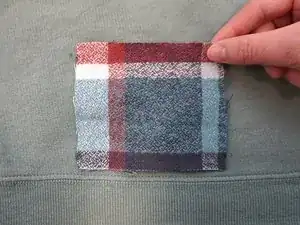
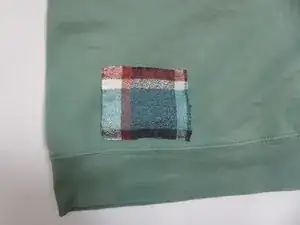
Place the fabric over the damaged area, ensuring it fully covers the damaged area.
-
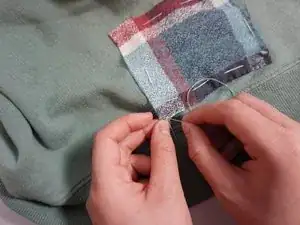
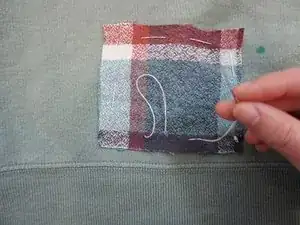
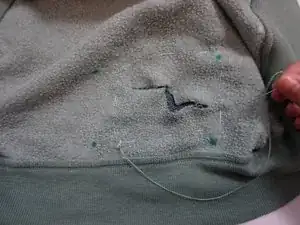
Begin a temporary stitch by inserting the needle in and out of the fabric at evenly spaced intervals to create a dashed line.
-
Once finished, tie a secure knot and cut the thread to free the needle.
-
-
-
Re-thread the needle with a new piece of thread and knot.
-
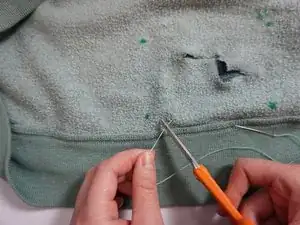
With a new colored thread, begin a permanent stitch with tighter spacing using the same technique.
-
-
-
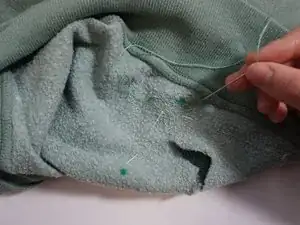
Tie a knot and trim excess thread close to the knot.
-
Cut open the temporary stitch to remove it.
-


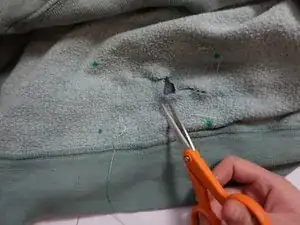
Be sure to trim as desired should more strands of the patch become free. You now have a refreshed hoodie with a sturdy and stylish patch!