Introduction
Use this guide to open up and clean dust and debris out of the fan, grilles, or vents of an Xbox Series X (Digital Edition) gaming console.
If your console is loud, overheating, or underperforming, it may have built-up dust in the cooling fan, heatsink, or main vents.
In the Xbox Series X, when upright, the large top fan pulls air in from the bottom, which cools the console, then pushes the air out of the top vent. If your Xbox lives in a TV cabinet with limited airflow, consider opening the door while gaming or moving it out to open air. If your Xbox is on the ground, it may suck in extra dust, dirt, or hair and limit its ability to keep cool.
Before you begin, completely power down and unplug all cables from your console. Remember to follow general electrostatic discharge (ESD) safety procedures while repairing your console.
-
-
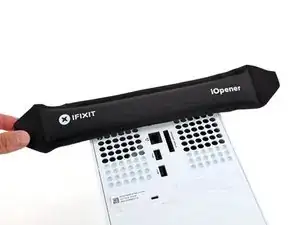
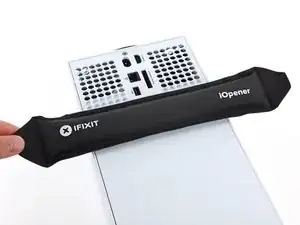
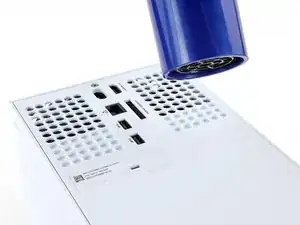
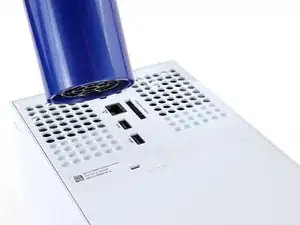
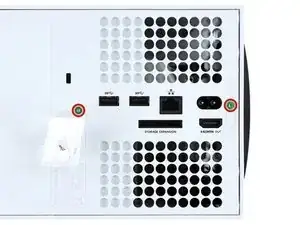
Heat an iOpener and lay it on the smaller sticker near the bottom of the back panel for two minutes.
-
-
-
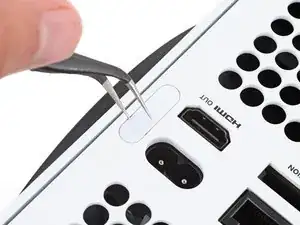
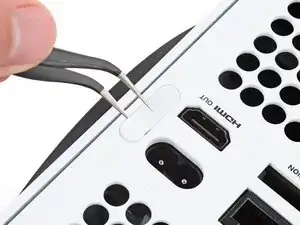
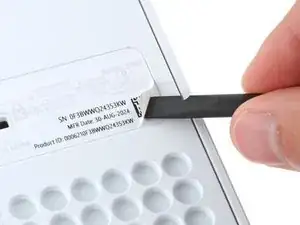
Use a pair of angled tweezers to remove the sticker hiding the first screw on the back panel, near the base.
-
-
-
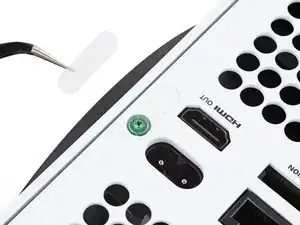
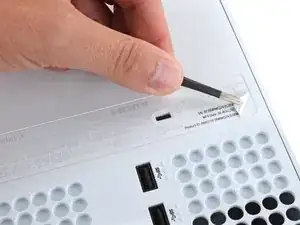
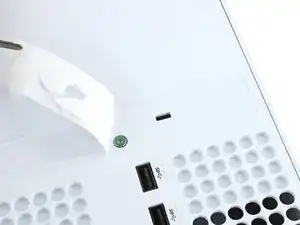
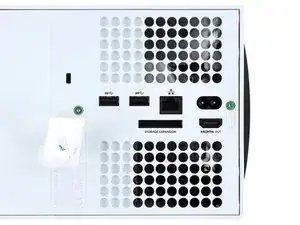
Use the flat end of a spudger to scrape up a corner of the larger sticker until you can grip it with a pair of blunt tweezers.
-
Use blunt tweezers to peel back the sticker to reveal the second screw.
-
-
-
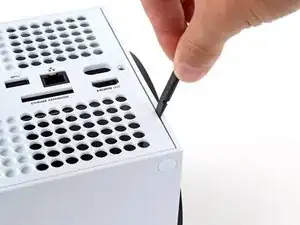
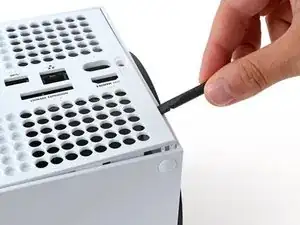
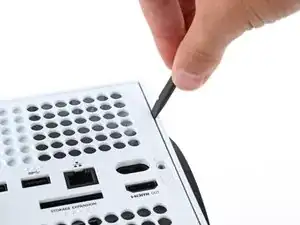
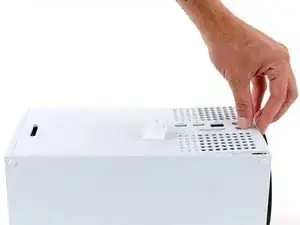
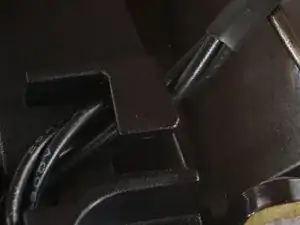
Insert the flat end of a spudger into the gap between the back panel and the shell, near the left side of the base.
-
Pry up the back panel to release it from the locking clips.
-
-
-
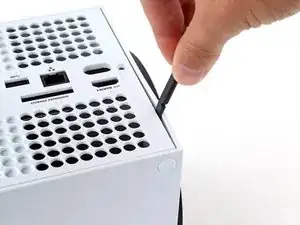
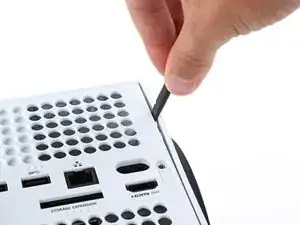
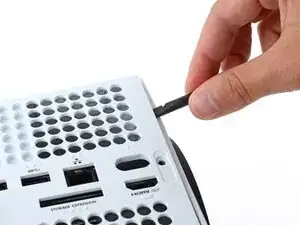
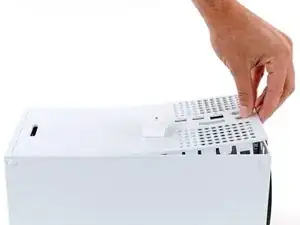
Insert the flat end of a spudger into the gap between the back panel and the shell, near the right side of the base.
-
Pry up the back panel to release it from the locking clips.
-
-
-
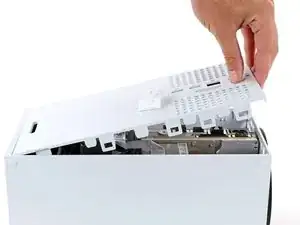
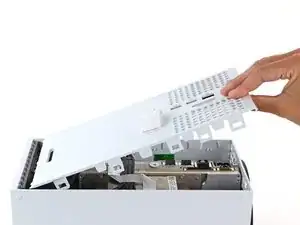
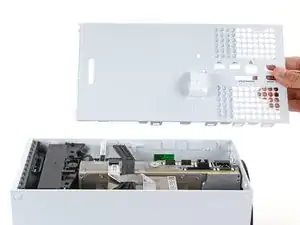
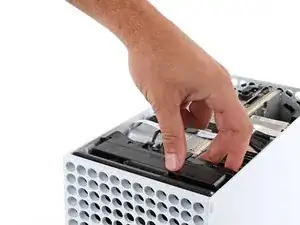
Grip the back panel at the opening you just created and pull it up and away from the shell to unclip the long edges.
-
-
-
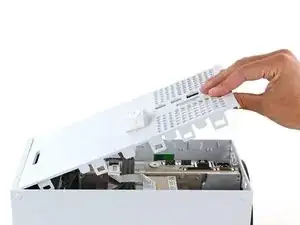
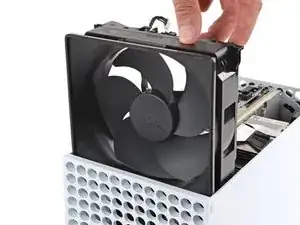
Tilt the back panel up and pull it away from the top edge of the shell to release it from the gap.
-
Remove the back panel.
-
-
-
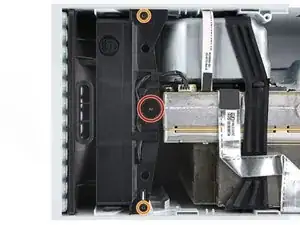
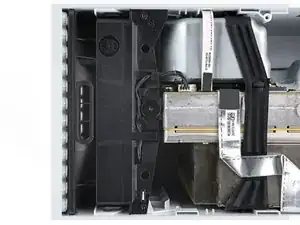
Use a T8 Torx driver to remove the three screws securing the fan to the center chassis:
-
One 10.3 mm‑long pancake screw
-
Two 9 mm‑long screws
-
-
-
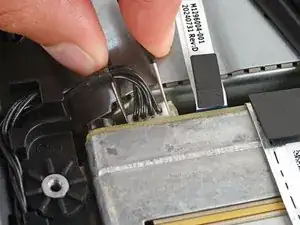
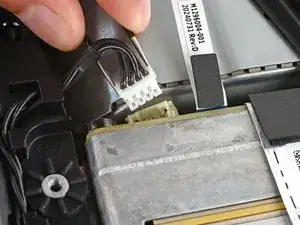
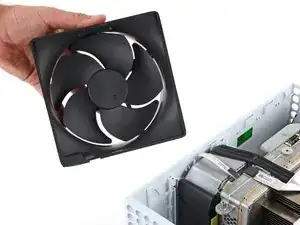
Use your fingernails or a pair of angled tweezers to firmly grip the edges of the fan cable connector.
-
Pull the connector straight out of the socket to disconnect it.
-
-
-
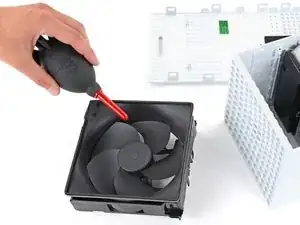
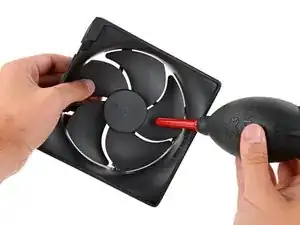
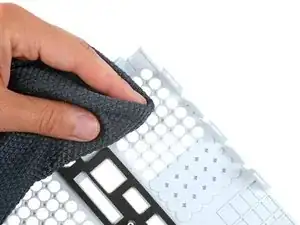
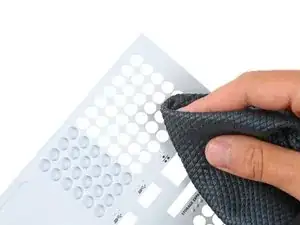
Use a pair of tweezers to grab loose hairs and dust clumps off of the fan.
-
Use a small dust blower or light compressed air to blow remaining dust off of the fan.
-
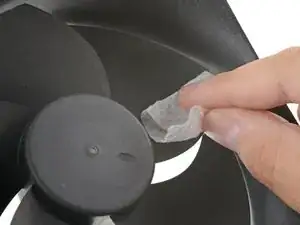
If there's a layer of grime on the fan blades, use soapy water on a damp rag or an isopropyl alcohol wipe to clean it off.
-
-
-
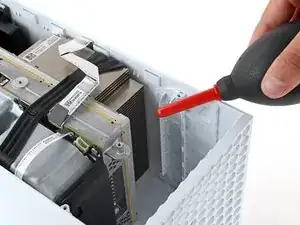
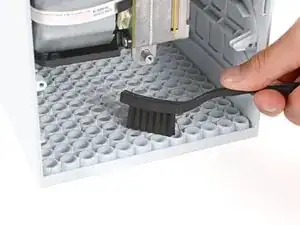
Using an anti-static brush or a new toothbrush, clean any dust out of hard to reach areas.
-
Once most dust is dislodged, use a dust blower to blow it out of the console.
-
To reassemble your device, follow these instructions in reverse order.
Disassembly didn’t go as planned? Try some basic troubleshooting, or ask our Answers community for help.