Introduction

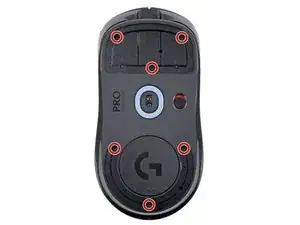
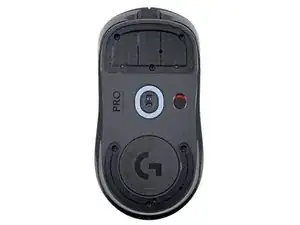
Use this guide to open your Logitech G Pro X Superlight wireless gaming mouse.

Opening your mouse gives you access to clean its internals, troubleshoot mechanical problems, or replace a part.

  1. IB1vFphPUSJDD3hf
    IB1vFphPUSJDD3hf
    cknwptAofxpmbmci
    STQygU1EY6Tymx3P
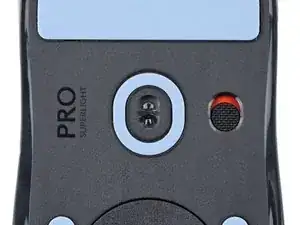
    • Slide your mouse's power switch down so it's in the OFF position.

    • A red indicator should be visible beneath the switch.

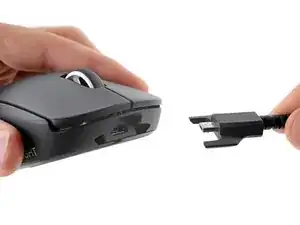
    • Unplug all cables from your mouse.

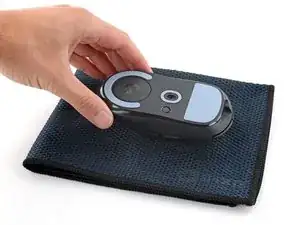
    • Flip the mouse over so the feet are facing up.

    • Throughout your repair, it may be helpful to lay your mouse on a soft cloth to stabilize it and prevent damage while you work.

  2. iSKqNoEwLkWvd1HZ
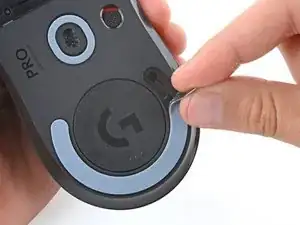
    • The feet are secured to the bottom of the mouse with strong adhesive. In order to cleanly remove them, the adhesive needs to be thoroughly heated.

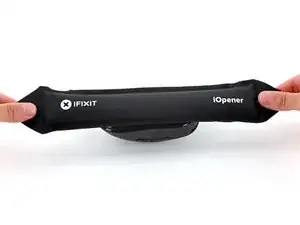
    • Heat an iOpener and lay it on the mouse feet for one minute to heat the adhesive.

    • Alternatively, you can use a hair dryer on the Low heat setting to soften the adhesive.

    • If you're using a hair dryer, only heat the feet a few seconds at a time or you may warp the plastic shell.

  3. RNERSLUB1onOXCAD
    RNERSLUB1onOXCAD
    gO2CJ2jECPIIEpCJ
    uf6lE6UegGoGUhSP
    • The feet have two layers—a rubberized one and an adhesive pad underneath.

    • If you're reusing the feet, be very careful not to separate the two layers or damage the feet.

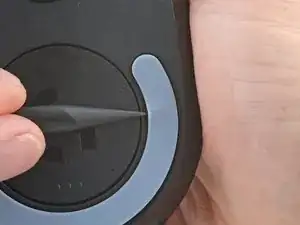
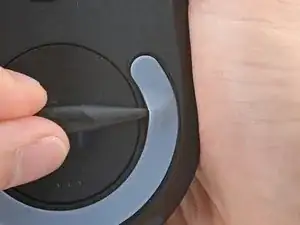
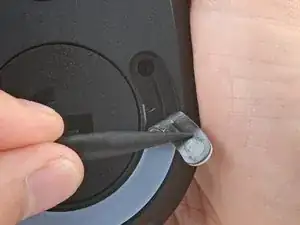
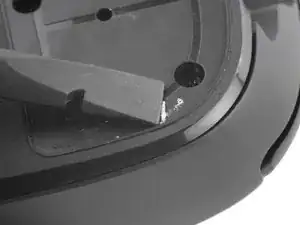
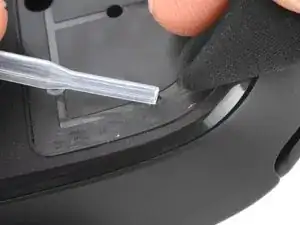
    • Carefully slide the point of a spudger under the circular foot, making sure it goes under both the foot and its adhesive pad.

    • The foot recesses have a small notch that makes it easier to slide your spudger under.

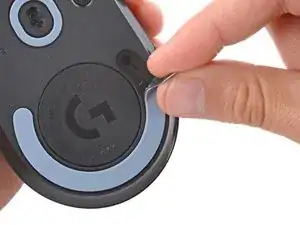
    • Gently slide the spudger farther under the foot and lift until you can grab it with your fingers.

  4. RcXKSECZFBTFEx3A
    RcXKSECZFBTFEx3A
    b5PhZr5dxrSKSJkx
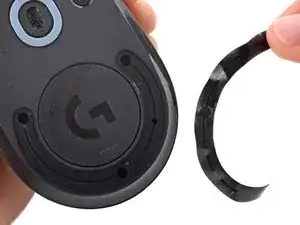
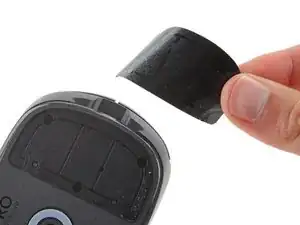
    • Peel up and remove the foot.

    • If the rubber layer separates from its adhesive pad, use the same process to remove the pad.

  5. hdBc1BqmGYSknkWy
  6. 1EVHv2qPdcjfQS23
    1EVHv2qPdcjfQS23
    KSpJDAx31QasRXVb
    uYHwBT6yGIMaaSie
    • To install a new foot:

    • If any of the feet got damaged during removal or separated from their adhesive pads, replace them.

    • Use a spudger to carefully scrape up and remove any remaining adhesive bits.

    • Use isopropyl alcohol and a microfiber cloth to thoroughly clean all adhesive residue from the foot recesses. Allow the surface to completely dry.

    • Remove the feet from their backing and firmly press them into place.

  7. SknCa6GhJpQPgqKj
    SknCa6GhJpQPgqKj
    xMxKtD3MvcDYbsVX
    • Use a Phillips screwdriver to remove the six 4.5 mm‑long screws securing the bottom shell.

  8. VXXaeSD6TNdhfFHe
    VXXaeSD6TNdhfFHe
    AaaBEqlJQVVNqFkO
    JV2CSgDB2PUi25r6
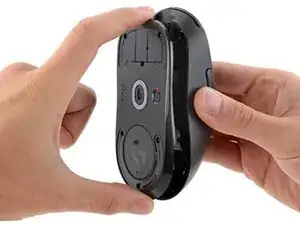
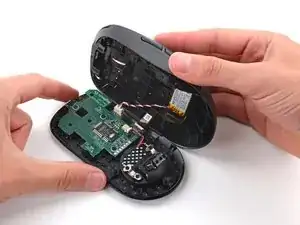
    • Don't try to fully separate the shells yet, as two cables still connect them.

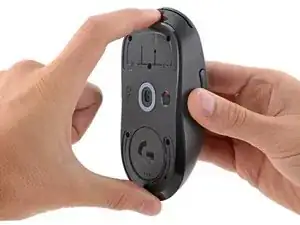
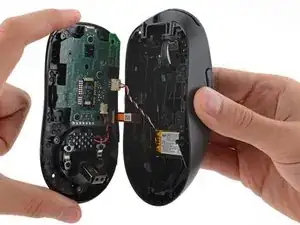
    • Gently pull the top and bottom shells apart.

  9. hTvlCUR2qnNrK3ww
    hTvlCUR2qnNrK3ww
    prOjeOxMiktjZDku
    KWZnGc5RgPWOgMyf
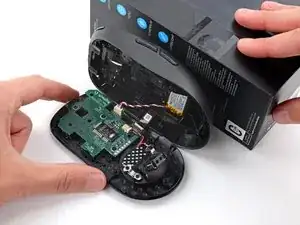
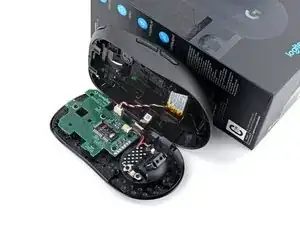
    • Set your mouse down with the bottom shell on the workspace and the top shell flipped over the right edge.

    • Use an object such as a small box or stack of books to prop up the top shell so you can access the cables without straining them.

  10. BQ1oTJEDiRYAYobe
    BQ1oTJEDiRYAYobe
    13hyZNuZ3g4QEgQB
    HFA1rRWLVSHt5hNC
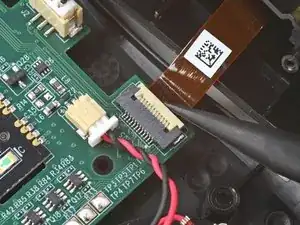
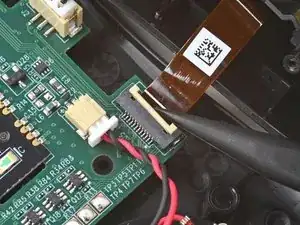
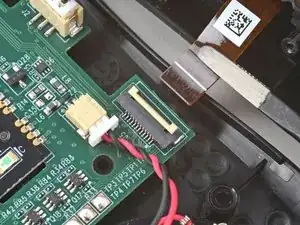
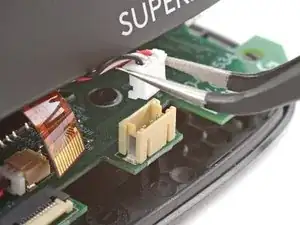
    • Use the point of a spudger to lift the locking flap on the top shell ZIF connector.

    • Use tweezers to gently pull the cable straight out of its socket.

    • During reassembly, insert the cable into its socket up to the white line before flipping down the locking flap.

  11. f5bBRo5NN3iIQTI5
    f5bBRo5NN3iIQTI5
    uPFRXEOmAT5Hjo5V
    RHwdVApaNncvXSK6
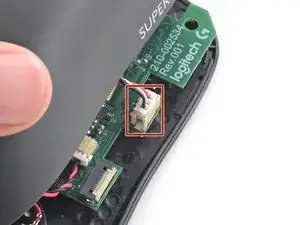
    • Flip the top shell onto the mouse and let it rest so it's partially hanging over the left side, giving you access to the battery connector on the right edge.

  12. NsIsepcc2mNXwW4l
    NsIsepcc2mNXwW4l
    elF3mOXdIr6lTRyg
    uDVQ2oRWaNdWfA6K
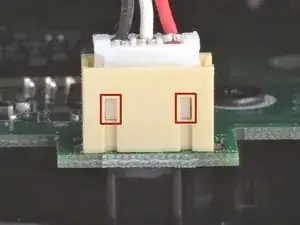
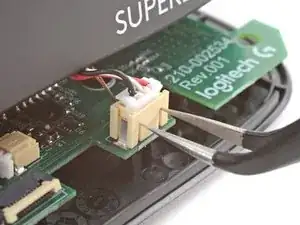
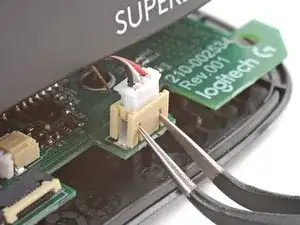
    • Insert each arm of a pair of angled tweezers into the top of the cutouts on the right edge of the battery connector—the tweezers should curve upward.

    • Gently press the tweezers in and up to push the connector out of its socket enough that you can get a firm grip with your tweezers.

    • You may need to repeat this multiple times before the connector starts to come out.

  13. xBYQFMPdkXgSWljo
    • Use tweezers to grip the battery connector and pull it straight up and out of its socket.

    • During reassembly, push down on the edges of the connector with the flat end of a spudger until it's fully seated in the socket.

  14. VLJ5BibCXgnwCDpp
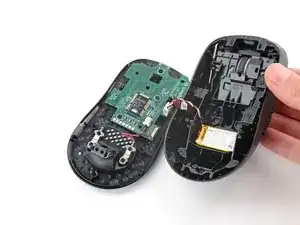
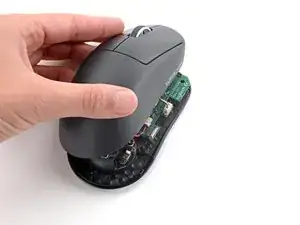
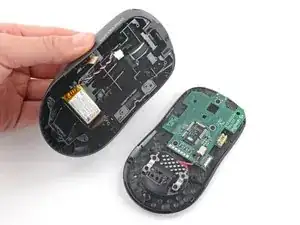
    • Remove the top shell from the bottom shell.

Conclusion

To reassemble your device, follow these instructions in reverse order.

Take your e-waste to an R2 or e-Stewards certified recycler.

Repair didn’t go as planned? Try some basic troubleshooting, or ask our Answers community for help.
Spencer Day

Member since: 14/09/22

88286 Reputation

0 comments