
Introduction
Is your Xbox One controller plagued by sticky buttons? This guide is here to help. Whether you're experiencing unresponsive buttons or buttons that stick during gameplay, this step-by-step tutorial will walk you through the process of fixing them. This guide will cover everything from disassembly to cleaning, ensuring your controller is back in top shape for your gaming adventures.
Special Skills:
- Disassembly of electronic devices
- Basic understanding of hardware components
What You'll Accomplish:
By following this guide, you'll be able to disassemble your Xbox One controller, access the buttons, and clean them thoroughly. This process will restore the functionality of your controller's buttons, providing a smoother gaming experience.
Important Information:
Before diving into the repair, make sure to power off your Xbox One controller and disconnect it from any external power sources. Additionally, exercise caution when handling delicate electronic components to avoid damage.
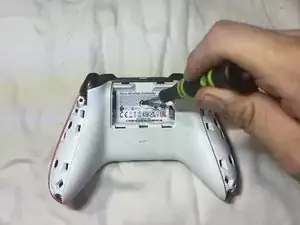
-
-
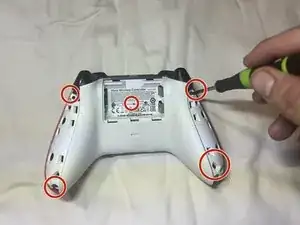
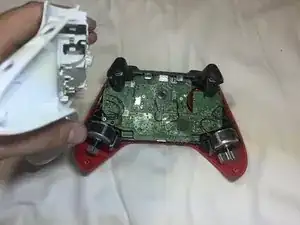
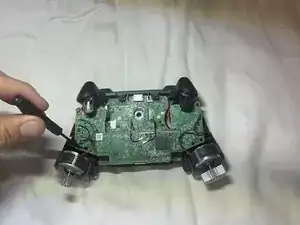
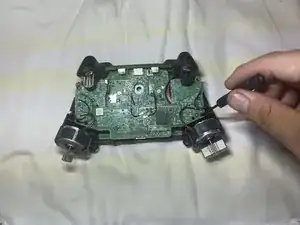
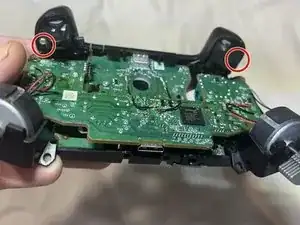
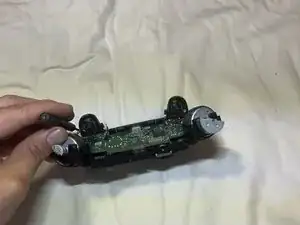
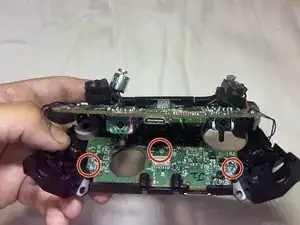
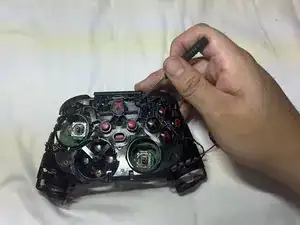
Remove all screws holding the motherboard.
-
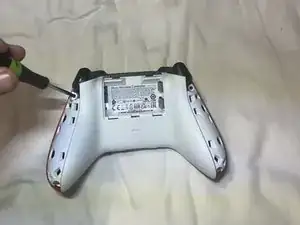
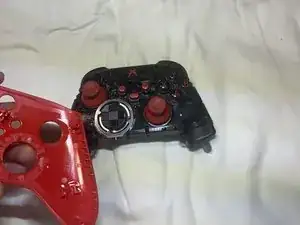
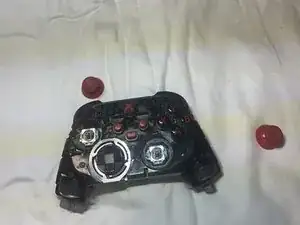
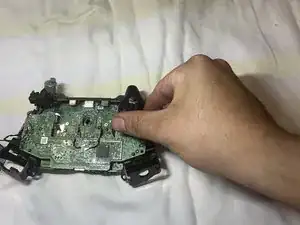
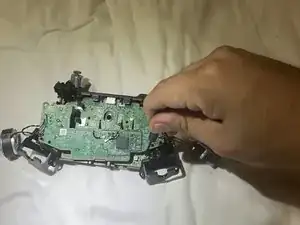
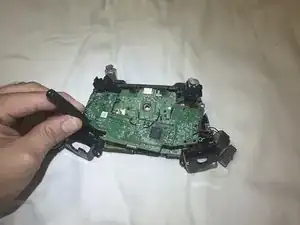
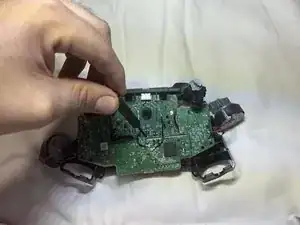
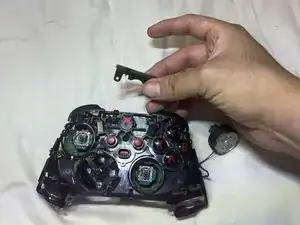
Pry open the top of the controller to release the motherboard.
-
-
-
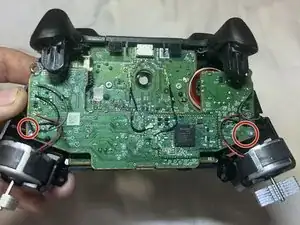
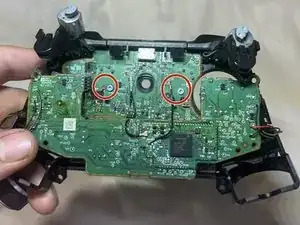
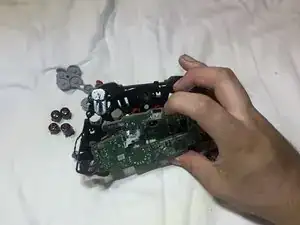
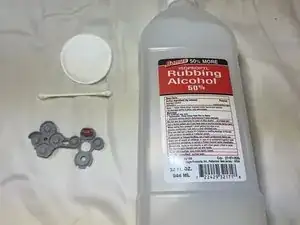
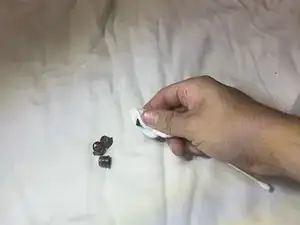
Clean the new buttons with rubbing alcohol for less friction.
-
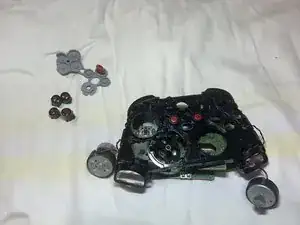
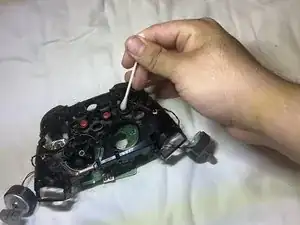
Clean the controller frame holes.
-


To reassemble your device, follow these instructions in reverse order.
