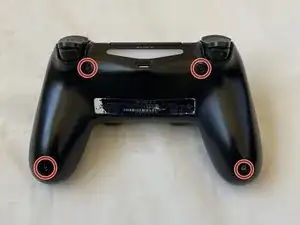
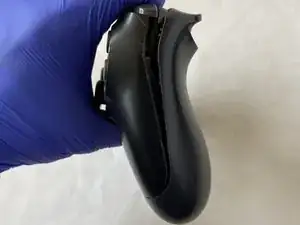
Introduction
If your PS4 DualShock Controller is having the drifting joystick problem which is common—automatically moving without touch, becomes stuck once touched—use this guide to repair the issue without any soldering, which many people may not have experience in.
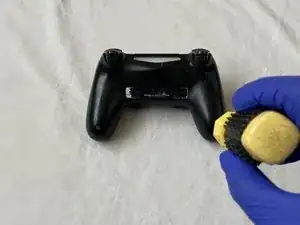
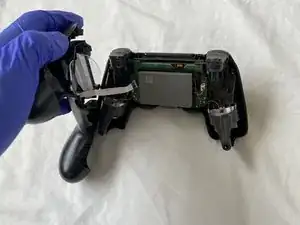
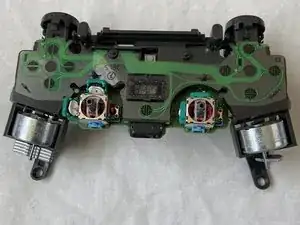
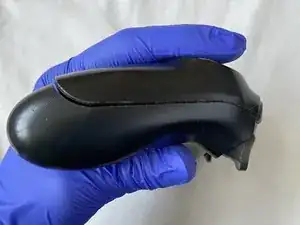
The controller will have to be dismantled completely so that the left joystick can be cleaned and worked on. This simple repair with minimal knowledge is an easy fix. P.S. the gloves are not required to wear when the controller is being worked on.
-
-
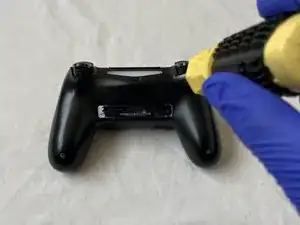
Remove the four 6.0 mm screws on the back shell of the PS4 controller using the Phillips #00 screwdriver.
-
-
-
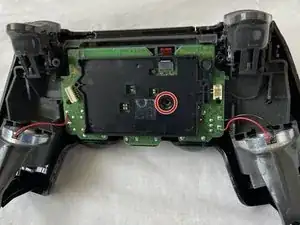
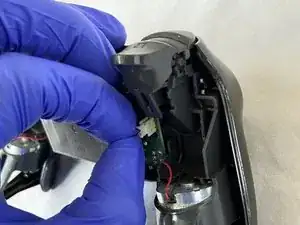
Detach the back shell from the rest of the body by pulling the front shell and back shell apart simultaneously.
-
-
-
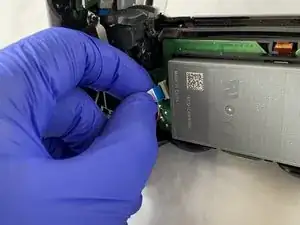
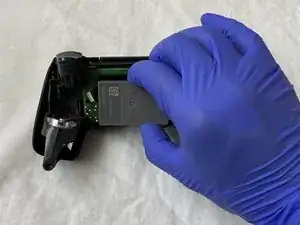
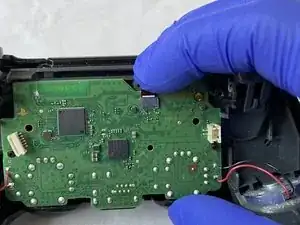
Remove the battery connector from the motherboard by pressing the two sides and pulling on the connecter in an upwards direction.
-
-
-
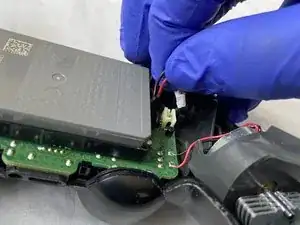
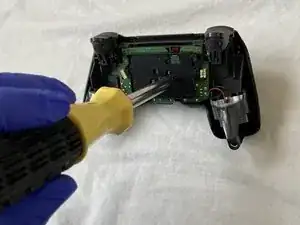
Use the Phillips #00 screwdriver to remove the single 6.0 mm screw attached to the circuit board.
-
Remove the battery cable.
-
-
-
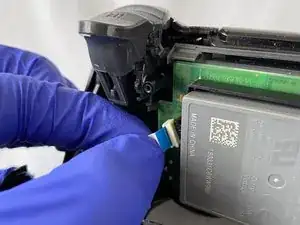
Detach the cable from the circuit board by pulling upwards.
-
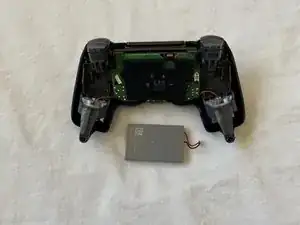
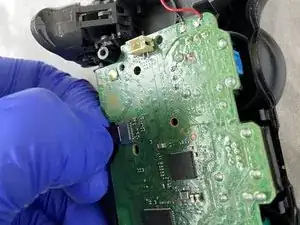
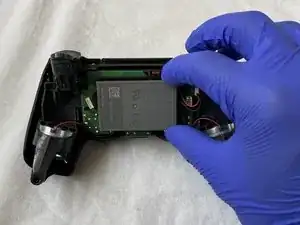
Pull the circuit board away from the front shell so it is completely detached from all other parts.
-
-
-
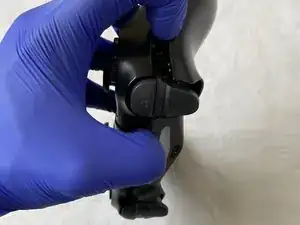
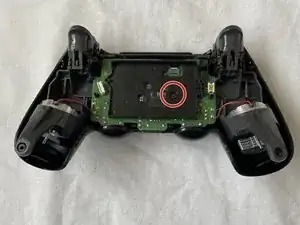
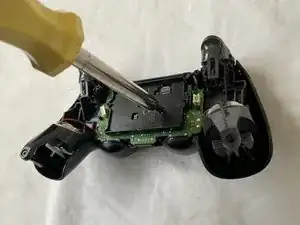
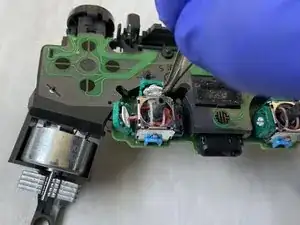
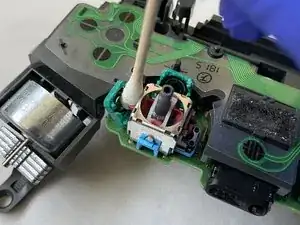
Use the flathead screwdriver to pry open the green chambers by sticking the tip of the flathead screwdriver in between the gap and pushing inwards.
-
-
-
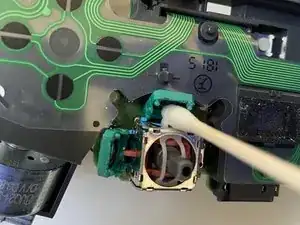
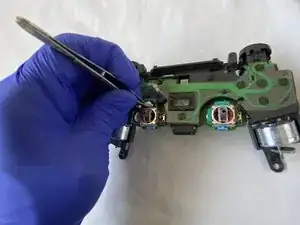
Place the two white disks back into the green chamber using the tweezers.
-
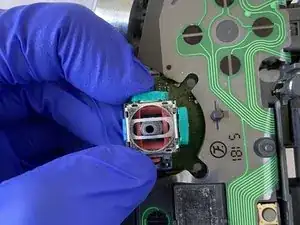
Close both chambers by pressing hard towards the sliver box until they click in.
-
-
-
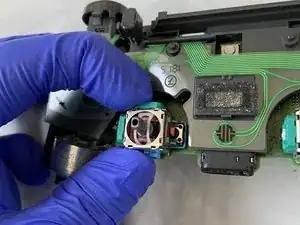
Take the left joystick and put it back on until the click is heard which confirms that the joystick is firmly held on.
-
-
-
Loop the cable connecter into the circuit board hole from the front shell to attach both parts.
-
Place the connecter into its socket and press downwards to connect it back.
-
-
-
Take the battery holder and place the pegs into the hole for the proper alignment.
-
Replace the 6.0 mm screw onto the battery holder back using the Phillips #00 screwdriver so the battery holder can be held firmly in place with the circuit board.
-
-
-
Place the battery into the holder.
-
Connect the red and black wire of the battery into the socket by pressing downwards.
-
-
-
Place the ribbon attached to the back shell on the circuit board and press down so both compartments get attached.
-
-
-
Snap the front shell and back shell together.
-
Screw the four 6.0 mm Phillips screws on the back shell screw holders using the Phillips #00 screwdriver.
-
Your controller should be all ready!
-


15 comments
does this work with the right joystick too?
Yes! Both sticks seems to be identical. Did my right one and it fixed the drift.
i fix my brothers ds4 with your tutorial. Thank you very much.
Thank you so much for this amazingly well made guide. I just fixed my PS4 controller and it surprised me how well it works, absolutely no drift whatsoever. I should note that i’ve done the same steps on the right stick as it’s the one broken for me.