Introduction
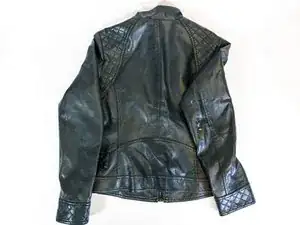
This guide demonstrates the process of repairing a cracked leather jacket through wear. Leather cracking may be caused by excessive, rapid drying or heat damage. Various methods, including gluing and patchwork, can restore leather to a more wearable condition.
Leather jackets can be expensive to replace, and prices can increase depending on the quality of the leather. Therefore, repairing a leather jacket can prevent it from contributing to the millions of garments being thrown into landfills. By repairing your clothing, you may extend the life of the items, reduce the amount you consume, and prevent waste. Repairing is fundamentally a radical act of kindness in a fast fashion industry that profits from negligence. The individual can utilize most of the clothing by repairing a leather jacket.
Fixing a cracked black leather jacket involves a few simple steps to restore its appearance and extend its life. First, clean the area around the crack with a soft cloth and a gentle leather cleaner to remove dirt and oils. Next, apply a leather conditioner to nourish the leather and minimize further cracking. Use a leather repair kit for deeper cracks, which typically includes adhesive and color-matching compounds. Carefully apply the repair compound to the crack, smoothing it out to blend with the surrounding leather. Finally, let it dry completely before using the jacket again. Remember to regularly condition your black leather jacket to prevent future damage and keep it looking great.
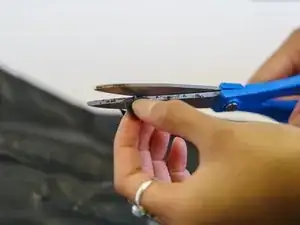
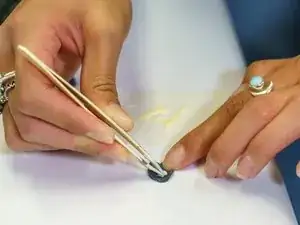
Caution: When cutting the fabric patch, ensure you are careful with your cutting device.
-
-
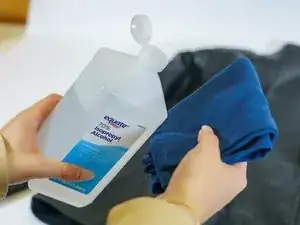
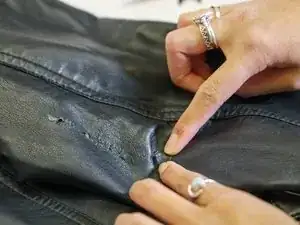
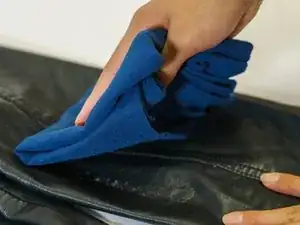
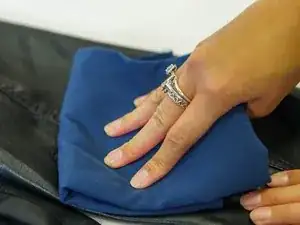
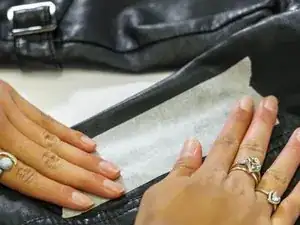
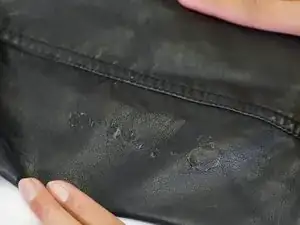
Clean the area you’re repairing with a towel and rubbing alcohol.
-
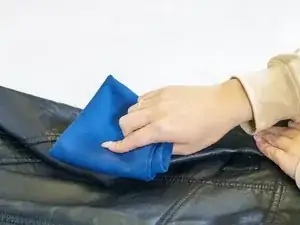
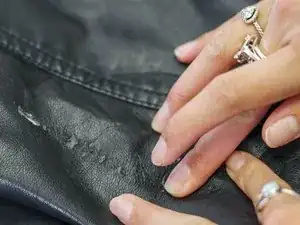
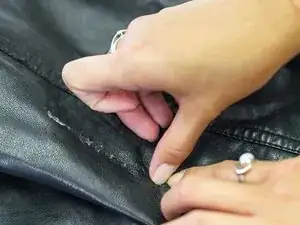
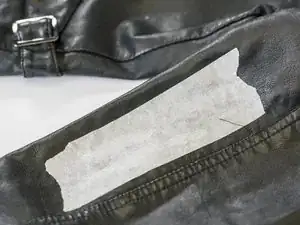
Gently wipe the area that is damaged.
-
-
-
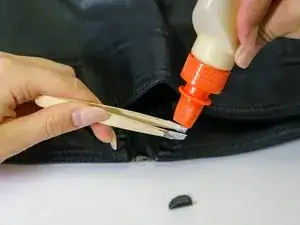
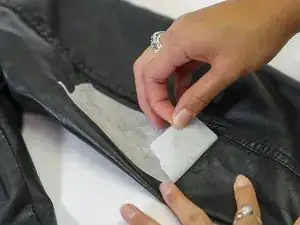
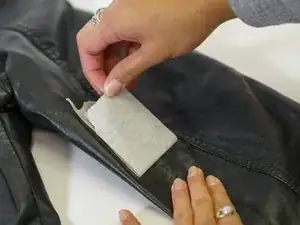
Put glue on the applicator.
-
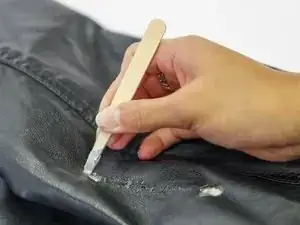
With the applicator, spread the glue over the patch and both sides of the tear.
-

Repeat this process with any other cracks on a leather garment.