Introduction
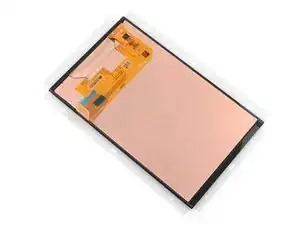
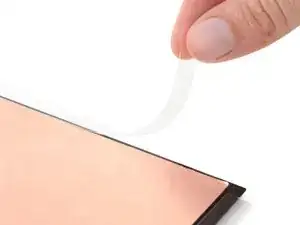
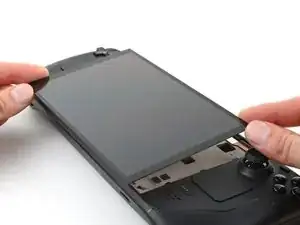
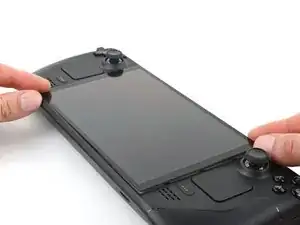
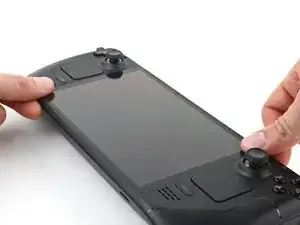
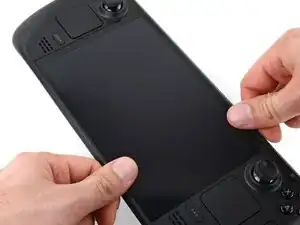
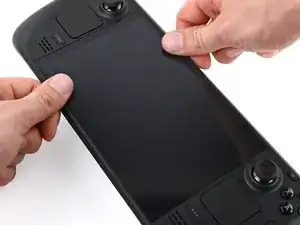
Use this guide to replace the screen (or display) adhesive in your Steam Deck OLED and to install the screen.
If you haven't already, follow this guide to remove your screen.
Remember to follow general electrostatic discharge (ESD) safety procedures while repairing your device.
Tools
Parts
-
-
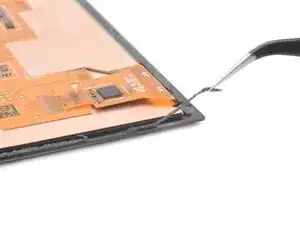
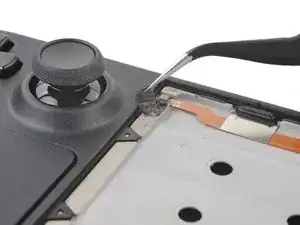
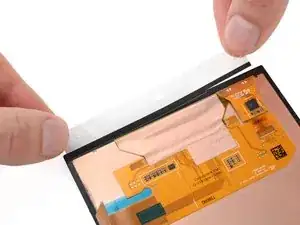
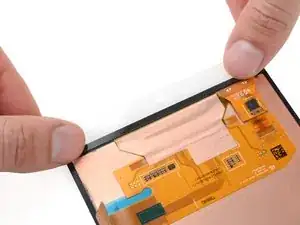
Use tweezers or the flat end of a spudger to peel up and remove large pieces of old adhesive from the screen.
-
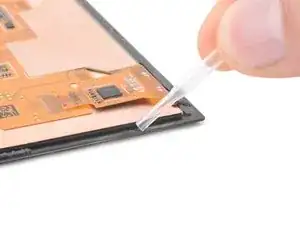
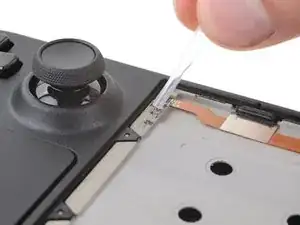
Apply one or two drops of highly-concentrated isopropyl alcohol (over 90%) to any residual adhesive.
-
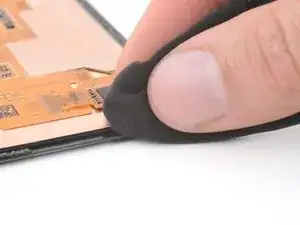
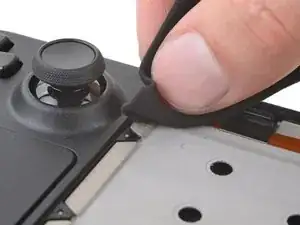
Use a lint-free or microfiber cloth to wipe the perimeter of the screen clean.
-
-
-
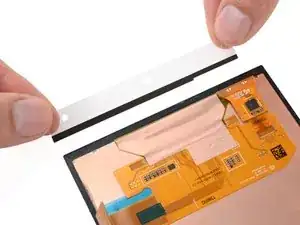
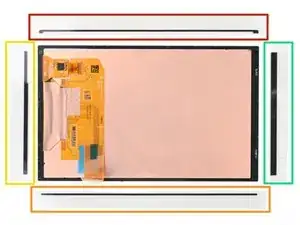
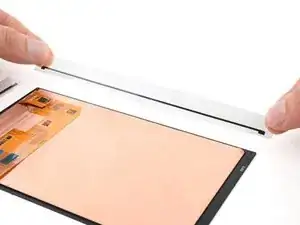
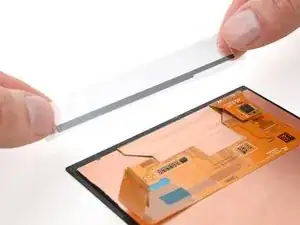
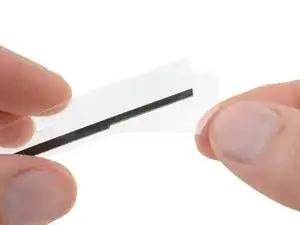
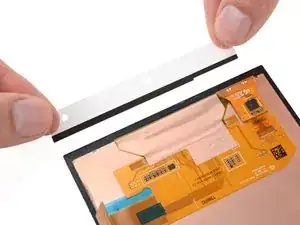
Before applying your new adhesives, lay them out over your screen to find their proper orientation:
-
The long piece with curved ends is for the top edge.
-
The other long piece is for the bottom edge.
-
The short piece with a notch cutout is for the edge with the screen cable. The notch should be closest to the top edge.
-
The other short piece is for the edge opposite the screen cable.
-
-
-
Align and place the adhesive strip onto the edge of the screen, making sure it's flush with the outside edge and not overlapping the screen panel.
-
-
-
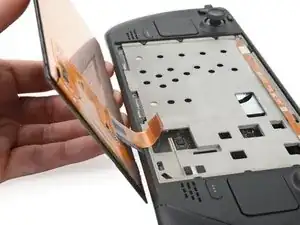
Hold the screen slightly below the bottom edge of the frame and align the screen cable with its socket on the motherboard.
-
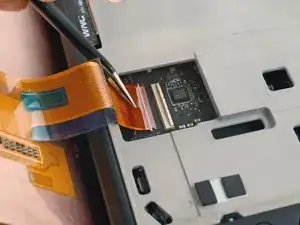
Use angled tweezers to grip the pull tab on the neck of the screen cable.
-
Angle the cable so it's lined up and parallel to the socket, rotating the tips of the tweezers as necessary to get the right angle.
-
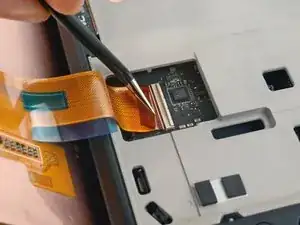
Gently insert the connector into the socket until the white line meets the body of the socket.
-
Use your finger of the flat end of a spudger to flip the locking flap down to secure the cable.
-
Repair didn’t go as planned? Try some basic troubleshooting, or ask our Steam Deck OLED answers community for help.
One comment
I successfully swapped matte/glossy OLED model screens this way. First boot after swap had a frazzled screen. Hard reset fixed the problem instantly.
