Introduction
If the letters typed by your Remington Quiet Riter typewriter are lighter on the top or bottom, or if your capital letters do not align with your lowercase letters, this guide will help you try a simple "on feet" adjustment to align your type.
Keep in mind that this process will involve some trial and error. Be careful to hold the adjustment screw in place when tightening or loosening the nut. Also, it helps to keep track of how much you adjust the screw each time so you can more easily find the correct alignment.
-
-
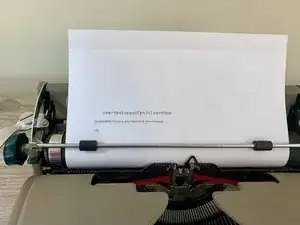
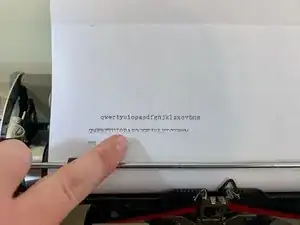
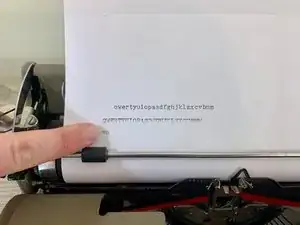
Lightly type a row of lowercase letters.
-
Return the carriage, then hold the shift key and lightly type a row of uppercase letters.
-
Return the carriage, and type a capital H followed by a lowercase h.
-
-
-
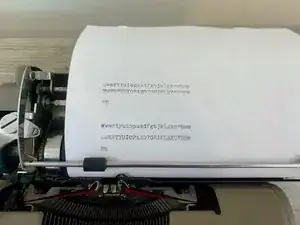
Examine the letters you typed to identify alignment issues.
-
If the lowercase letters are not a uniform darkness, you will adjust the lowercase screw.
-
If the uppercase letters are not a uniform darkness, you will adjust the uppercase screw.
-
If all of the letters are a uniform darkness, but the bottom of the capital H does not align with the bottom of the lowercase h, you will need to experiment with adjustments to find the correct alignment.
-
-
-
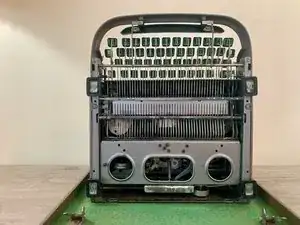
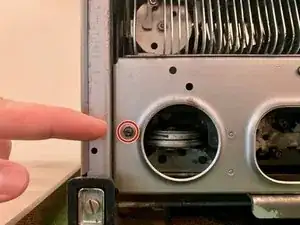
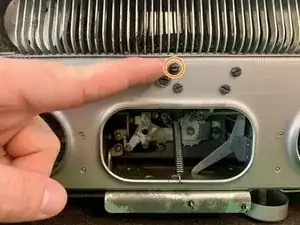
To adjust lowercase letters, find the lowercase adjustment screw near the back of the typewriter.
-
To adjust uppercase letter, find the uppercase adjustment screw towards the front of the typewriter.
-
-
-
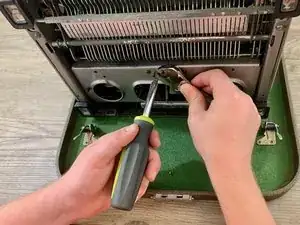
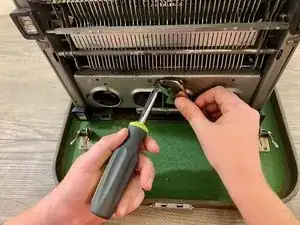
Use the flathead screwdriver to hold the adjustment screw in place while you loosen, but do not remove, the nut with the adjustable wrench.
-
-
-
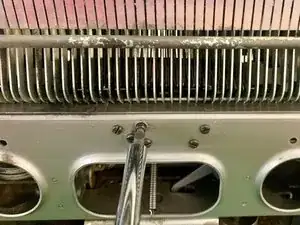
Adjust the screw by turning it clockwise to move the letters up, or counterclockwise to move the letters down.
-
-
-
Without tightening the nut, test your adjustment by repeating the appropriate part(s) of step 1.
-
Repeat steps 6 and 7 until the issue is resolved.
-
-
-
Again using the flathead screwdriver to hold the adjustment screw in place, use the adjustable wrench to tighten the nut.
-
Your typewriter should be aligned! Type something to test it out.