Introduction
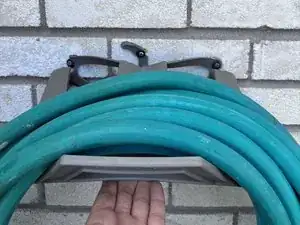
Mounted hose holders are not only helpful for keeping your hose from tangling but they also enhance the aesthetics of your garden/home. Sometimes after a lot of use or depending on the material, they may start to crack from the weight or become loose. If you have a damaged hose holder or you're just ready to upgrade your home's exterior appearance, this guide will walk you through the replacement.
This is a beginner step-by-step replacement requiring minimal tools and knowledge.
Tools
Parts
-
-
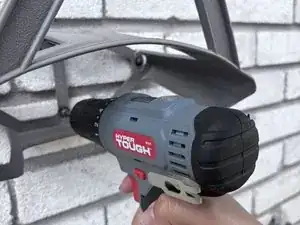
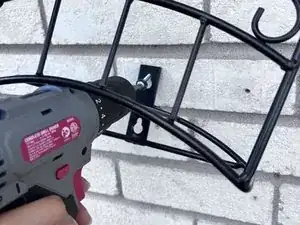
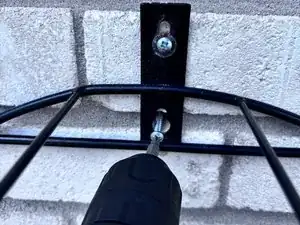
Use an electric drill to remove the old screws from the hose holder.
-
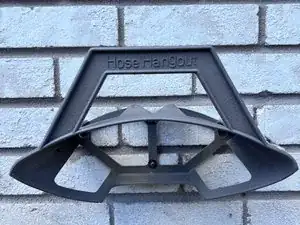
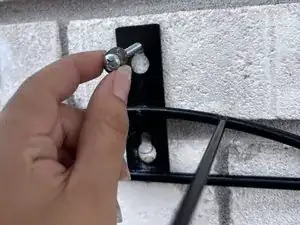
Remove the wall-mounted hose holder.
-
-
-
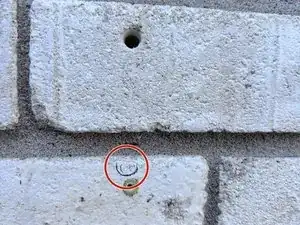
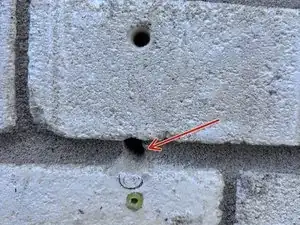
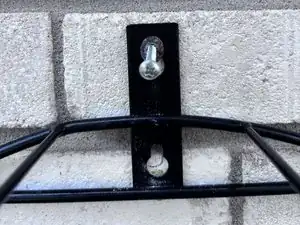
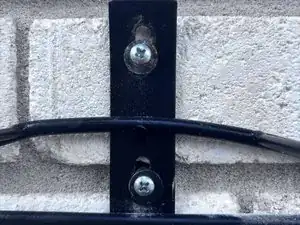
Align your hose holder with the mounting holes, and position the new nail anchor, washers, and screws into their respective spots.
-
-
-
Use an electric drill to drive the new screws through the mount into their placements to secure the hose holder to the wall.
-

To reassemble your device, follow these instructions in reverse order.
