Introduction

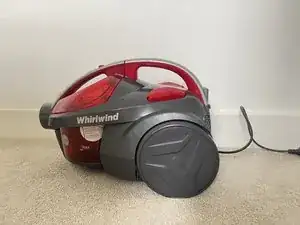
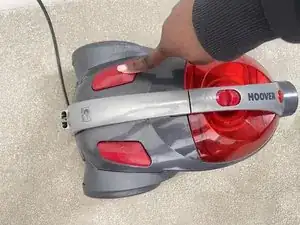
This comprehensive guide will provide you with easy-to-follow, step-by-step instructions on how to locate, remove, and replace the filter in your Hoover Whirlwind Bagless #SE71WRO1 vacuum cleaner. If the suction from your vacuum is reduced, it may be that the filter is full and needs to be cleaned or replaced. Use this guide to replace or clean the filter of your Hoover Whirlwind Bagless #SE71WRO1 vacuum.

A clean filter allows your vacuum to operate at peak efficiency, capturing dust, dirt, and allergens effectively. Be mindful when disassembling the filter box so as not to cause the latch to break. Whether you're a seasoned DIY enthusiast or someone new to household maintenance tasks, these instructions are designed to be clear and accessible, helping you to perform this important task with confidence!

  1. XvoXvYaEIBC3CX4b
    XvoXvYaEIBC3CX4b
    AmPWXGOBohRUkwdV
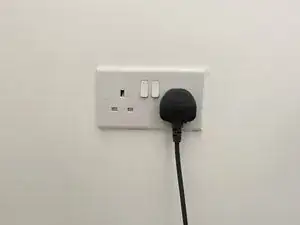
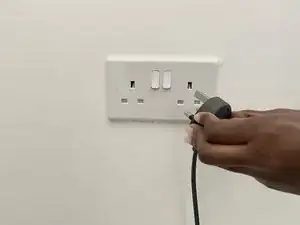
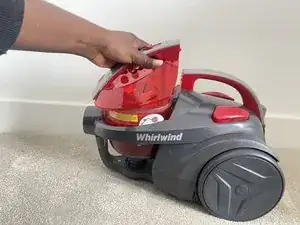
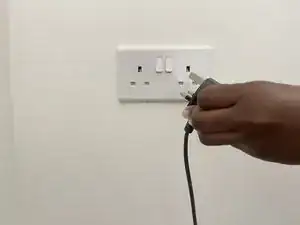
    • Unplug the vacuum cleaner from the power outlet to ensure safety while performing maintenance.

  2. 2AOPiktSGJxh4EWo
    2AOPiktSGJxh4EWo
    2QLEcKYou3LCIxga
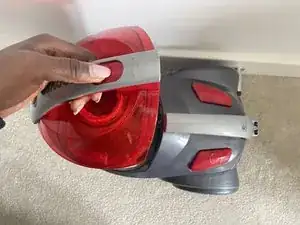
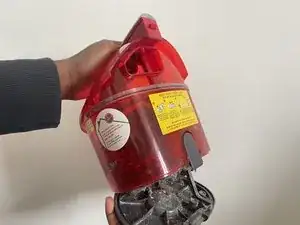
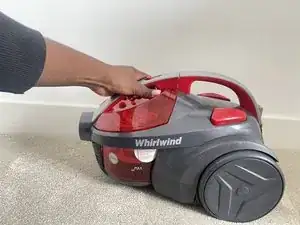
    • Slide the switch down on the dust bin container handle to release it from the vacuum.

    • Pull the dust bin from the vacuum.

  3. nalhSFT3VmAJ2EVM
    nalhSFT3VmAJ2EVM
    UxtcPEJP5y65jEAn
    1kLsMcsatatelmfZ
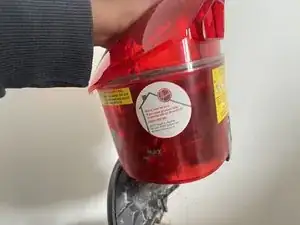
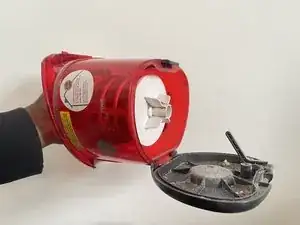
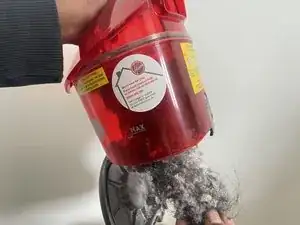
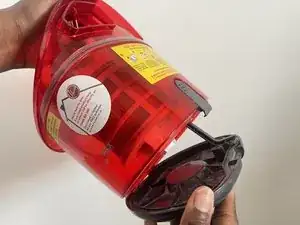
    • Hold the dustbin with one hand and press the button on the side to release the bottom lid and access the filter.

    • Do this over a trash can so the dust released from the bin doesn't get on the floor or wherever you are working.

    • Don't force the lid open. When the switch is pushed down, the lid should come off easily.

  4. LNGxSU6wOqpHvKQ4
    LNGxSU6wOqpHvKQ4
    ysUhZfMUh3KasK5c
    qWhk6VVAcOTtWPWc
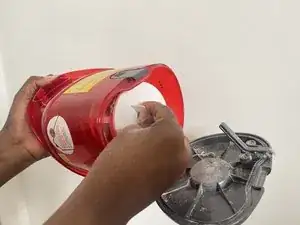
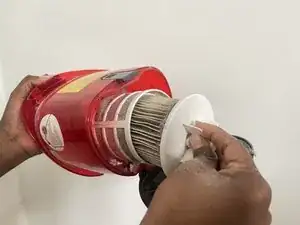
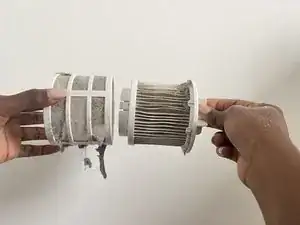
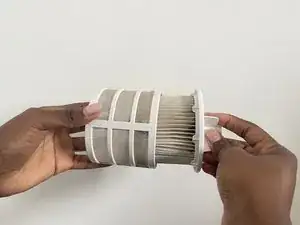
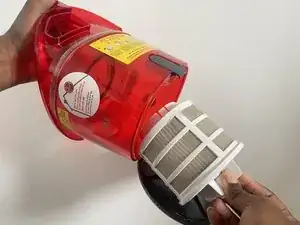
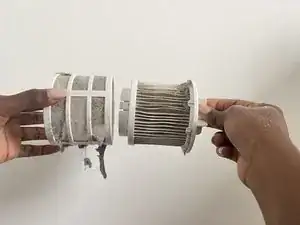
    • Slide the old filter out from the bin.

  5. 35sSjn3FGZYAMFBs
    35sSjn3FGZYAMFBs
    rNLImATvQD1yVlOJ
    HKcLVcPVGZIotiCE
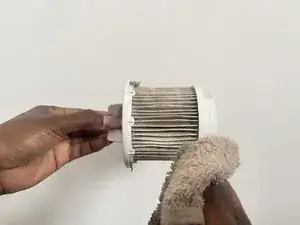
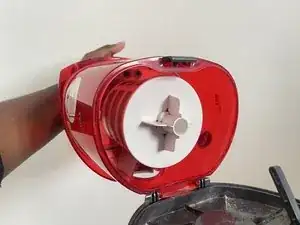
    • Before installing the new filter, clean the area where the filter sits.

    • Use a clean cloth or a small brush to remove any dust or debris.

    • Get in between the spaces of the filter as well.

    • This ensures the optimal performance of the new filter.

  6. F1wta5cwnrp3Q33b
    F1wta5cwnrp3Q33b
    ZJqvElQpWBt1pY1Q
    sjSOfFURjWwOXRoY
    • Insert the clean or new filter into the filter frame and clip it into place.

    • Make sure it is securely fitted and properly aligned.

  7. ELdU4HgsixkKdrVX
    ELdU4HgsixkKdrVX
    alVNwkaTMgvDwFZy
    vVBsNNWhOQ5Y6ZHk
    • Close the dustbin cover.

    • Reattach it to the vacuum cleaner

  8. 2IVj6vZvqnyAYtKq
    2IVj6vZvqnyAYtKq
    rimgtDx1h1DA4Zk4
    OO4ZJlRSjSqFNKIa
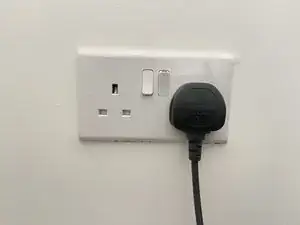
    • Plug the vacuum cleaner back into the power outlet.

    • Turn it on to ensure everything is functioning correctly and the vacuum suction has improved.

Conclusion

To reassemble your device, follow these instructions in reverse order.
Jessieao

Member since: 02/07/24

157 Reputation

0 comments