
Introduction
As the main circuit hub connecting different hardware components, the motherboard is the most important part of any electronic device. A broken motherboard in the Hisense Sero 8 tablet can result in serious problems like system crashes, non-booting, or total device incompatibility. Compared to buying a new tablet, replacing the motherboard can prolong the device's lifespan and restore its functionality.
A Hisense Sero 8 tablet's motherboard can be replaced step-by-step with the help of this guide. This guide will help ensure a successful replacement, regardless of whether you are experiencing hardware failures or need to upgrade. Even for people with little technical experience, it makes the process manageable by providing comprehensive instructions, the required equipment, and safety advice.
To avoid damaging delicate components, make sure you have the necessary equipment before starting and operating in a static-free environment. For further instructions on inspection, please visit the troubleshooting page. Let's begin the safe and effective disassembly of the tablet and motherboard replacement.
-
-
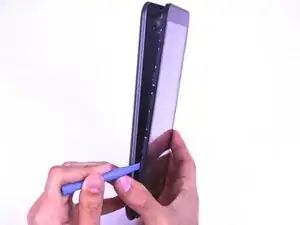
Remove the back cover of the device using the plastic opening tool.
-
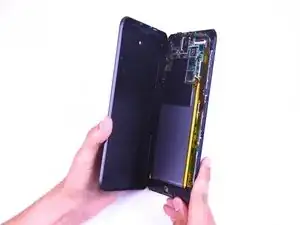
Pry open a corner of the device, then continue down the side with the tool to open the device.
-
-
-
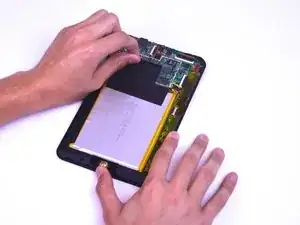
Remove the black tape located to the left of the device.
-
Remove the clear tape directly below the camera.
-
-
-
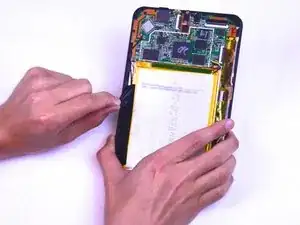
Remove the seven 4.43mm screws located at the top of the device using the Phillips #00 screwdriver.
-


To reassemble your device, follow these instructions in reverse order.