Introduction
Have you ever had a loose wire or bad jack on your headphone? This guide will help you repair your headphone jack like a new one.
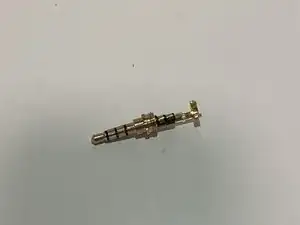
Before proceeding with the replacement, you need to be familiar with the parts as this will involve connecting the right parts with the right cables.
Tools
Parts
-
-
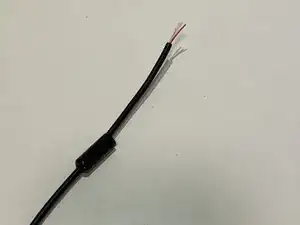
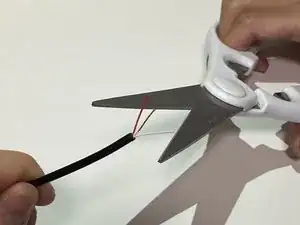
Cut off the old faulty headphone jack.
-
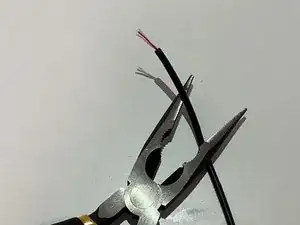
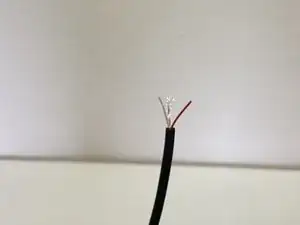
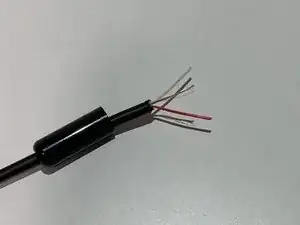
Use the wire strippers to strip off the outermost rubber sheathing to expose the individual cords inside.
-
-
-
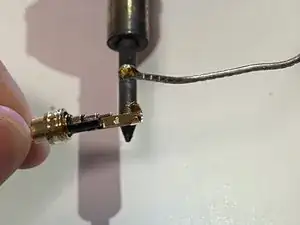
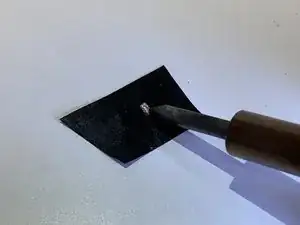
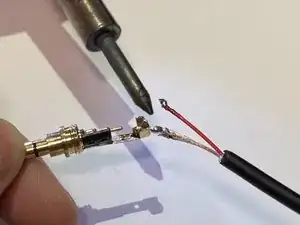
Begin adding solder to each of the contacts of the headphone jack.
-
Every so often wipe off the soldering iron on a piece of sponge/cloth.
-
-
-
Take the casing and thread it to the wire, make sure to put it right way around.
-
Trim excess wire. (optional)
-
-
-
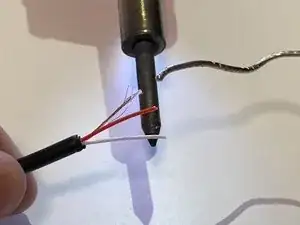
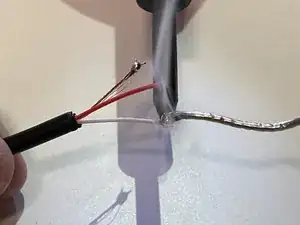
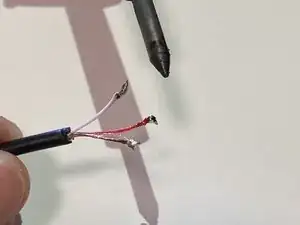
Add solder to the ends of each of the wires.
-
Give it a few seconds to make sure it gets through the coating.
-
-
-
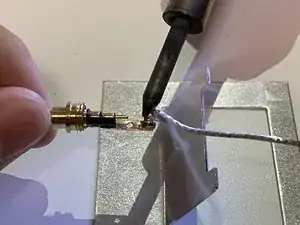
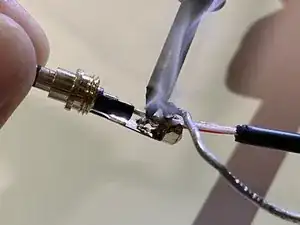
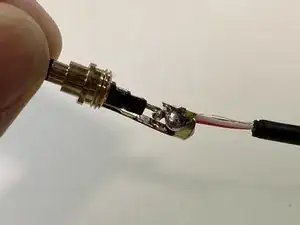
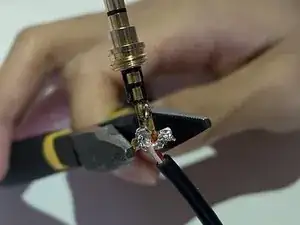
Solder the wire to the headphone jack.
-
Make sure each wire goes to the right connector.
-
Red and white wires connect to the signal. The remaining one connects the ground connector.
-
-
-
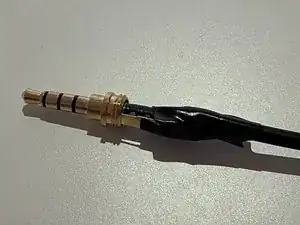
Wrap around the contacts with electric tape to prevent shorts.
-
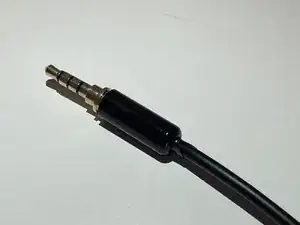
Move up the outer casing and screw it to the jack with pliers.
-
To reassemble your device, follow these instructions in reverse order.
