Introduction
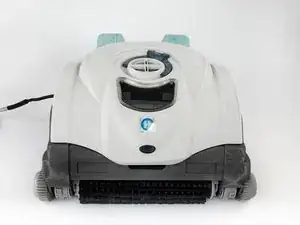
Is your Hayward SharkVac W3RC9740CUB Robotic Pool Cleaner not picking up dirt and debris from your pool as well as it used to? Have you had your cleaner more than 2 years? Then it's time you change your filter panels!
Replacing the filter panels will help ensure that the robot will effectively filter dirt and debris from the water. This keeps the robot performing at its best to help keep it from breaking down, thereby extending the life of the robotic unit.
This guide demonstrates how to replace the filter panels with step-by-step instructions.
Before you begin the repair, make sure the vacuum is powered off and unplugged.
Parts
-
-
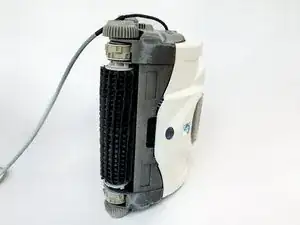
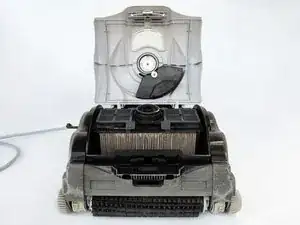
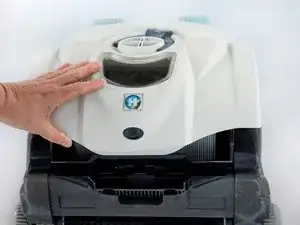
Gently turn the robotic unit onto its side with the unplugged power cord side facing up.
-
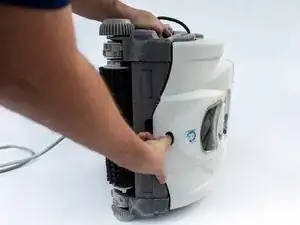
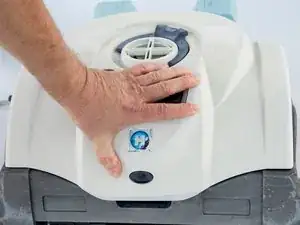
Keep your left hand on top of the unit for support while pushing the button in on the front.
-
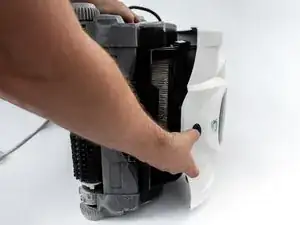
While holding the button in, lift the cover up.
-
-
-
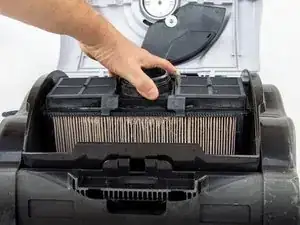
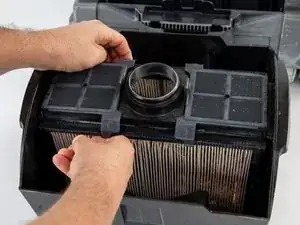
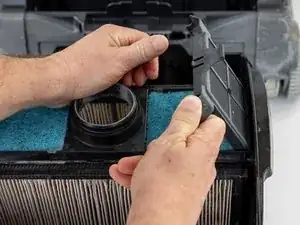
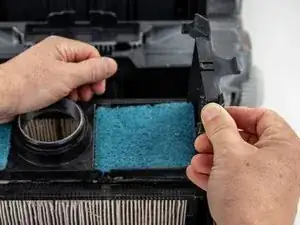
Using both hands, gently pull the filter door latches on the left out to the sides and lift the door upward.
-
-
-
Using both hands, gently pull the filter door latches on the right out to the sides and lift the door upward.
-
-
-
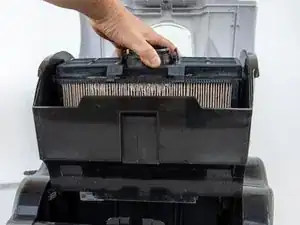
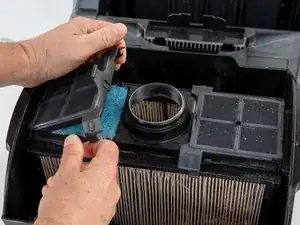
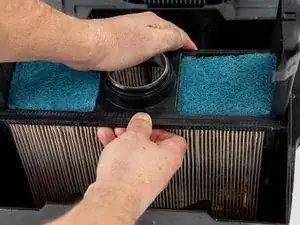
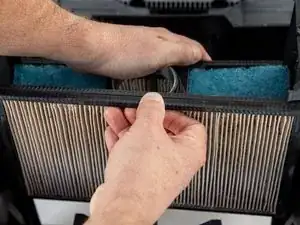
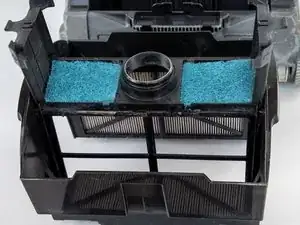
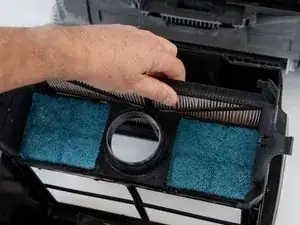
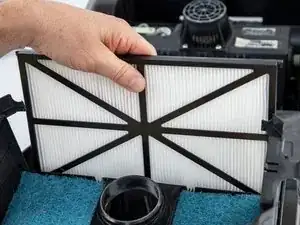
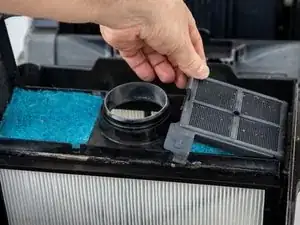
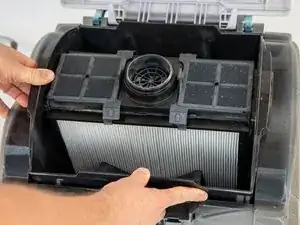
Gently wiggle the filter panel closest to you from side to side and pull it upward to remove it.
-
-
-
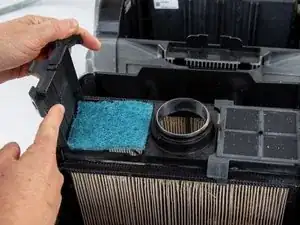
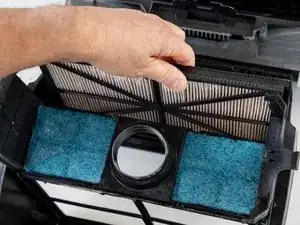
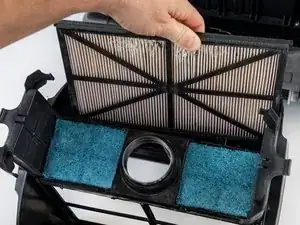
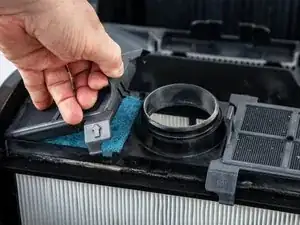
Remove the second filter panel on the opposite side by gently wiggling it from side to side and pulling it upward.
-
-
-
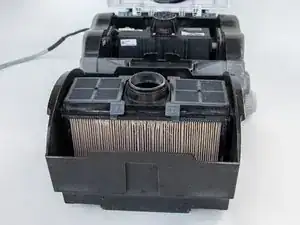
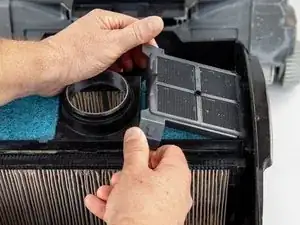
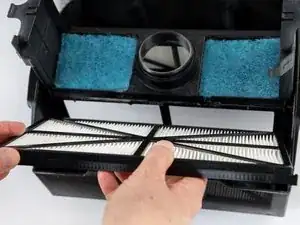
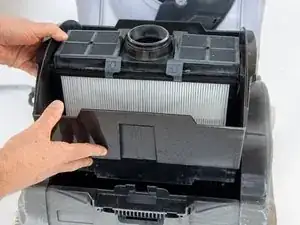
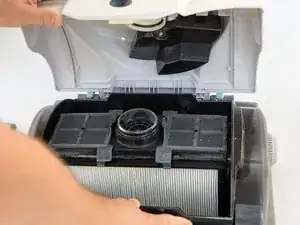
Insert the new filter panel furthest from you into the slot, making sure the black plastic is facing the center of the bucket.
-
-
-
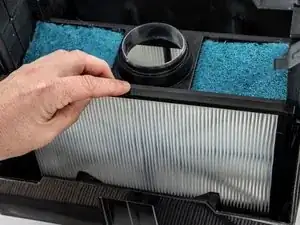
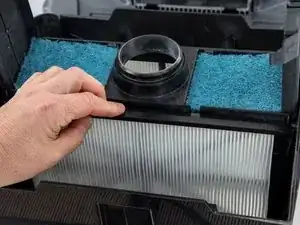
Insert the new filter panel into the slot closest to you, ensuring that the black plastic faces the center of the bucket.
-
-
-
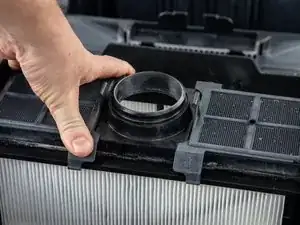
Bring the filter door latches down on both sides of the filter panels to lock them into place.
-


Now you have successfully changed the filter panels in your robotic vacuum pool cleaner. Happy swimming!