Introduction

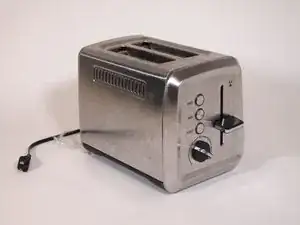
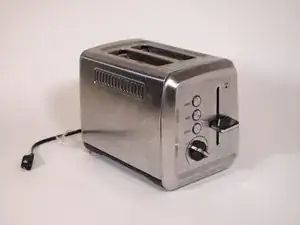
This guide is a complete disassembly guide for the Hamilton Beach 22794 2-slice toaster. Before you being make sure the device is not plugged into the wall. No special skills are needed for this disassembly as long as you can use a screwdriver!

  1. cmnrDtnXK23D1kcQ
    cmnrDtnXK23D1kcQ
    3g1EKC1ByVUK3aLF
    DNvRwMbB6rlkfZBF
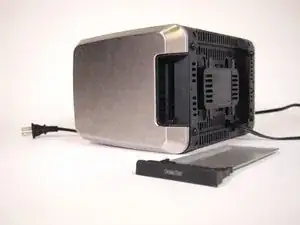
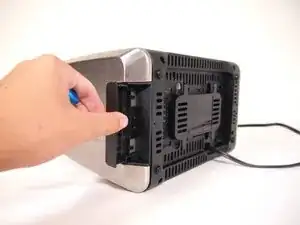
    • Remove the crumb tray from the back of the toaster.

    • It may require a firm tug on the tray.

  2. M11r5DAarE3UgR2S
    M11r5DAarE3UgR2S
    LZAuaAaQIWX2P3aR
    BU4FHovSeiTfthOA
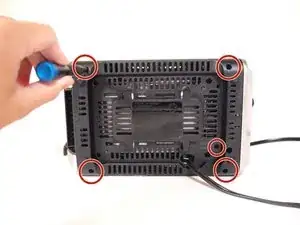
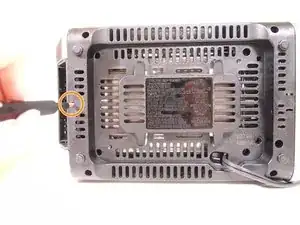
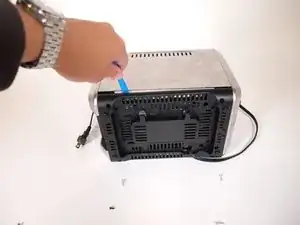
    • Turn the toaster on it's side and unscrew all 6 Phillips #0 screws from the bottom housing.

    • The first 5 are all 12.5mm screws

    • The last screw is on the left side and measures 10 mm.

    • One of the screws is of a different color on the LEFT side.

  3. eEbKCkhuHpJ3knKd
    eEbKCkhuHpJ3knKd
    RARxsJOobyos1qxx
    xVFL1QUQqLLNSsd6
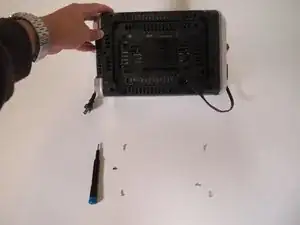
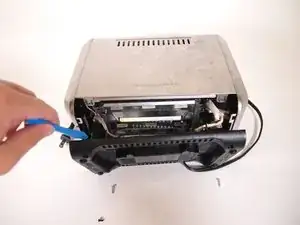
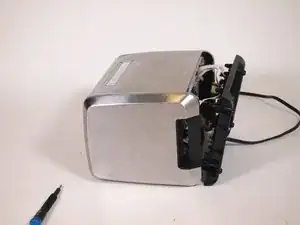
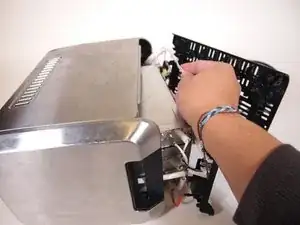
    • Remove the bottom housing of the toaster.

    • This may require a small plastic spudger if it's not easily coming apart.

  4. TRRLtmuFLIHMCUVN
    TRRLtmuFLIHMCUVN
    e6aY2t1A1wMyXYMc
    4xRcDGVoQ3KeorIX
    • As you're removing the bottom, make sure to move any brackets out of the way and unclip the white cable.

    • Pull the cable firmly up & out to free it from the clips.

  5. PkmSsLFQyEAsZBNQ
    PkmSsLFQyEAsZBNQ
    QoLZWiQkMTIyyfkX
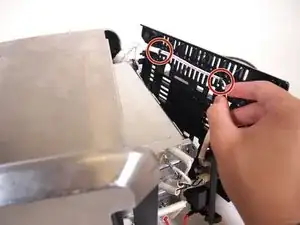
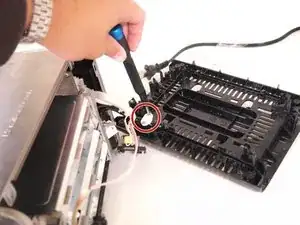
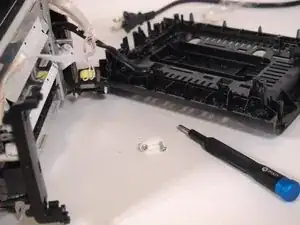
    • Gently lay the bottom housing down and unscrew the 10 mm screws securing the small white bracket with a Phillips #0 screwdriver.

  6. GbTQCZGxxuRlPnfw
    GbTQCZGxxuRlPnfw
    2jJNs6l2P1RfJ6Og
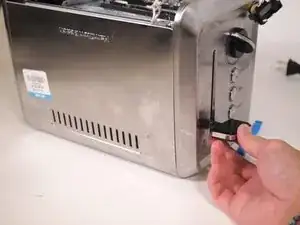
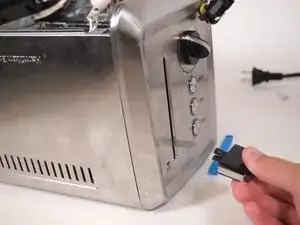
    • Go to the front of the toaster to remove the large square handle.

    • This requires a firm tug and possibly a slight twist to free it from the metal rod.

  7. 4xKFADMJ6kOWDgEI
    4xKFADMJ6kOWDgEI
    EHi5xDwaiCYo5k6F
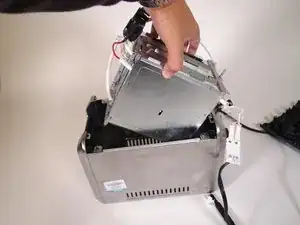
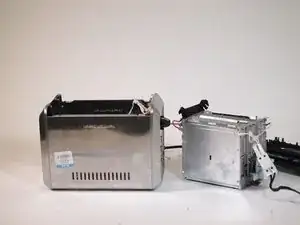
    • Now that the bottom housing and the handle are removed, you can pull up on the central unit and remove it from the top housing.

    • You may need to wiggle this unit to free it from any snagging/catching.

  8. OxYNagyr1Ua5iBGY
    OxYNagyr1Ua5iBGY
    mFKqxDZ4NGT2FZ35
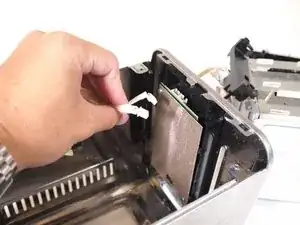
    • After removal, you will see two small wires plugged in to a board.

    • Firmly pull up on these wires to unplug.

  9. Ulhwy22OUVl5vILI
    Ulhwy22OUVl5vILI
    gdvHoT1G42n3qHSE
    FVkMR5bIknGFIR1x
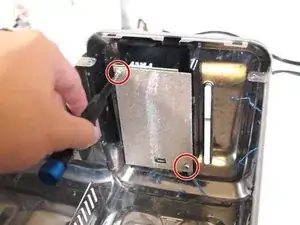
    • Unscrew the two Phillips #0 7 mm screws that secure the metal backing to the circuit board.

    • Remove the metal backing.

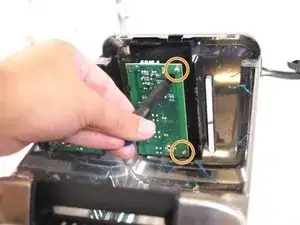
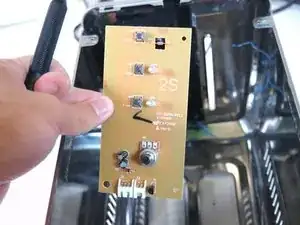
    • Unscrew the two 5 mm Phillips #0 screws and remove the board.

  10. aebZLQ3mZMyQVKw2
    aebZLQ3mZMyQVKw2
    Ln1NW26DJfYsQRiV
    wljn6xwwDIBvKRBg
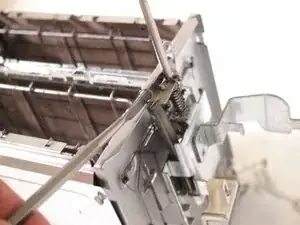
    • Using your metal spudger, unfold the metal bracket and unhook the spring so that you can free the press-down mechanism.

  11. FZwyhTquNpWDOFgK
    FZwyhTquNpWDOFgK
    GriseOp2LGxsrspH
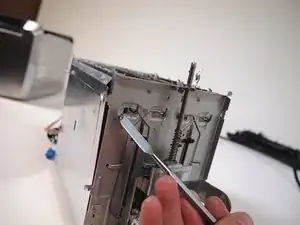
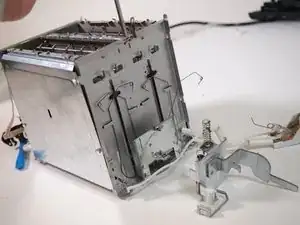
    • Unhook the other springs on the size and pull up on the metal rod to free the push-down mechanism from the center part.

  12. SEHOHjvfWrJlp5ai
    SEHOHjvfWrJlp5ai
    52FFrlJ3N4g6MFdW
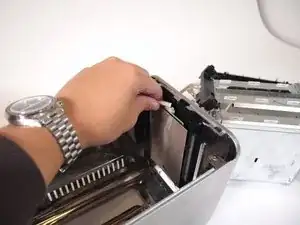
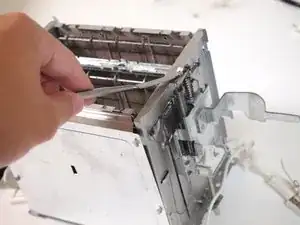
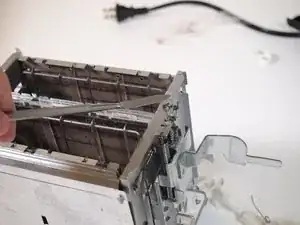
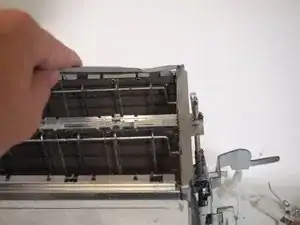
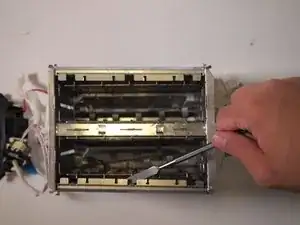
    • Using your metal spudger, unfold the metal tabs holding the bread-holding trays in place.

    • Pulling up, remove the bread-holding metal trays.

  13. M65PM6sTVNn1ICYt
    • Now that we know how to dissaseble the toaster, it's valuable to learn a little bit about how it functions:

    • The toaster constantly receives power when it's plugged in, but the electrical circuit remains inactive until you push down the handle.

    • Pushing down the handle causes two switches to close, completing the circuit and activating the toaster's power source.

    • The circuit breaks when a certain power level is reached in the timing chip on the circuit board. This signal weakens the electromagnet, releasing the handle and popping up the bread trays.

    • A potentiometer, linked to the control knob on the front of the device, regulates power flow to the chip.

    • Setting to maximum (level seven) restricts the power flow, prolonging toasting. On the other hand, choosing cancel reduces resistance, quickly ejecting the toast.

Conclusion

To reassemble your device, follow these instructions in reverse order.

Alex Beattie

Member since: 13/09/23

267 Reputation

One comment

According to an article on Reddit most of the buttons and the knob do nothing more that increase the time by 25%. Do you have anything more scientific that just a rudimentary test like the one on Reddit?
R Kilowatt -