Introduction
Is your hair dryer only blowing cold air? You most likely need a new heating element. Use this guide if you are looking to remove and replace a heating element for any standard electric hair dryer. You will save money and learn more about your handheld dryer. For information about soldering/desoldering, please review this guide as it does require specific skills. As always, please solder in a well ventilated area. If your hair dryer is sensitive, be sure sure to work with electrostatic discharge (ESD)-safe tools in an ESD-safe environment.
-
-
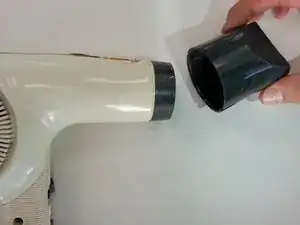
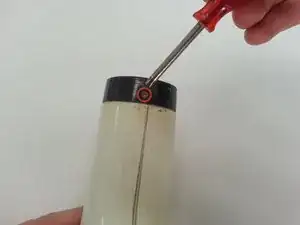
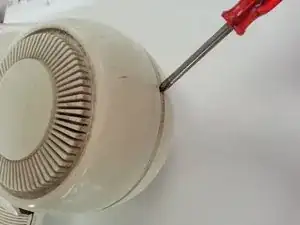
Using a screwdriver, remove the screw located underneath the air concentrating nozzle. This screw attaches the hair dryer body to the hair dryer grating.
-
-
-
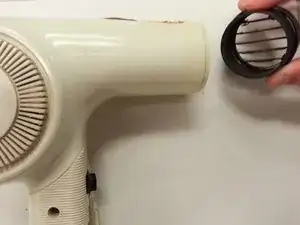
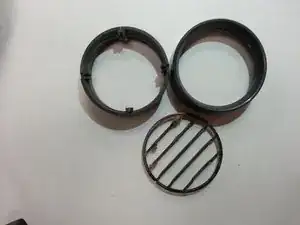
Detach the hair dryer grating from the body by gently twisting the grating from side to side.
-
-
-
Using the Phillips #1 screwdriver remove the two screws holding the handle of the dryer together.
-
-
-
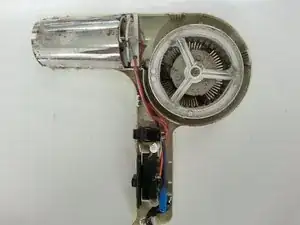
Carefully separate the plastic casing using a spudger. Your hairdryer should now be disassembled into two large halves.
-
-
-
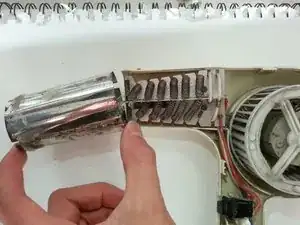
Remove the heat-element housing by sliding it off of the dryer in the direction away from the handle.
-
-
-
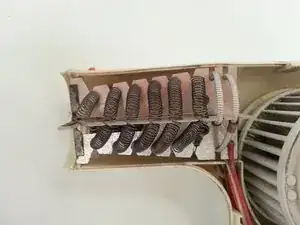
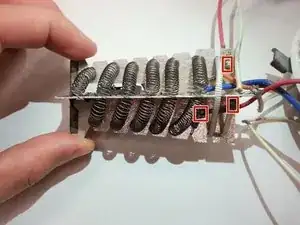
Isolate the heating element.
-
Use a desoldering wick and soldering iron to desolder the wires.
-


To reassemble your device, follow these instructions in reverse order. Make sure wiring is enclosed in the body of the hair dryer, and the heating element casing is attached properly before screwing it closed.