
Introduction
Use this guide to remove and replace the sensor array in an HTC Vive.
You'll need a narrow, long-shaft driver to reach some of the screws in this guide.
Parts
-
-
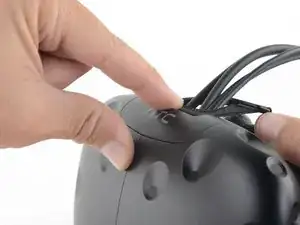
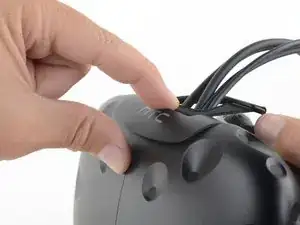
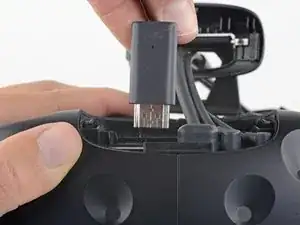
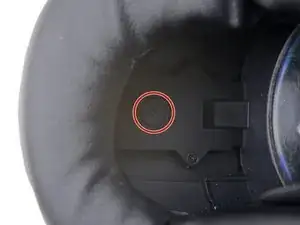
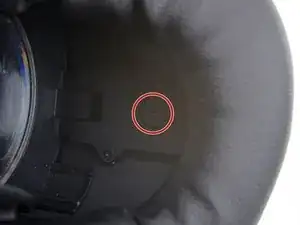
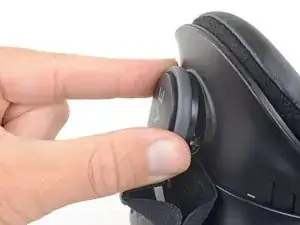
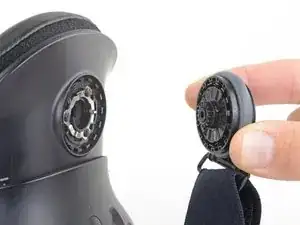
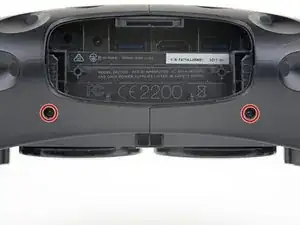
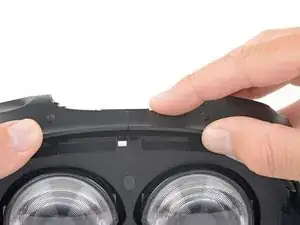
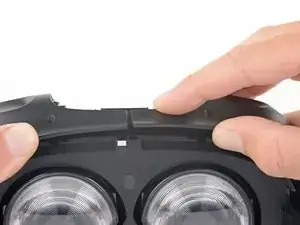
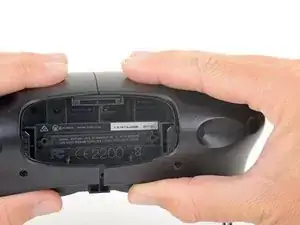
Place a finger on the top edge of the compartment cover assembly and slide the assembly toward the front of the Vive until it comes loose from the headset.
-
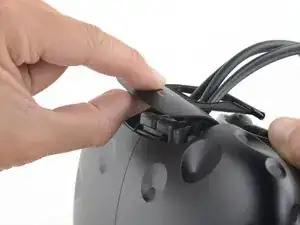
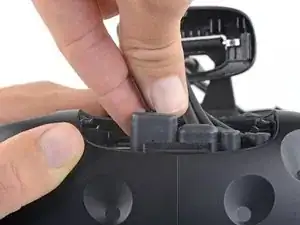
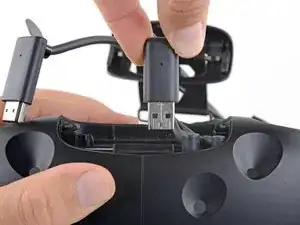
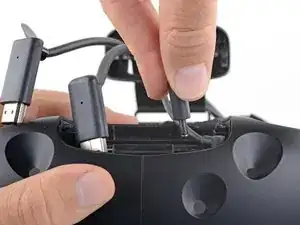
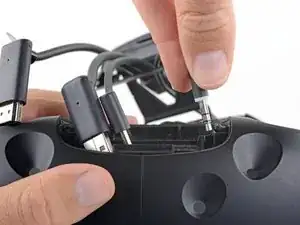
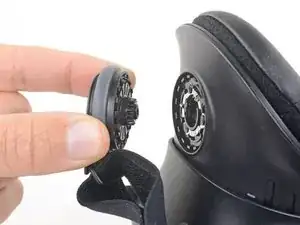
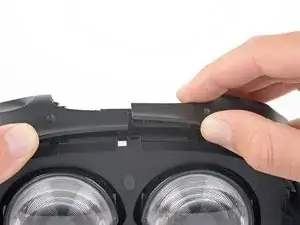
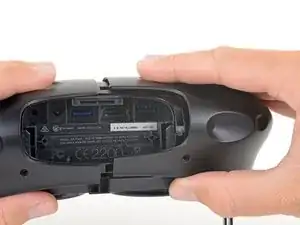
Lift the cover away from the headset and slide it up the cables until it's out of the way.
-
-
-
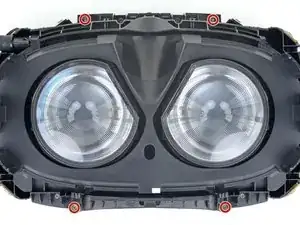
Use a T5 Torx driver to remove the two 12 mm-long screws securing the head strap mounts on either side of the headset.
-
-
-
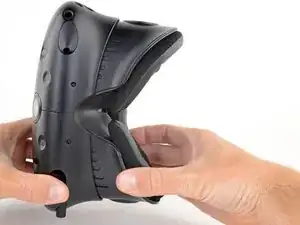
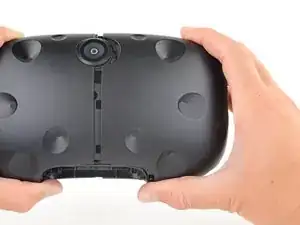
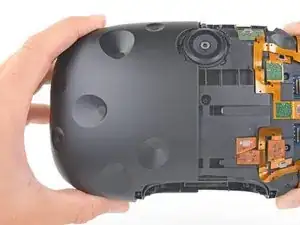
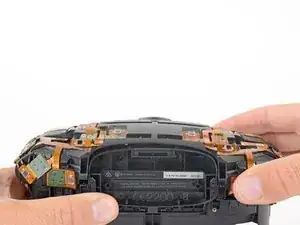
Grasp the top edge of the right half of the outer shell, behind the component cover and near the seam in the center. Pull it to the right and upward, away from the headset to release the clip securing that part of the shell.
-
-
-
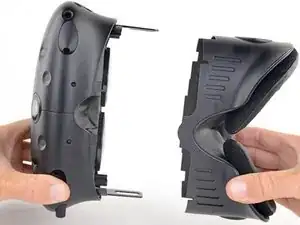
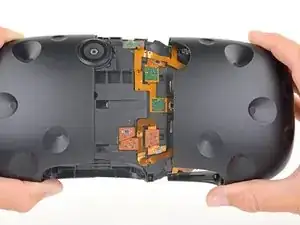
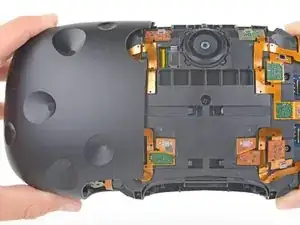
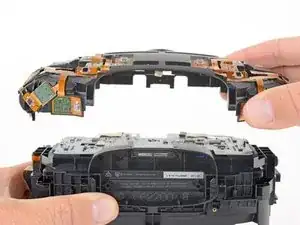
Grasp the right half the outer shell and pull it to the right and toward the front of the headset in a twisting motion until you feel the clips on the front of the cover release.
-
-
-
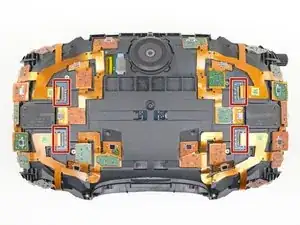
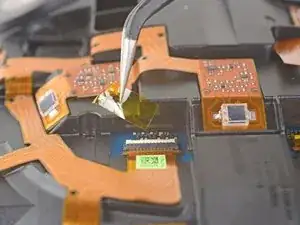
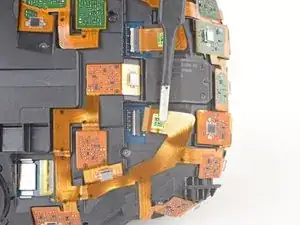
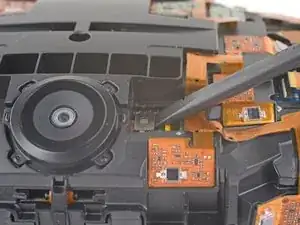
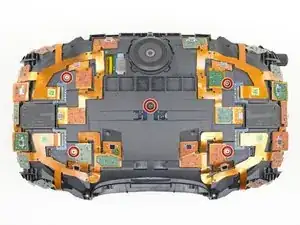
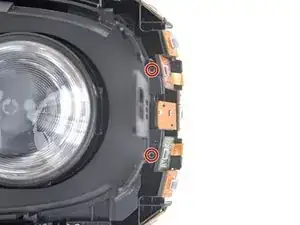
Use the pointed end of a spudger to flip up the small locking flap on one of the sensor array ZIF connectors.
-
Slide the cable straight out of its socket on the motherboard.
-
-
-
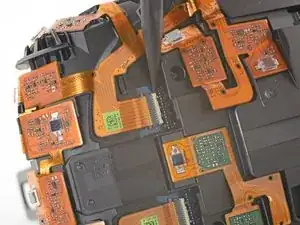
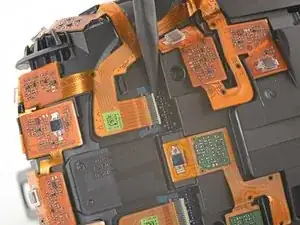
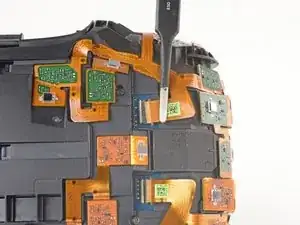
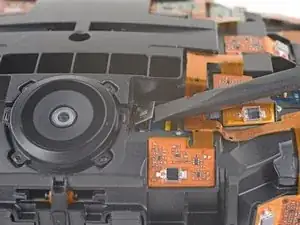
Repeat the previous step for the remaining three sensor array cables to disconnect the remaining cables.
-
-
-
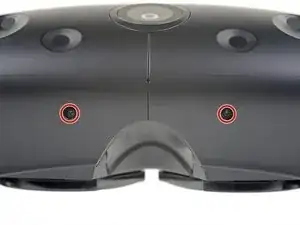
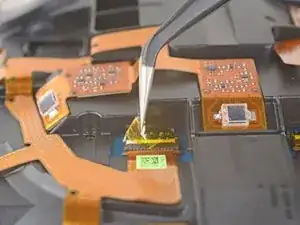
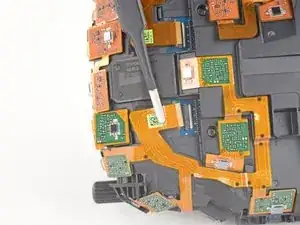
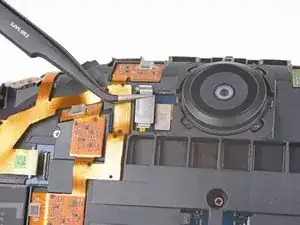
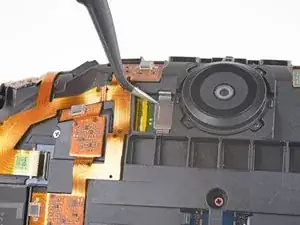
Use the flat end of a spudger to pry the camera cable connector straight up from its socket on the motherboard.
-


Compare your new replacement part to the original part—you may need to transfer remaining components or remove adhesive backings from the new part before installing.
To reassemble your device, follow the above steps in reverse order.
Take your e-waste to an R2 or e-Stewards certified recycler.
Repair didn’t go as planned? Check out our Answers community for troubleshooting help.

One comment
Herzlichen Dank für diese ausführliche Anleitung! Sie war sehr hilfreich und hat mir vermutlich eine Menge Zeit erspart!
Holger -