
Introduction
Use this guide to remove or replace the outer shell on an HTC Vive.
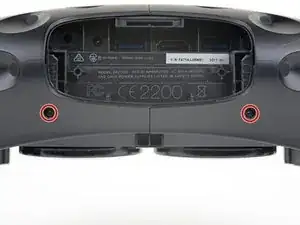
Tools
Parts
-
-
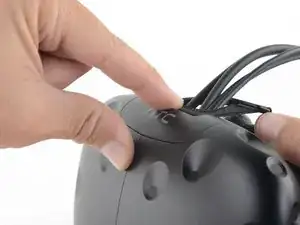
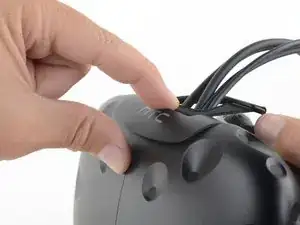
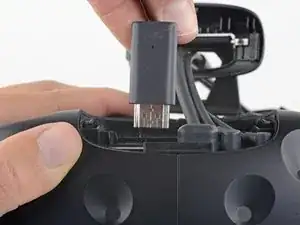
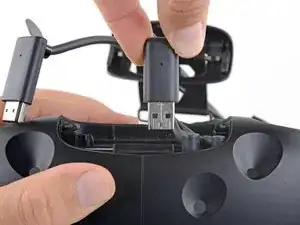
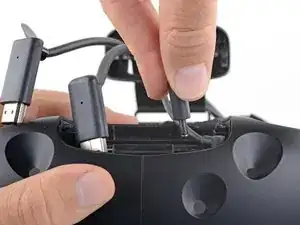
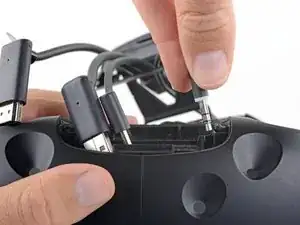
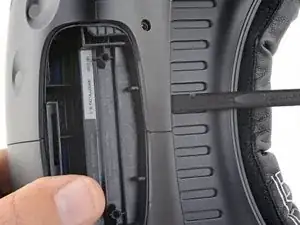
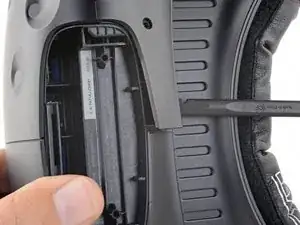
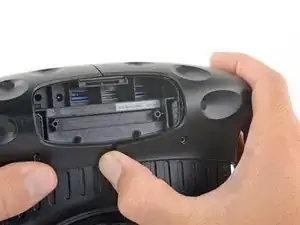
Place a finger on the top edge of the compartment cover assembly and slide the assembly toward the front of the Vive until it comes loose from the headset.
-
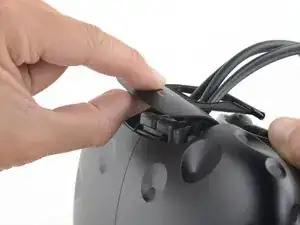
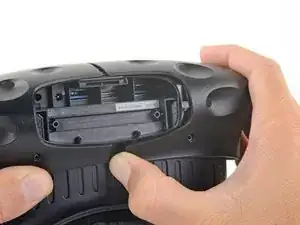
Lift the cover away from the headset and slide it up the cables until it's out of the way.
-
-
-
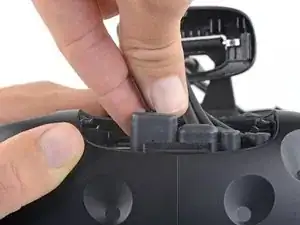
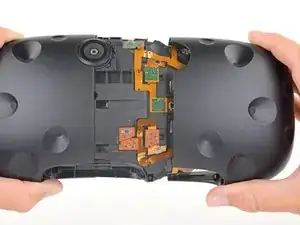
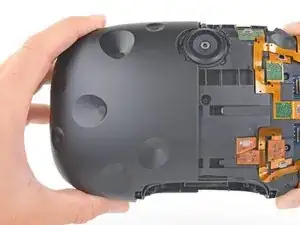
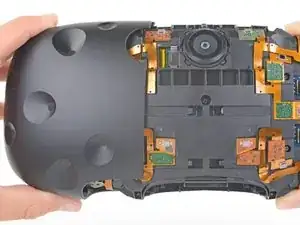
Use the flat end of a spudger to pry up the top edge of the right half of the outer shell, behind the component cover and near the seam in the center, until it is unclipped from the headset.
-
-
-
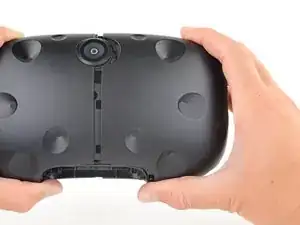
Grasp the right half the outer shell and pull it to the right and toward the front of the headset until you feel the clips on the front of the cover release.
-
If the shell is difficult to remove, try prying along the seam with the flat end of a spudger to release the clips.
-

Compare your new replacement part to the original part—you may need to transfer remaining components or remove adhesive backings from the new part before installing.
To reassemble your device, follow the above steps in reverse order.
Take your e-waste to an R2 or e-Stewards certified recycler.
Repair didn’t go as planned? Check out our Answers community for troubleshooting help.

5 comments
I was dusting my pc and in the process tripped over the cable for my vive and cracked the front. Does anyone have an idea on how to get a new outer shell?
I also had the same issue with the front left side getting a crack. I contacted the VIVE support and they said they don’t sell and have no intention on selling parts. Nancy S. suggested sending it in for 6-8 weeks for repair. This option did not work for me so i bought a spare headset on Ebay for parts and did it myself. My advise is to not trust HTC service. I’ve heard many stories of headsets returning over 8 weeks back with nothing fixed.
Dan -
That’s frustrating to hear. Hopefully the right to repair legislation changes this soon! Not providing parts to your customers is insane.
Richard -
Where do you buy the parts ?