Introduction
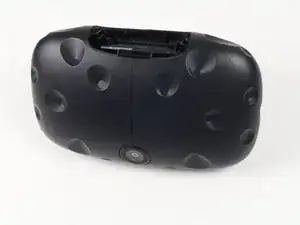
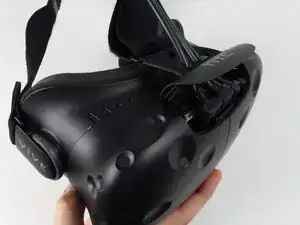
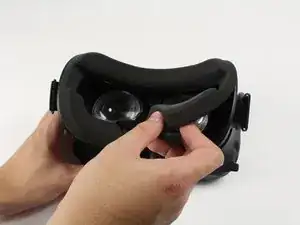
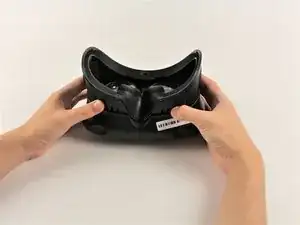
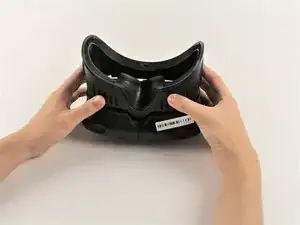
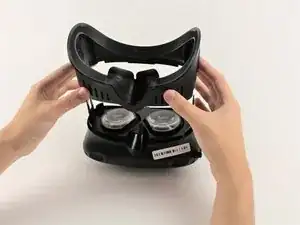
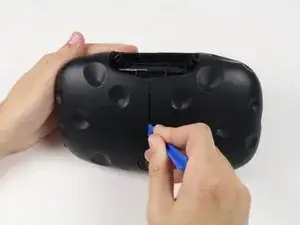
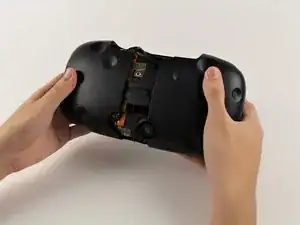
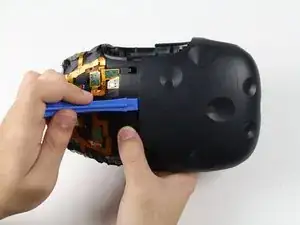
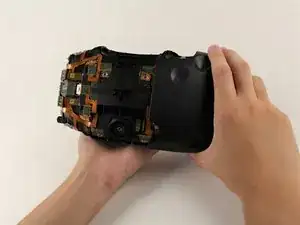
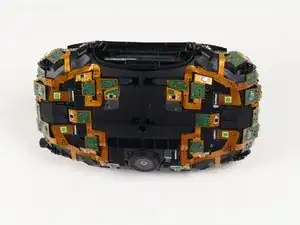
The HTC Vive's plastic outer shell can become scratched or cracked over time. This guide will show you how to remove the Vive's outer shell for repair or replacement.
Tools
Parts
-
-
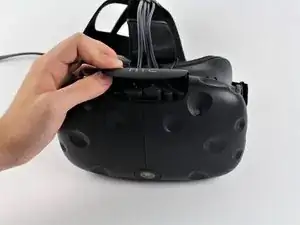
Slide the HTC panel covering the cables forward, away from the Vive.
-
Gently pull on each of the four connectors to remove the sound and Three-in-One cables.
-
-
-
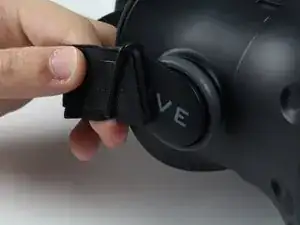
Undo the hook and loop tape on the straps.
-
Slide the ends of the straps through the hinge loops.
-
-
-
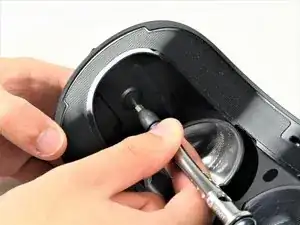
Use a T6 Torx Screwdriver to remove either of the two 12mm hinge screws holding the two hinges in place.
-
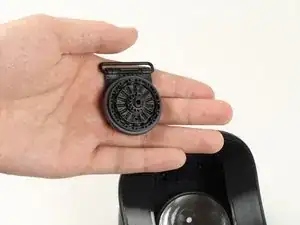
Allow the hinge to fall away once the screw is removed.
-
Repeat for the opposite side.
-
-
-
Orient the Vive so that the camera is facing towards you and the connector ports are facing upwards.
-
There are four screws you need to remove that are covered with small black stickers (two on top, two on bottom).
-
Use a plastic opening tool to gently pry up the left side of the outer sheath.
-
Slide the left side of the sheath outwards.
-
-
-
Slide a plastic opening tool underneath the right side of the sheath to remove any remaining glue.
-
Using the plastic opening tool, pry the right side of the sheath upwards slightly.
-
Using your hands, slide the right side of the sheath outwards.
-
To reassemble your device, follow these instructions in reverse order.
