Introduction
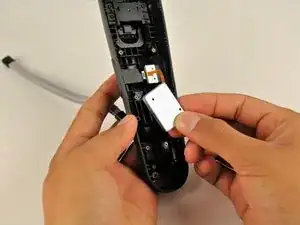
The HTC Vive controller grip buttons may be weak or faulty from extended use or from being dropped on its side. Use caution when removing the rubber tabs to avoid damage. This guide will show you how to replace the grip buttons.
-
-
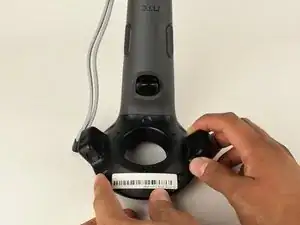
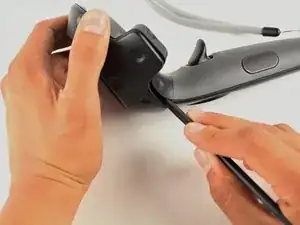
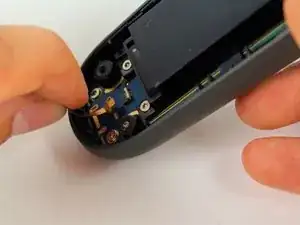
Turn over the Vive controller so that the bottom saucer is facing up.
-
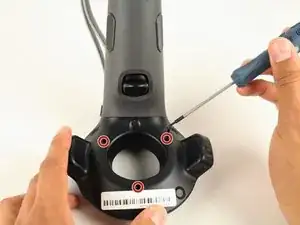
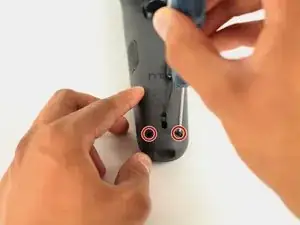
Use the T5 Torx screwdriver to remove three black 21mm screws from the bottom saucer.
-
-
-
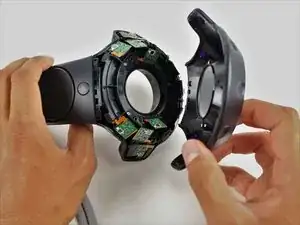
Use the nylon spudger to separate the top and bottom saucer covers all around the edges.
-
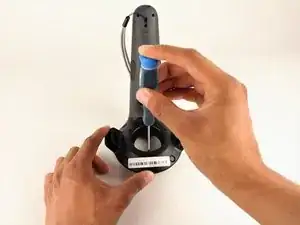
Remove only the top saucer cover by pulling up with your hand.
-
-
-
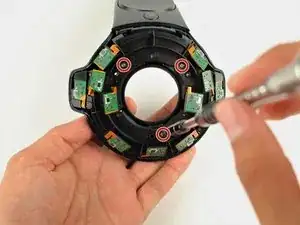
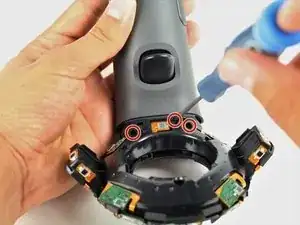
Use the Phillips 00 screwdriver to remove the three silver 12.8mm screws from the exposed upper sensor panel.
-
-
-
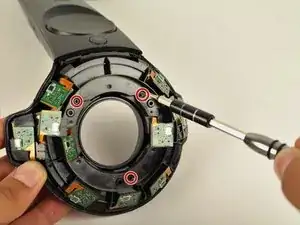
Turn over the Vive controller so that the exposed bottom saucer panel is facing up.
-
Use the T5 Torx screwdriver to remove the three black 5.2mm screws.
-
-
-
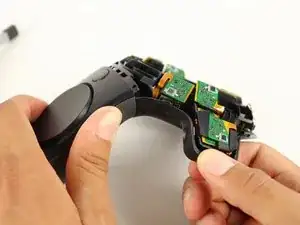
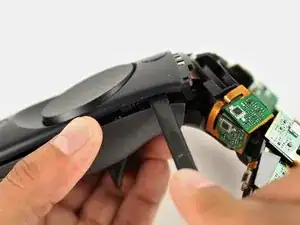
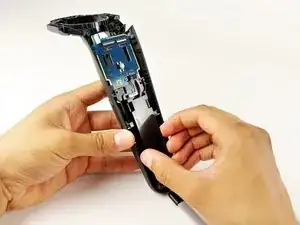
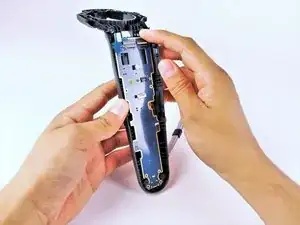
Use the nylon spudger to separate the front panel gently by running the spudger around the edges of the handle.
-
Gently lift the right side of the panel to the left.
-
-
-
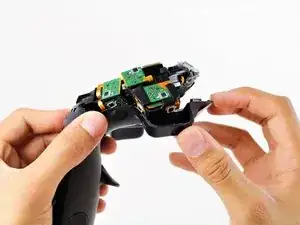
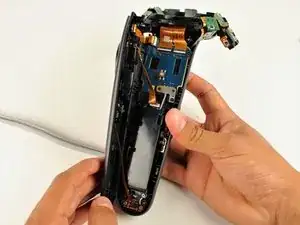
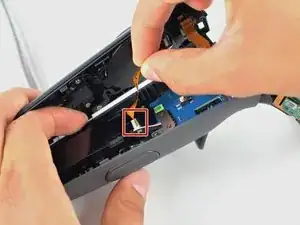
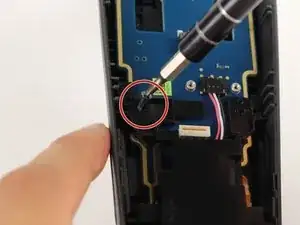
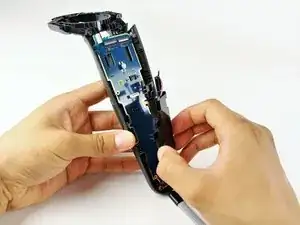
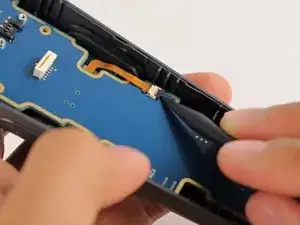
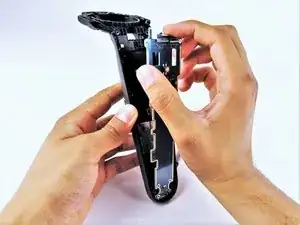
Disconnect the upper ribbon cable gently by pulling the ribbon up and away from the motherboard with two fingers.
-
-
-
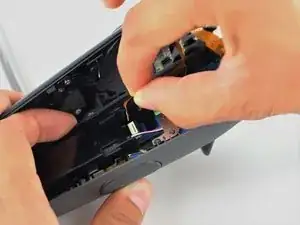
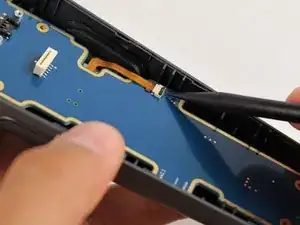
Disconnect the middle ribbon cable gently by pulling the ribbon cable up and away from the motherboard with two fingers.
-
-
-
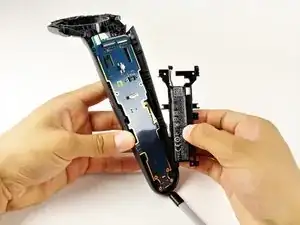
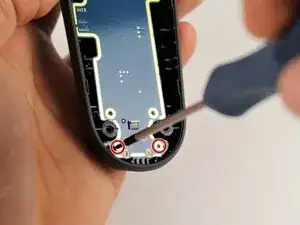
Use the nylon spudger to lift the white tab by 90 degrees.
-
Disconnect the bottom ribbon cable gently by pulling the ribbon cable down with two fingers.
-
-
-
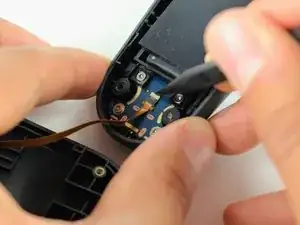
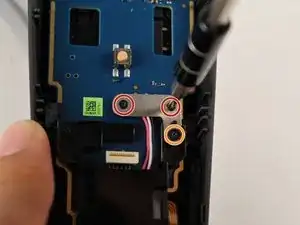
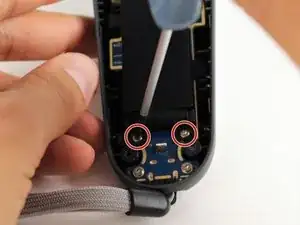
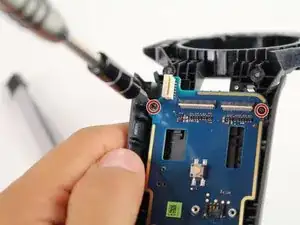
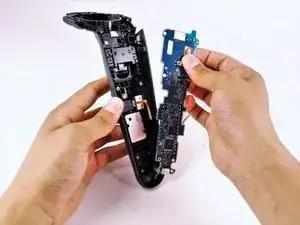
Use the Phillips 00 screwdriver to remove two black 2.8mm screws from the silver plate.
-
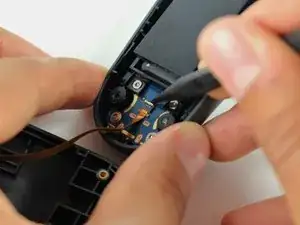
Use the Phillips 00 screwdriver to remove the black 5.8mm screw from the bottom right corner of the silver plate.
-
-
-
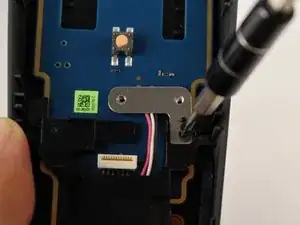
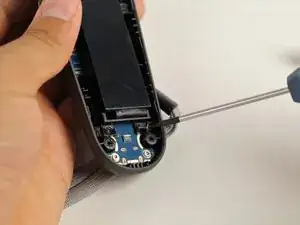
Use the Phillips 00 screwdriver to remove the black 5.8mm screw from the top left of the battery frame.
-
-
-
Use the T5 Torx screwdriver to remove the two silver 4.2mm screws from the bottom of the battery frame.
-
-
-
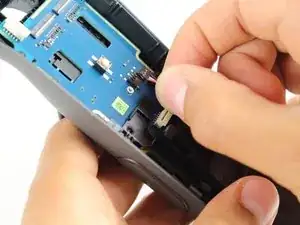
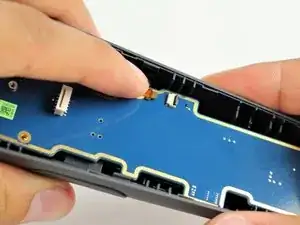
Disconnect the three-pin cable gently by pinching the cable with two fingers and pulling up.
-
-
-
Use the Phillips 00 screwdriver to remove the two black 5.8mm screws from the top of the motherboard.
-
-
-
Use the T5 Torx screwdriver to remove the two silver 4.2mm screws from the bottom of the motherboard.
-
-
-
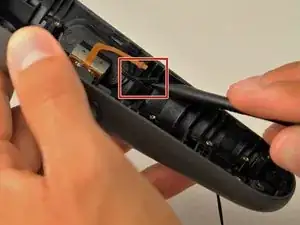
Use the nylon spudger to rotate the black tab up by 90 degrees.
-
Disconnect the ribbon cable carefully with your finger.
-
-
-
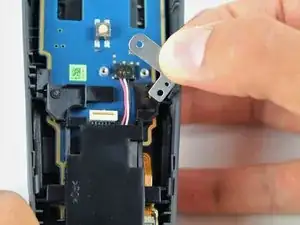
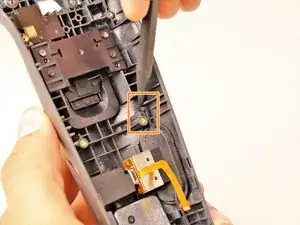
Use the Phillips 00 screwdriver to remove the two black 5.8mm screws from the silver rectangular plate.
-
-
-
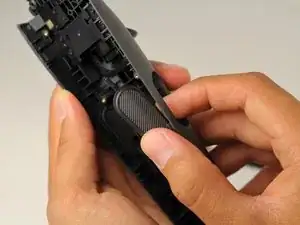
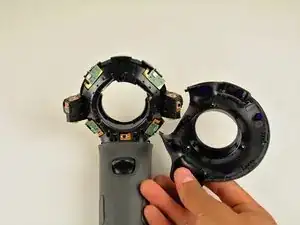
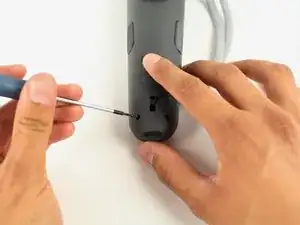
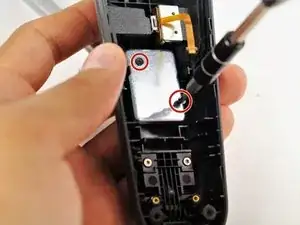
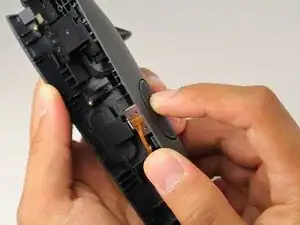
Use the nylon spudger to lift the bottom rubber tab on the inside of the right grip button.
-
Use the nylon spudger to lift the top rubber tab on the inside of the right grip button.
-
-
-
Push the grip button in with your finger until it pops out of its socket.
-
Repeat steps 23 and 24 to remove the left side grip button.
-


To reassemble your device, follow these instructions in reverse order.
2 comments
It’s all fine and dandy but this part is nowhere to be found
Hi, first of all ty for the tools and all the effort.
During disassembly my system button's 7 contanct fpc connector ripped apart and cant find any label on it.
I am trying to find a replacement part to re-solder it.
Can you help me with a name of that connector.
Thanks
Where can I buy new t5 21 mm screws? Mine are getting stripped out!
jeremyvanwoerden -
Where can you get replacement batteries?
Mike Justice -
The middle bottom screw may have some form of warranty sticker on it if you have a Vive Pro wand (which is purple). Mine had this. Easy enough to remove and get on with it.
sodiboo -