
Introduction
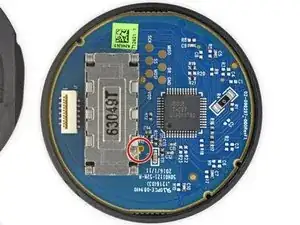
The HTC Vive controller trackpad may be faulty from extended or rough use and not detecting your fingers properly. The daughterboard interprets trackpad input and is solely dedicated to the trackpad's function. Minimize surface contact with the daughterboard's circuits. This guide will show you how to replace the trackpad daughterboard.
-
-
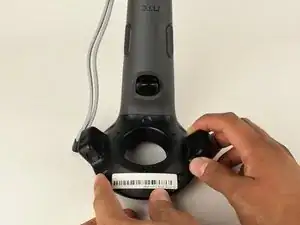
Turn over the Vive controller so that the bottom saucer is facing up.
-
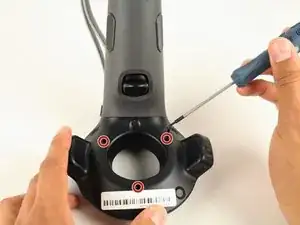
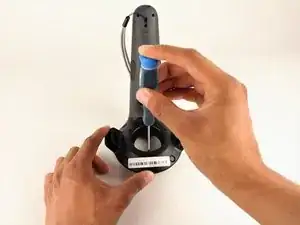
Use the T5 Torx screwdriver to remove three black 21mm screws from the bottom saucer.
-
-
-
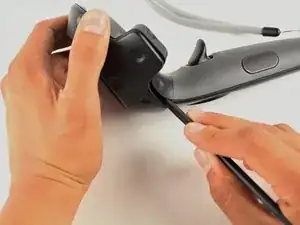
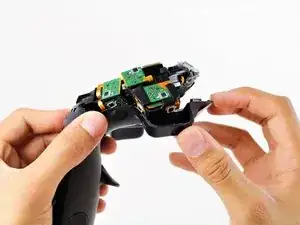
Use the nylon spudger to separate the top and bottom saucer covers all around the edges.
-
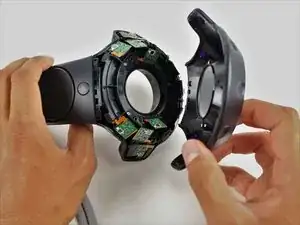
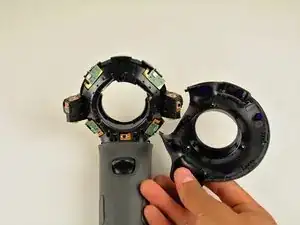
Remove only the top saucer cover by pulling up with your hand.
-
-
-
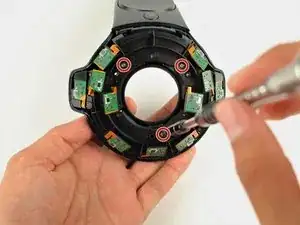
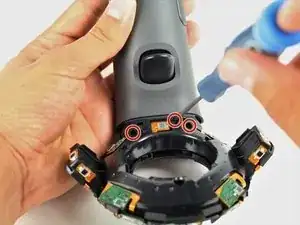
Use the Phillips 00 screwdriver to remove the three silver 12.8mm screws from the exposed upper sensor panel.
-
-
-
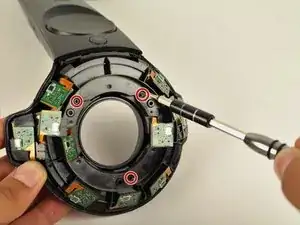
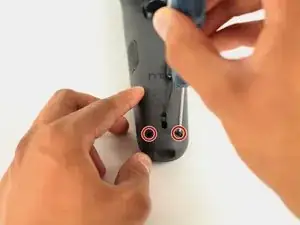
Turn over the Vive controller so that the exposed bottom saucer panel is facing up.
-
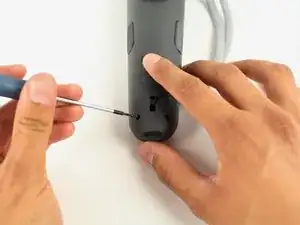
Use the T5 Torx screwdriver to remove the three black 5.2mm screws.
-
-
-
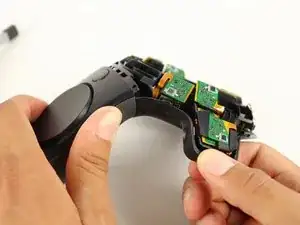
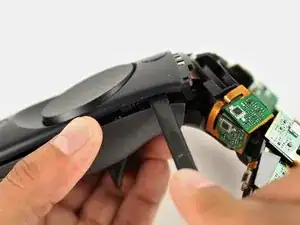
Use the nylon spudger to separate the front panel gently by running the spudger around the edges of the handle.
-
Gently lift the right side of the panel to the left.
-
-
-
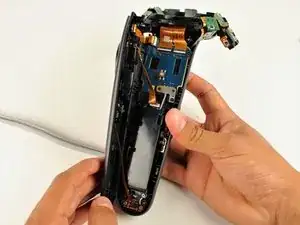
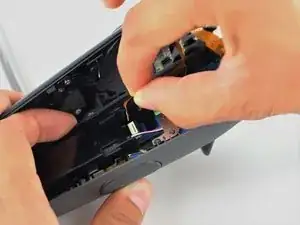
Disconnect the upper ribbon cable gently by pulling the ribbon up and away from the motherboard with two fingers.
-
-
-
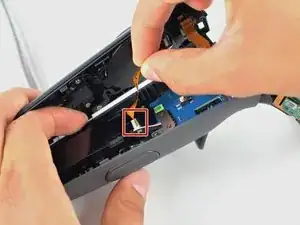
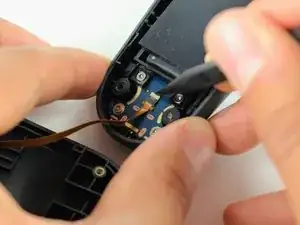
Disconnect the middle ribbon cable gently by pulling the ribbon cable up and away from the motherboard with two fingers.
-
-
-
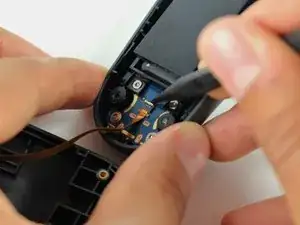
Use the nylon spudger to lift the white tab by 90 degrees.
-
Disconnect the bottom ribbon cable gently by pulling the ribbon cable down with two fingers.
-
-
-
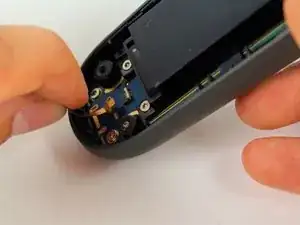
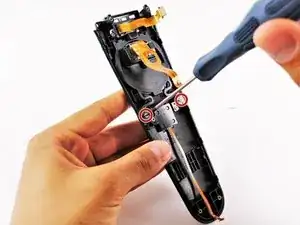
Use the T5 Torx head screwdriver to remove the two silver 4.2mm screws from the rear portion of the trackpad.
-
Lift the trackpad up and out of the panel using your hand.
-
-
-
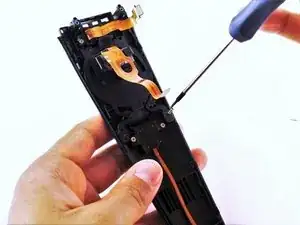
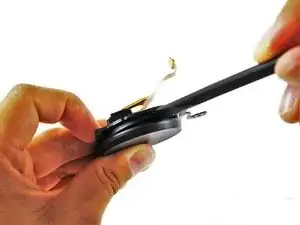
Use the spudger and place it in the groove that lies between the trackpad and its rear cover.
-
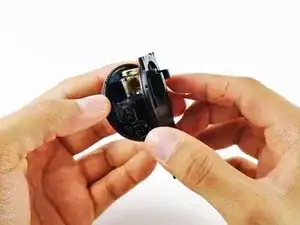
Pry open the rear panel by rotating the spudger clockwise, revealing the daughter board inside the trackpad.
-
-
-
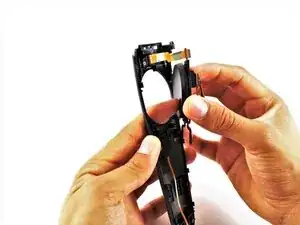
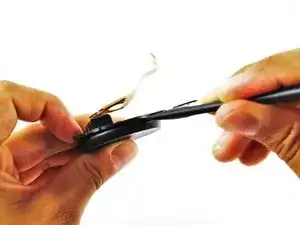
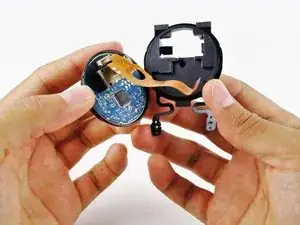
Separate the rear cover from the daughter board using your hands.
-
Be mindful of this tiny ribbon cable when reassembling with a working daughter board. It attaches to the larger ribbon cable, and it will break off if the larger cable is pulled away from the vibration motor.
-

To reassemble your device, follow these instructions in reverse order.
4 comments
Hello, today I’ve broke my controller, and the daughterboard has lived and deconnected. After, I tested to connect it and power it on, but no sound and he’s not tracked, can it get repaired?
Chausse -
This guide is nice, but where do we find the replacement parts ?
trash98 -
Hey, I just noticed this, but was the ribbon cable going to the haptic motor ripped? If you look at picture 1 of the step 11, there’s a small broken ribbon cable coming out of the haptic motor. You can see it again poking out in both pictures of Step 13. I just want to know if the haptic motor still works on this particular controller.
Kita -
Where can I buy new t5 21 mm screws? Mine are getting stripped out!
jeremyvanwoerden -
Where can you get replacement batteries?
Mike Justice -
The middle bottom screw may have some form of warranty sticker on it if you have a Vive Pro wand (which is purple). Mine had this. Easy enough to remove and get on with it.
sodiboo -