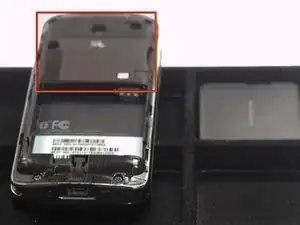
Introduction
A quick and dirty, tutorial to get your screen replaced and get you on with your life.
-
-
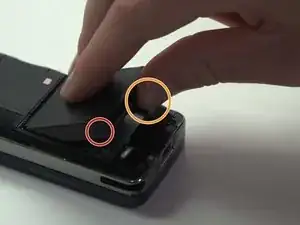
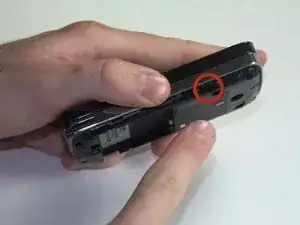
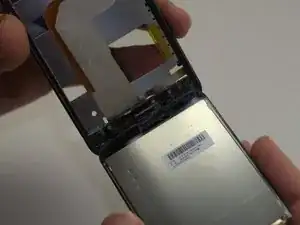
To remove the battery, place your thumb beneath the tab and begin to lift.
-
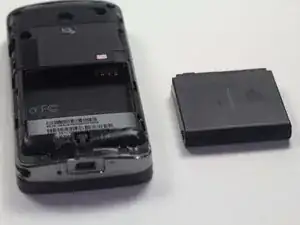
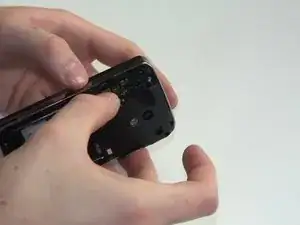
Pinching the battery, lift up at an angle from the bottom of the phone.
-
-
-
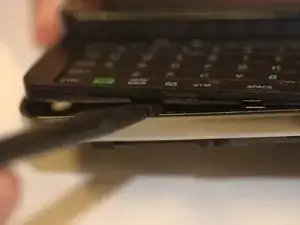
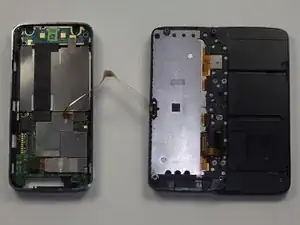
Insert your spudger along the slit between the keyboard and the external casing. Pry open as shown.
-
-
-
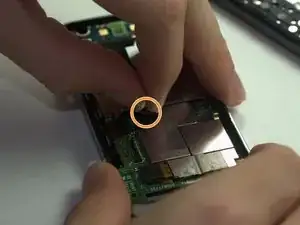
Remove the keyboard ribbon from the motherboard. To do this, simply grasp the ribbon at its base and pry it up at an angle. The ribbon has a metal end that is easily removed from the motherboard.
-
-
-
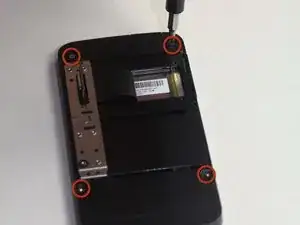
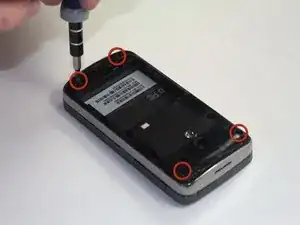
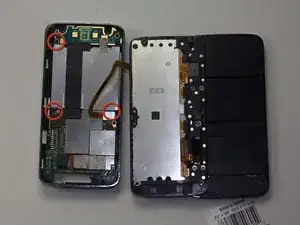
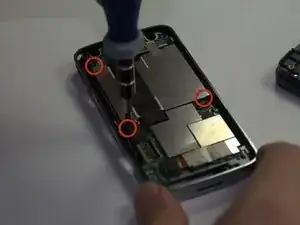
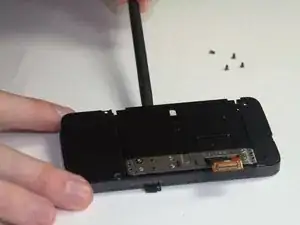
Using a Phillips Head size 0 screwdriver, remove the 3 screws holding in the battery compartment.
-
Remove the ribbon covering the battery compartment by pinching it at the base and lifting.
-
-
-
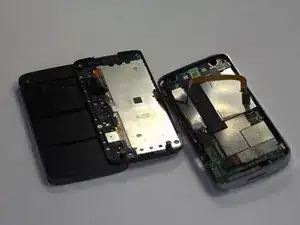
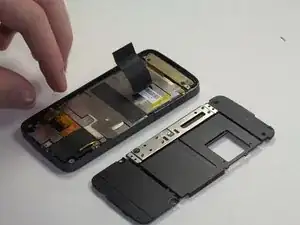
Move the black slider over to the side without the keyboard ribbon. This is done as to allow the display ribbon to slide out later.
-
Using a PH 0 screwdriver, remove the 4 screws on the black slider.
-
-
-
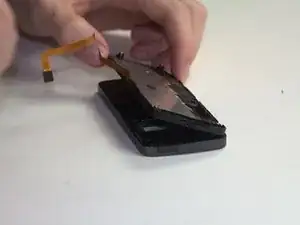
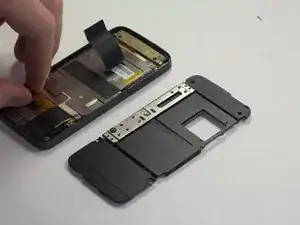
Pry the rear of the screen assembly off from the side opposite to the display ribbon using the spudger
-
-
-
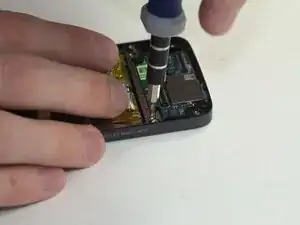
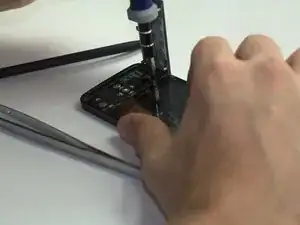
Remove the connected circuit board components behind the phone's navigation buttons.
-
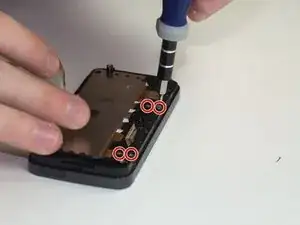
Remove the four circuit board screws using the PH #0 screwdriver
-
-
-
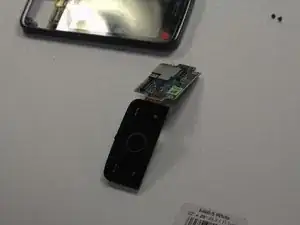
Push on the back of the board gently to remove the navigation buttons on the front.
-
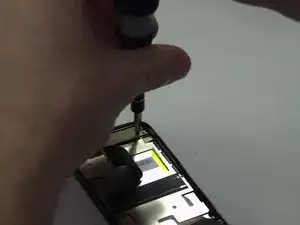
Flip the phone to the front and remove the four screws holding the circuit board to the phone frame using the PH #0 screwdriver.
-
-
-
Remove the two screws at the top of the screen using the PH #0 screwdriver.
-
Remove the beige piece after the screws have been removed as shown.
-
-
-
Push gently on the back of the screen to release the glue holding it to the phone frame.
-
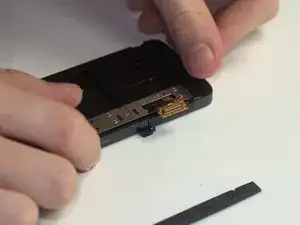
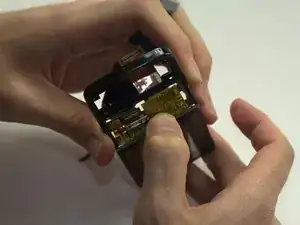
Peel the screen from the frame to completely separate the two components.
-


To reassemble your device, follow these instructions in reverse order.