
Introduction
-
-
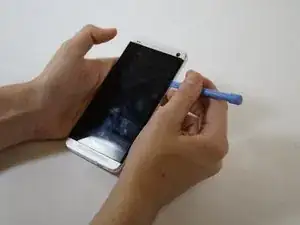
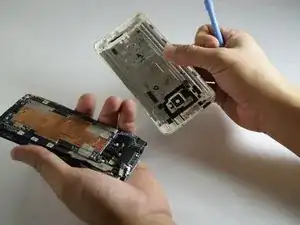
Use the plastic opening tool to scrape and loosen the adhesive from the crease surrounding the screen.
-
-
-
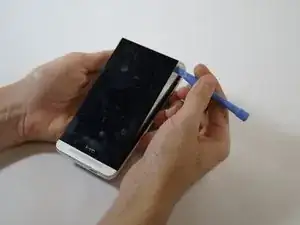
Wedge the plastic opening tool into the crack around the screen on the top, left and right sides.
-
-
-
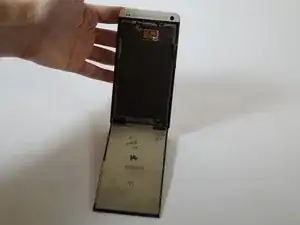
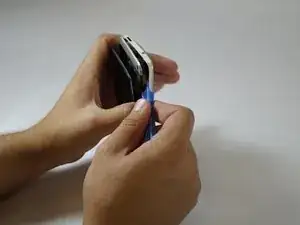
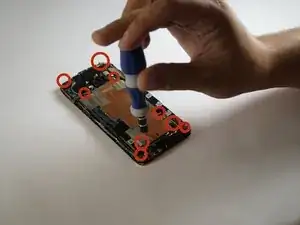
Gently remove the volume button. Using the plastic opening tool, loosen the back panel of the phone. Begin in the space where the battery was and work around the phone, following the crease of the back panel.
-
-
-
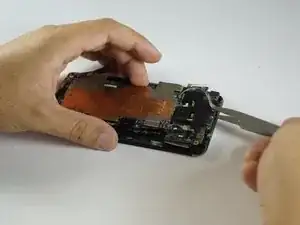
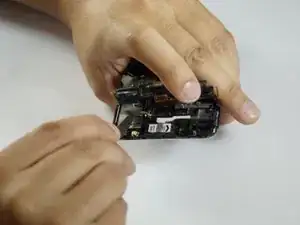
Remove the Camera by detaching the box from the frame (you will have to rotate the metal piece on the box to remove it).
-
Lift the camera out of the motherboard and replace.
-
To reassemble your device, follow these instructions in reverse order.

One comment
Will the adhesive be good enough to seal the device again?
krugern -