Introduction
-
-
Begin by removing the 3 screws on the bottom front of the laptop. A Phillips #00 works well here.
-
-
-
There are 3 screws hidden under the rubber pads. Using a pry tool or something thin like a credit card to remove the glued on rubber pads you will find one screw on the left back and 2 under the right pad. Phillips #0 works well to remove these larger screws.
-
-
-
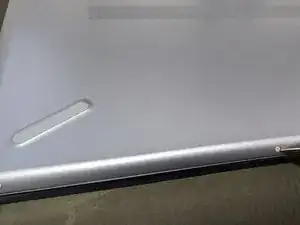
With a thin pry bar or credit card push in between the upper and lower parts of the body and you'll hear a clicking sound as the tabs release the 2 pieces. Go all around the laptop until the bottom cover is completely off.
-
-
-
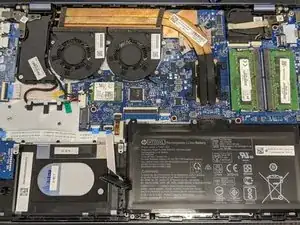
If you're upgrading the HDD remove the 2 screws on the exposed side and lift from that side. The other side is being held by 2 rubber nipples on a thin rubber strip that will bend as you pull the drive.
-


To reassemble your device, follow these instructions in reverse order.
3 comments
Good day,
Can we have the part number?
Hello, I’m not sure what part number you’re looking for. These instructions are for the disassembly of the laptop as stated in the title. Once disassembled, you can replace any parts you need.
This disassembly guide seems to only have the removal of the bottom cover and HDD, did I miss steps somewhere? Thanks!
John Doe -