Introduction

Use this guide to clean or replace the fan in your 14-inch HP Pavilion x360 laptop.

Note: This procedure was written using a model 14-dw1010wm HP Pavilion x360 14 Convertible Laptop PC, but is fully compatible with any 14-inch HP Pavilion x360 laptops with model numbers starting with 14-dw or 14m-dw.

Still under warranty? Contact HP to learn your warranty status, receive a repair under warranty if eligible, or for further warranty information.

This procedure requires removing the battery to disconnect it. Use care to avoid bending, twisting, or puncturing it—a charged lithium-ion battery can be very dangerous if accidentally punctured. If your battery looks puffy or swollen, take extra precautions.

  1. JXYbyAdMBFUuqoKj
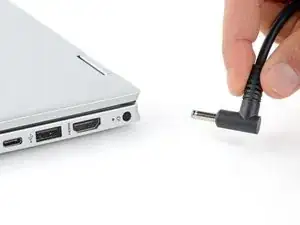
    • Fully shut down your laptop and unplug all cables.

  2. ckGCshZYMSxKm2aZ
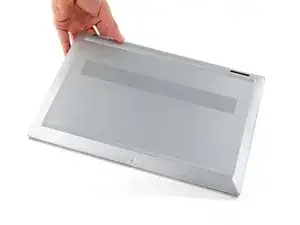
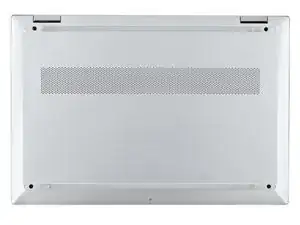
    • Flip your laptop over so the rubber feet are facing up.

  3. YdCAoufsPmXKqHHF
    YdCAoufsPmXKqHHF
    QhZgxWb1eUQLAngR
    l15JGoKTnCFt2B5B
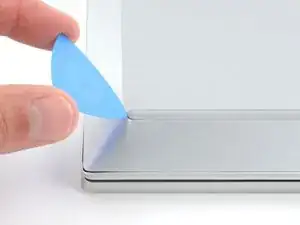
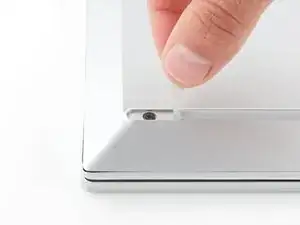
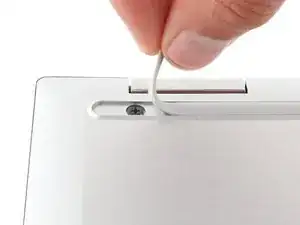
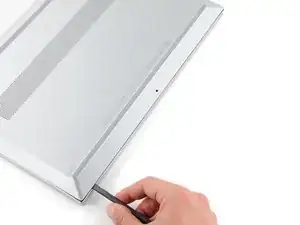
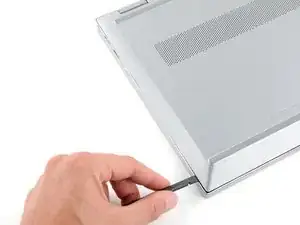
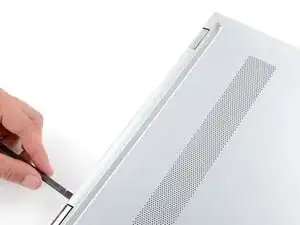
    • The ends of the rubber feet cover four back cover screws.

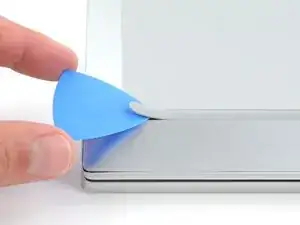
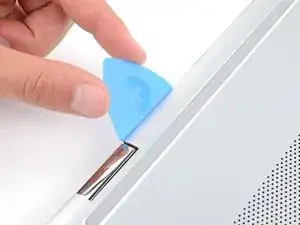
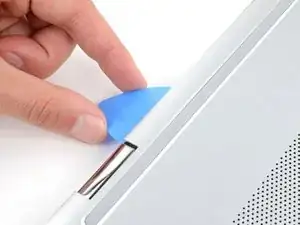
    • Use an opening pick to peel up an end of the front rubber foot until you can grip it with your fingers.

    • Make sure both the foot and its adhesive peel up together, as they need to be lifted up as one piece.

    • Peel up the end of the foot with your fingers just until the hidden screw underneath is exposed—you don't need to fully remove the foot.

  4. EtBCXg1JaSHxUQuW
    EtBCXg1JaSHxUQuW
    UGh65yNDIjoFs1uY
    PLQBQhuFXgEwbtk2
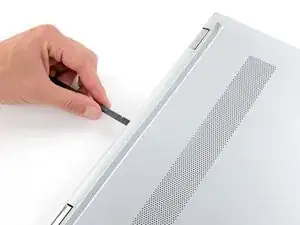
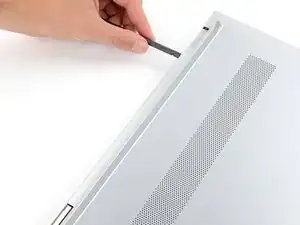
    • Peel up the other ends of the feet to expose the three remaining screws.

    • During reassembly:

    • Press down firmly on the ends of the feet to secure them into their recesses.

    • If the foot adhesive doesn't remain tacky enough to readhere, you can use double-sided tape such as Tesa Tape.

  5. X4uxePULU5wJIo23
    X4uxePULU5wJIo23
    m2uMxWOVldPNeSKM
    • Use a Phillips screwdriver to remove the five screws securing the back cover:

    • Four larger 6.7 mm-long black screws

    • One smaller 2.9 mm-long silver screw

    • Despite the standards, Phillips screwdrivers can vary in size and shape—two drivers labeled as the same size may fit differently in the same screw. Use the size that fits the most snug into the screw head to avoid stripping it.

  6. ABS2IPSZOnq3jODb
    ABS2IPSZOnq3jODb
    bAyHjw5WEANoHODM
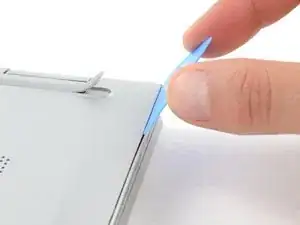
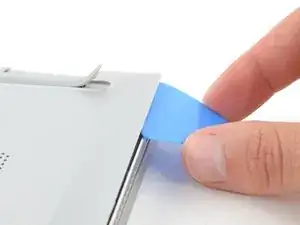
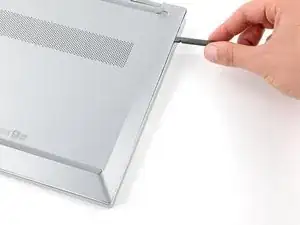
    • Tight plastic clips secure the back cover to the frame. You'll hear and feel the clips release as you work.

    • Insert the flat side of an opening pick into the seam between the top right corner of the back cover and the frame.

    • Pry up to release the clips securing the back cover.

  7. gsklHZYRPFeK3mRQ
    gsklHZYRPFeK3mRQ
    gVmI3Ng1FXJk23QF
    vTcbdaB5mZWMtTKU
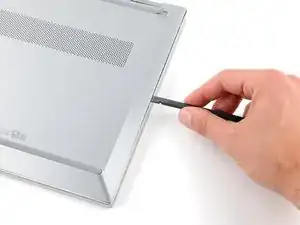
    • Insert the flat end of a spudger into the gap you just created.

    • Slide the spudger down to the bottom right corner to release the clips on the right edge.

  8. sY2eKimDeBbhHree
    sY2eKimDeBbhHree
    jqWk4Hrb5JFNnskt
    EjPuiDpjEyaBEEER
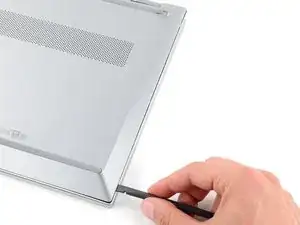
    • Insert the flat end of a spudger between the bottom right corner of the back cover and frame.

    • Slide the spudger to the bottom left corner to release the clips.

  9. EuRTXWaNPiafeLDM
    EuRTXWaNPiafeLDM
    1FeaJBi1dPBZXTAf
    L3PFQtBWHASFUHOG
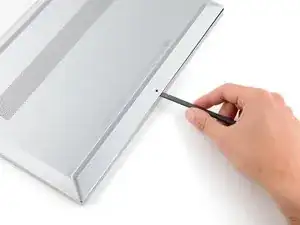
    • Insert the flat end of a spudger between the bottom left corner of the back cover and frame.

    • Slide the spudger up to the top left corner to release the clips on the left edge.

  10. Dv1qlFhVVYQfErgF
    Dv1qlFhVVYQfErgF
    aKThRwgmSMVOdfqQ
    • Insert the flat side of an opening pick into the seam between the top edge of the back cover and frame, just to the right of the left hinge.

    • Pry up to release the clips.

  11. MZGw4D1VUnmb4oX6
    MZGw4D1VUnmb4oX6
    6l6Q3fngSCZveAc1
    3JYZQHdyociWGOGp
    • Insert the flat end of a spudger into the gap you just created.

    • Slide the spudger towards the right hinge to release the remaining clips.

  12. TtIJJR2jQpQjpMpo
    TtIJJR2jQpQjpMpo
    yDgwMLJsawUsRvcq
    PNx5fSxXBjjCAHNc
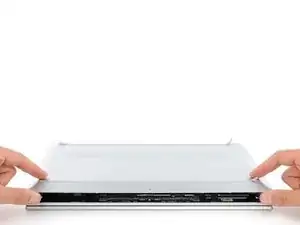
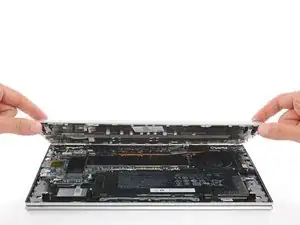
    • Remove the back cover.

    • To reinstall the back cover, lay it on the frame and firmly press down around the perimeter to engage all the clips.

  13. GXoVByLsHNPkRTPZ
    GXoVByLsHNPkRTPZ
    XUaqCJqt6CddWvmJ
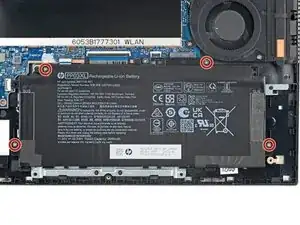
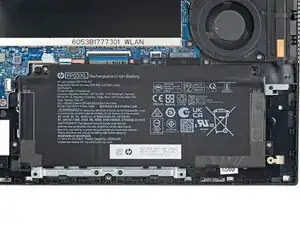
    • Given the design of the battery connector, the only way to disconnect the battery is to physically remove it.

    • Try not to bend, crease, deform, poke, or puncture the battery with your tool—a damaged battery is a potential fire hazard.

    • Use a Phillips screwdriver to remove the four 4.6 mm-long screws securing the battery.

  14. C5teCP42PxmSVwBW
    C5teCP42PxmSVwBW
    kvJITPw1u2XhYWv2
    e1bQHcLYgvkdAKm4
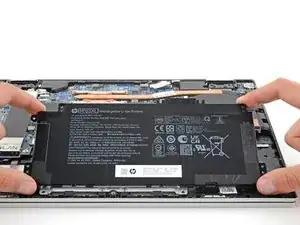
    • Gently lift the upper edge of the battery to disconnect its socket from the motherboard.

    • Some models may have a strip of tape covering the battery connector. Use a pair of blunt tweezers or your fingers to peel it up and remove it before removing the battery.

    • Remove the battery.

    • During reassembly, slide the bottom battery tabs into their slots on the frame, use the alignment posts to position the battery, and press down on the socket to secure it.

    • Never reuse a deformed or damaged battery—it's a fire hazard. Replace it with a new battery.

  15. lAEBdgoOieJbnlIp
    lAEBdgoOieJbnlIp
    mi3ZwJjH4OBMRF1Y
    HZgY2cydtqlKAQVy
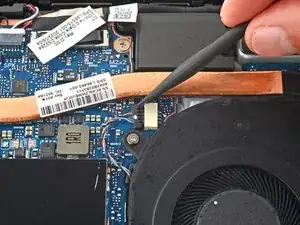
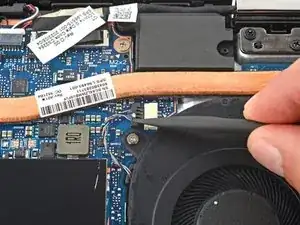
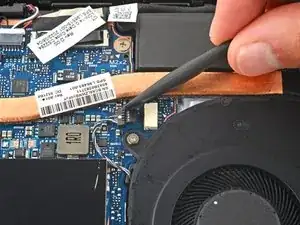
    • Use the pointed end of a spudger to push on each side of the fan cable connector, alternating sides to "walk" it out of its socket.

  16. 4MjCO5oVyhcKc3qA
    4MjCO5oVyhcKc3qA
    NEqWYPhO4Ol5kDEB
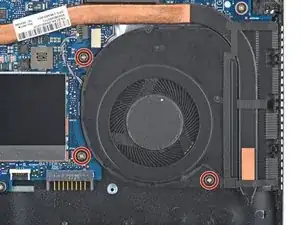
    • Use a Phillips screwdriver to remove the three 4.6 mm-long screws securing the fan.

  17. XGOObx4irKXJDEvI
    XGOObx4irKXJDEvI
    TwQtYGuuUsRHF4oD
    21B5SfoWhZkNJcYJ
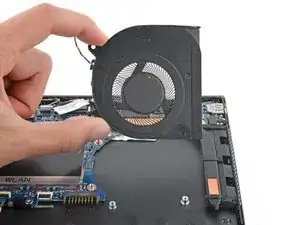
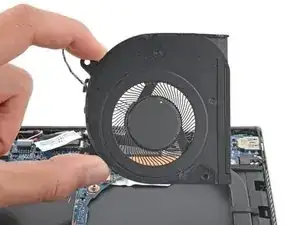
    • Slide the fan towards the bottom of the laptop and out from under the heatsink.

    • Remove the fan.

Conclusion

Compare your new replacement part to the original part—you may need to transfer remaining components or remove adhesive backings from the new part before you install it.

To reassemble your device, follow these instructions in reverse order.

Take your e-waste to an R2 or e-Stewards certified recycler. Depending on your region, used HP devices and parts can be returned for reuse or recycling through the HP Planet Partners program.

Repair didn’t go as planned? Try some basic troubleshooting, or ask our Answers community for help.
Spencer Day

Member since: 14/09/22

88286 Reputation

0 comments