Introduction
This is a step-by-step guide with images that will show how to open up your HP Pavilion G7-2289wm laptop and replace its fan and heat sink.
A heat sink is a crucial part of a laptop that will help keep your computer or laptop cool and properly working. But once it is at its max life span or it’s not properly cooling your laptop, you can easily remove and replace it to keep your whole laptop working properly.
In order to know if you’re in need of a fan and heatsink replacement ask yourself the following questions:
- Is my laptop struggling to cool itself down after moderate or intense usage?
- Is my laptop’s fan working properly?
When you know your laptop is in need of a replacement, now you need to open your laptop from the back where the battery is and from the front where the keyboard rests.
Parts
-
-
Located on the bottom side of your laptop, slide the battery release latch to the left, towards the center of the laptop.
-
Lift the battery up, and pull towards the center of the laptop to remove it.
-
-
-
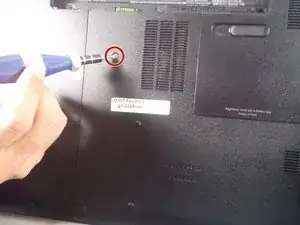
Loosen the screw that secures the service cover using a Phillips #0 screwdriver.
-
Lift the edge of the service cover up and forward until it’s at an angle to remove it.
-
-
-
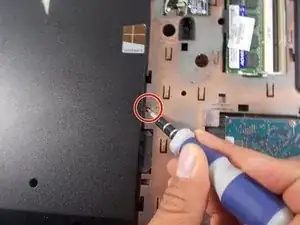
Remove the screw that secures the optical drive to the laptop using a Phillips #0 screwdriver.
-
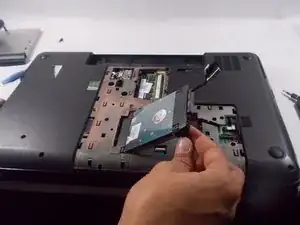
Slide the optical drive out of the laptop.
-
-
-
Loosen the screw that secures the service cover using a Phillips #0 screwdriver.
-
Pull the edge of the service cover toward you to remove it.
-
-
-
Remove all the screw that secures the keyboard to the computer using a Phillips #0 screwdriver.
-
-
-
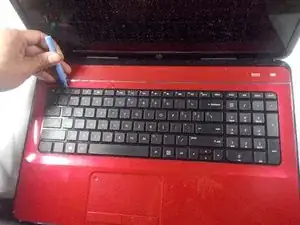
Flip your laptop around to the front, using an opening tool, pry around the perimeter of the keyboard.
-
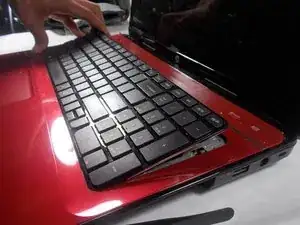
Lift the keyboard from the top backward towards the touch pad.
-
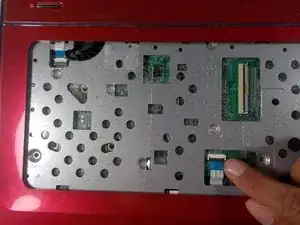
Unlatch the keyboard connector from the motherboard and remove the keyboard.
-
-
-
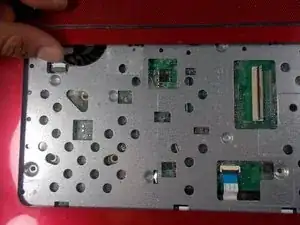
Remove the three screws that hold the keyboard palm rest in place using a Phillips #0 screwdriver.
-
Lift the palm rest up and out.
-
-
-
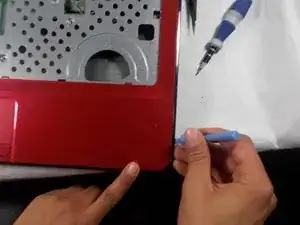
Pry open the bottom of the laptop by using the opening tool to open it up. Do this around the entire outer edge of the laptop.
-
-
-
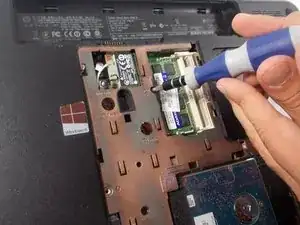
Remove the screw that holds the motherboard in place.
-
Remove the wires attached to the motherboard.
-
Unplug the laptop fan.
-
-
-
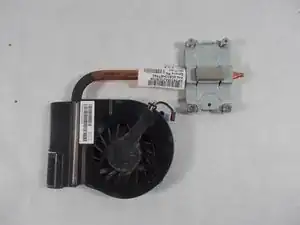
Remove the four screws that hold the fan and heat sink in place.
-
Remove the entire heat sink from the laptop.
-


To reassemble your device, follow these instructions in reverse order.