Introduction

  1. ODomCf5DqNDNNEJ5
    ODomCf5DqNDNNEJ5
    OTXHFBc4WHDwCDp2
    • Flip over the laptop so that the screws on the bottom are exposed.

  2. 1WMi3wHQYYRYPeHI
    1WMi3wHQYYRYPeHI
    anyj2cuGZQuMcCJH
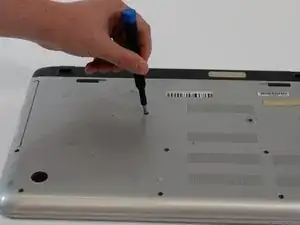
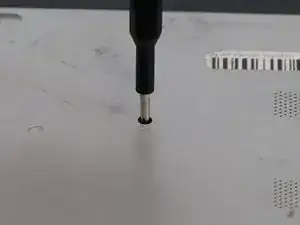
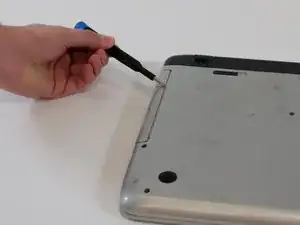
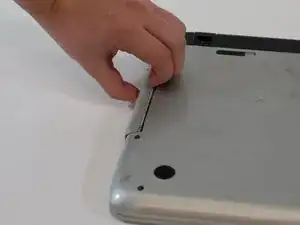
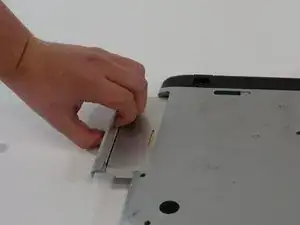
    • Use a #1 Phillips screwdriver to remove the single 8 mm screw that secures the optical drive.

    • There is a CD/DVD symbol on the case that helps identify the correct screw.

  3. jEdTviO3DPSCRA1q
    jEdTviO3DPSCRA1q
    v1rJDTFECvTxiBaf
    uhIXEmrkuT1gMR6a
    • Use your fingers or a wedge to pull out the Optical Drive from it's slot.

    • If the faceplate of the drive is pulled off it can be reattached.

  4. UOyG2tcPxBeCMXVj
    UOyG2tcPxBeCMXVj
    V62664XaOOMiYmde
    jKlK4bOvEQOrpWcE
    • Use a #1 Phillips-head screwdriver to remove the ten additional 8 mm bottom case screws.

  5. 64IYC6pjrspV1jOF
    64IYC6pjrspV1jOF
    VtXVGk6CDBBJsUOJ
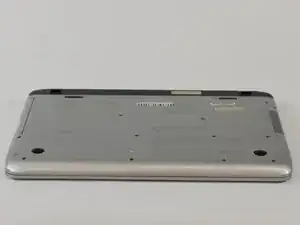
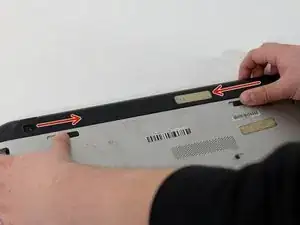
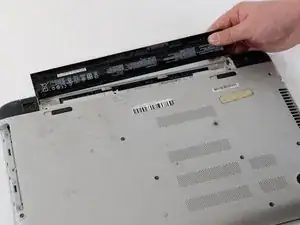
    • Pull out the battery by positioning the switch with the lock symbol on unlock and pushing the switch with the battery towards the center of the laptop

  6. wMxBhMjMkTJOevoJ
    wMxBhMjMkTJOevoJ
    MTWiTQVD2RkyyPNG
    dZbMGKWcjswknBqn
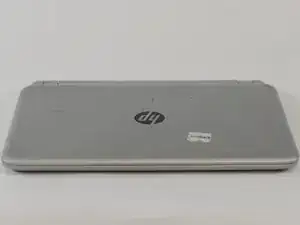
    • Flip over the laptop so the HP symbol is facing up.

    • Open the lid of the laptop.

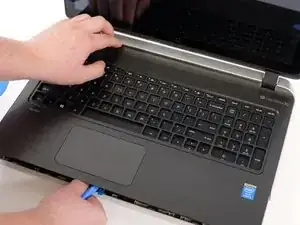
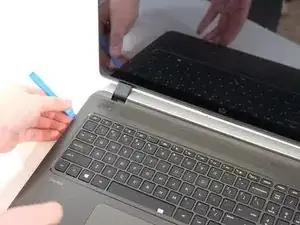
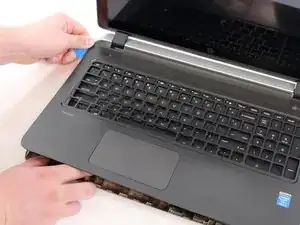
    • Using the spudger, pry between the case and keyboard/mousepad area. Work all the way around the case.

  7. MVsfAu43nIw2FnaZ
    MVsfAu43nIw2FnaZ
    eVyUibn2RFHGKTTj
    TDF24aqDRtTtPo4W
    • Carefully remove the keyboard area.

    • Make sure to unplug the 3 ribbon cables connecting the keyboard. mousepad, and power button to the motherboard.

  8. YTTscZWoWFuEUJlP
    YTTscZWoWFuEUJlP
    6MgCCoKVZxf6dW3g
    • Remove the remaining ribbon cables.

    • Remove the connection to the HDMI port.

  9. gMpCbyx5abWekmpM
    gMpCbyx5abWekmpM
    mDpVT4gOZVW1nAJB
    NEMwsqFkZsVipujC
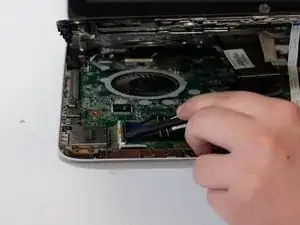
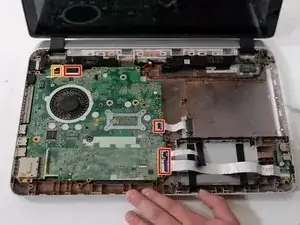
    • Remove the remaining motherboard screws.

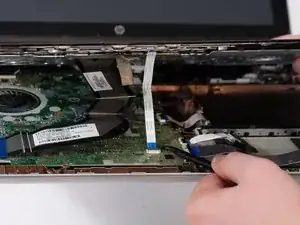
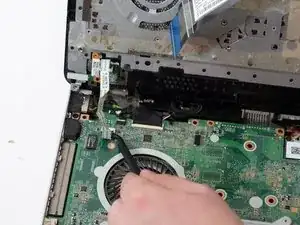
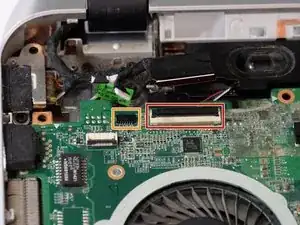
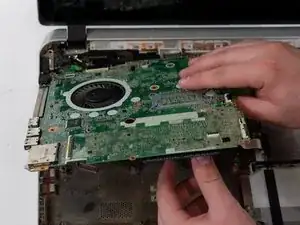
    • Gently lift the motherboard up, towards the screen of the laptop. Remove the remaining display connector.
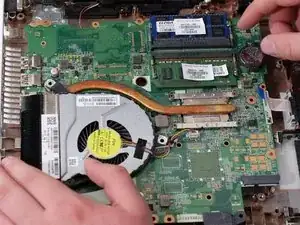
  10. Ic3Tnm4sFICQ35du
    Ic3Tnm4sFICQ35du
    FAjAJsGR4Fj1rpTE
    • Locate the RAM.

    • Pull the metal tabs to the side while pulling the RAM module out and slightly up.

Conclusion

To reassemble your device, follow these instructions in reverse order.

Teague Mendez

Member since: 01/10/23

692 Reputation

0 comments