Introduction

  1. fUnlAUw2jAaMmvoG
    fUnlAUw2jAaMmvoG
    RZkZkwyjvJUSkjiG
    • Flip the laptop over, showing the backplate face up

  2. DD3XNlqJM1BhWTKZ
    DD3XNlqJM1BhWTKZ
    fkCGPOkLoRIOvN5v
    qidLUgRPjONsaCIX
    • Use your #1 Phillips-head screwdriver to remove all the 8 mm screws

    • Make sure to put the screws in a magnetic holder or another safe place

  3. Yyg1yPWsWA2eAFDj
    Yyg1yPWsWA2eAFDj
    3DuB51XoG1XfJl4D
    aKMOI3QfCC4WLkKb
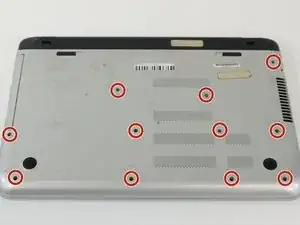
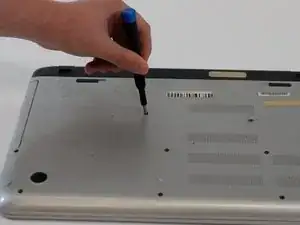
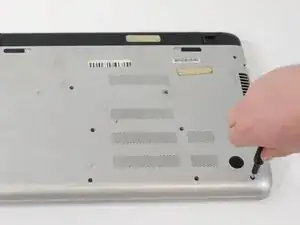
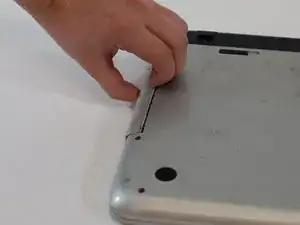
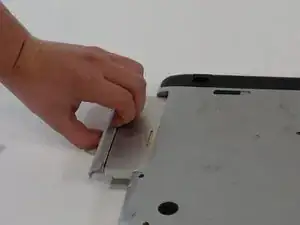
    • After removing all the 8 mm screws, start to pry open the optical drive using your finders or a wedge.

  4. 4I2hEIlZoSPyax2y
    4I2hEIlZoSPyax2y
    JpWqWEBedFKJkeC1
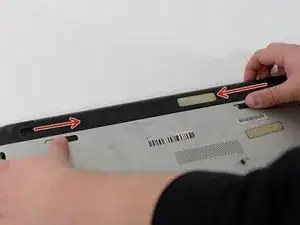
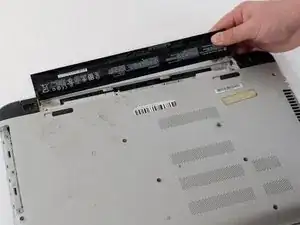
    • Pull out the battery by positioning the switch with the lock symbol on unlock and pushing the switch with the battery towards the center of the laptop.

  5. ZJdleYVFYxZAvFWw
    ZJdleYVFYxZAvFWw
    Ghr2dZRCvvm2wMj3
    wRQZsi32AvdFDCeX
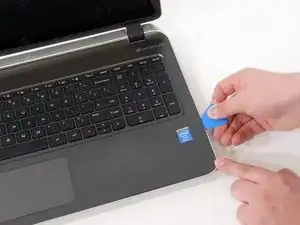
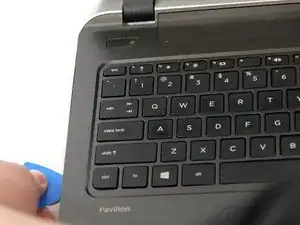
    • Use an opening pick or wedge to start to pry open the laptop keyboard cover.

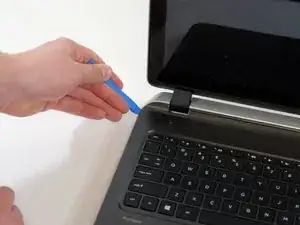
    • Follow along the perimeter and separate the cover from the laptop.

  6. p1eEGaEhytO2GlPA
    p1eEGaEhytO2GlPA
    sxG6Ddj5jqZUegVM
    4ovkKJBmcA5bKHAu
    • Carefully remove the keyboard assembly.

    • Make sure to unplug the 3 ribbon cables connecting the keyboard, mousepad and power button to the motherboard

  7. UJF16L3AcHiC1PKI
    UJF16L3AcHiC1PKI
    2UgJZBIMBgg1ucy5
    • Locate the I/O ports, and remove the bottom most ribbon cable.

  8. M3DWUBGhTFpqnpJN
    M3DWUBGhTFpqnpJN
    ACmBTDKCmTMCv3pI
    wrraRNBKUPmqQXMV
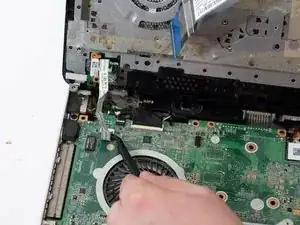
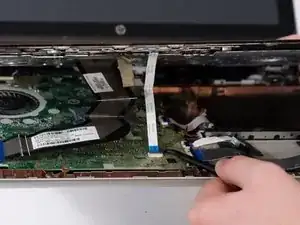
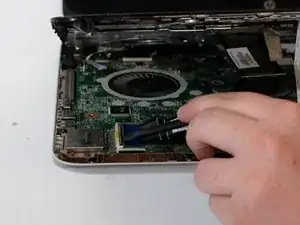
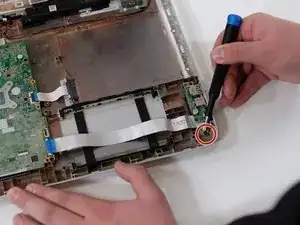
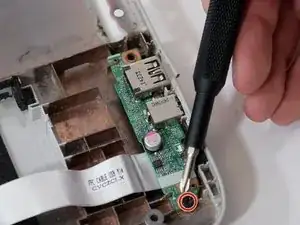
    • Locate and remove the screw holding the I/O board in.

    • Once the screw has been removed lift the I/O board straight up and out of the case.

Conclusion

To reassemble your device, follow these instructions in reverse order.

Teague Mendez

Member since: 01/10/23

692 Reputation

0 comments