Introduction
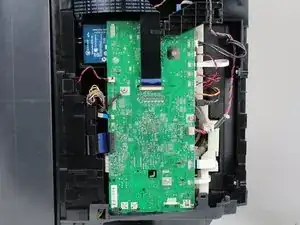
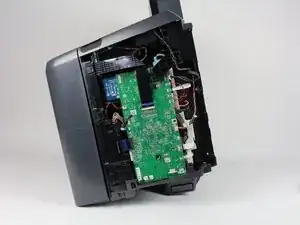
The left panel gives access to a variety of parts, Including the Motherboard, CMOS Battery, Power Brick and several others.
You will need a T9-Torx Screwdriver for this project.
It is recommended that you organize the screws using a magnetic white board or your preferred method.
Tools
-
-
Turn off the printer and remove the power cable.
-
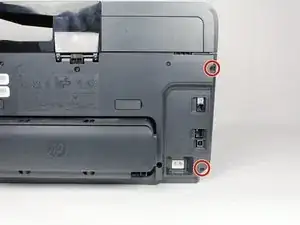
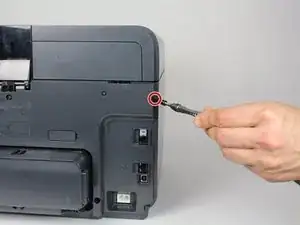
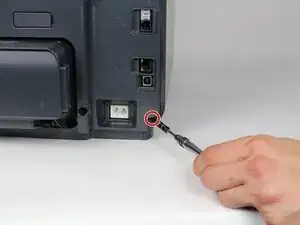
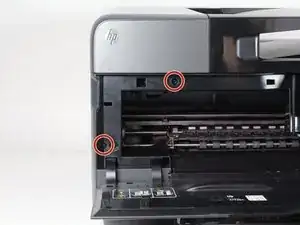
Remove two 13mm T9 screws using a T9-Torx screwdriver. Turn counterclockwise until the screws are released.
-
-
-
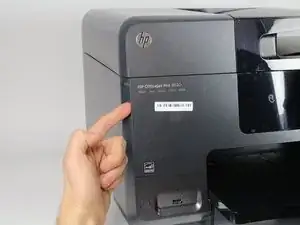
Open the front door by placing your finger on the indented groove on the left side of the printer and pulling down
-
-
-
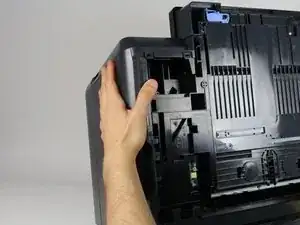
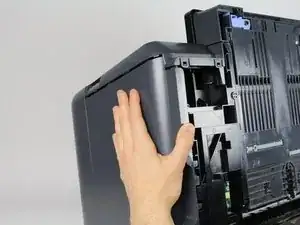
Gently remove the left side panel by placing your palm flat against the surface and pulling down.
-
Conclusion
To reassemble your device, follow these instructions in reverse order.


Apparently screws are T10 not T9. T9 driver/bit works, but you'll slightly damage the screw. I use a T10 now.
dbovey -
A good video https://www.youtube.com/watch?v=wukul3jR... (not me)
dbovey -