Introduction
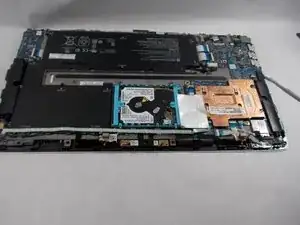
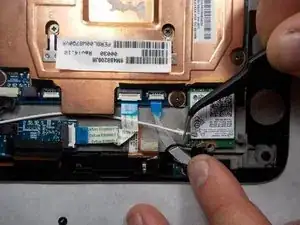
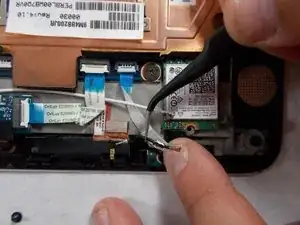
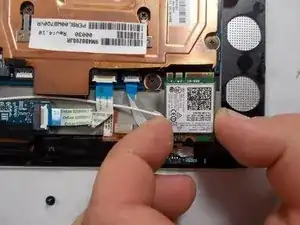
This guide will explain how to remove and replace the wifi card in the HP Envy X2-15-C001Dx. Your wifi card may need to be replaced if it is nonfunctioning or having connectivity issues. Replacing the wifi card will solve any wifi related issues. In order to complete this task, you will need to have a Phillips head screwdriver and know how to use it.
Tools
-
-
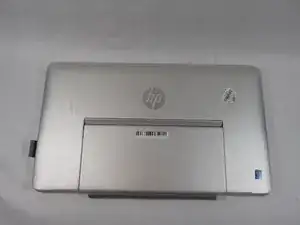
Begin by placing the laptop face down on a flat, soft surface like a table or cloth to prevent scratches. Ensure the device is stable and secure before proceeding with any disassembly steps.
-
-
-
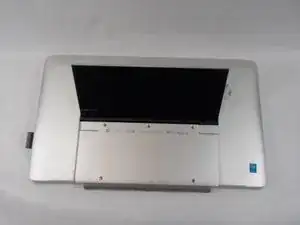
Proceed by carefully lifting up the backstand. Gently detach it from the device, ensuring not to damage any connectors or components. Keep the backstand in a safe place for reassembly later.
-
-
-
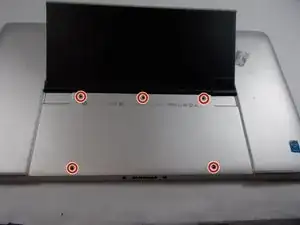
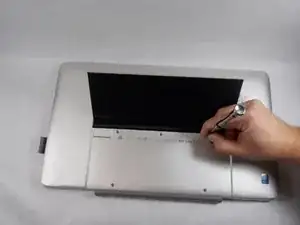
Remove the five screws from the bottom of the HP backplate with a Phillips #1 screwdriver. Turn each screw counterclockwise and store them safely for reassembly. Once all screws are removed, carefully lift the backplate off the device.
-
-
-
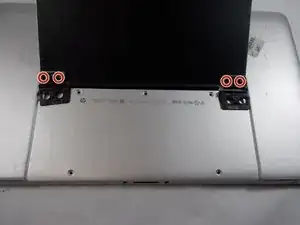
Using a Phillips #1 screwdriver, remove the four screws securing the back stand hinges. Turn each screw counterclockwise and set them aside in a safe location for later reassembly. Once all screws are removed, carefully detach the hinges from the back stand.
-
-
-
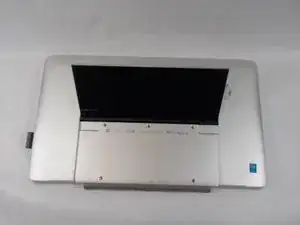
Carefully remove the hinges and back stand from the laptop by unscrewing the hinge screws using a Phillips screwdriver. Once all screws are removed, gently lift the hinges and back stand away from the laptop. Ensure you keep the screws organized for reassembly.
-
-
-
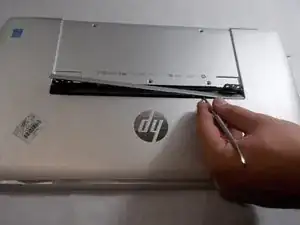
Gently use a spudger to pry off the thin panel where the back stand was attached. Work carefully along the edges to avoid bending or damaging the panel.
-
-
-
Carefully remove all screws securing the back panel using a Phillips #1 screwdriver. Turn each screw counterclockwise and store them safely for reassembly.
-
-
-
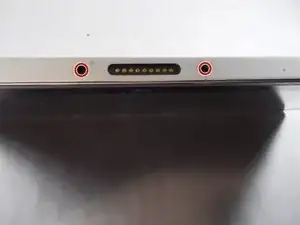
Using a Phillips #1 screwdriver, carefully remove the two side screws. Turn each screw counterclockwise and set them aside in a safe place for later.
-
-
-
Gently pry apart the base from the screen by sliding an opening tool around the entire perimeter. Take care to avoid applying too much force or causing damage.
-
-
-
Carefully remove the back panel from the laptop by loosening all necessary screws and gently prying it open using a plastic tool or your fingers. Ensure no screws are left in place and avoid using excessive force to prevent damaging the panel or the internal components.
-
To reassemble your device, follow these instructions in reverse order.

