
Introduction
This guide provides step-by-step instructions for removing and replacing the battery in the HP Envy X2-15-C001Dx laptop.
A healthy battery is crucial for your laptop's portability, and a faulty one can cause power issues and potential safety risks. Replacing the battery will enhance the overall health of the device.
If you're dealing with rapid battery drain or other power-related problems, this guide will help you troubleshoot and fix the issue. Before starting, make sure the device is powered off and unplugged to ensure safety throughout the process.
-
-
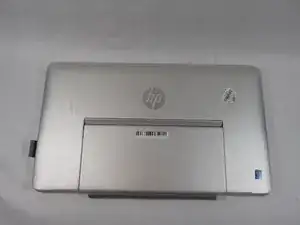
Begin by placing the laptop face down on a flat, soft surface like a table or cloth to prevent scratches. Ensure the device is stable and secure before proceeding with any disassembly steps.
-
-
-
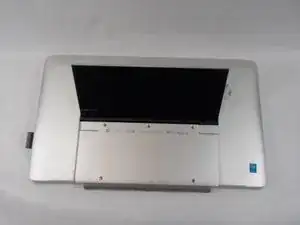
Proceed by carefully lifting up the backstand. Gently detach it from the device, ensuring not to damage any connectors or components. Keep the backstand in a safe place for reassembly later.
-
-
-
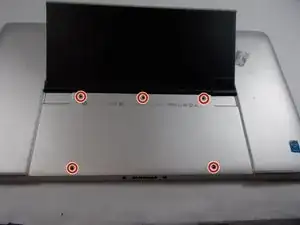
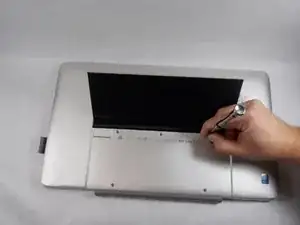
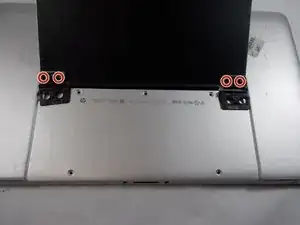
Remove the five screws from the bottom of the HP backplate with a Phillips #1 screwdriver. Turn each screw counterclockwise and store them safely for reassembly. Once all screws are removed, carefully lift the backplate off the device.
-
-
-
Using a Phillips #1 screwdriver, remove the four screws securing the back stand hinges. Turn each screw counterclockwise and set them aside in a safe location for later reassembly. Once all screws are removed, carefully detach the hinges from the back stand.
-
-
-
Carefully remove the hinges and back stand from the laptop by unscrewing the hinge screws using a Phillips screwdriver. Once all screws are removed, gently lift the hinges and back stand away from the laptop. Ensure you keep the screws organized for reassembly.
-
-
-
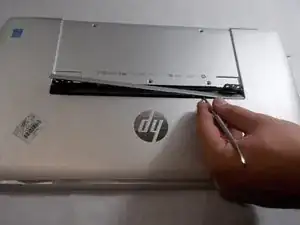
Gently use a spudger to pry off the thin panel where the back stand was attached. Work carefully along the edges to avoid bending or damaging the panel.
-
-
-
Carefully remove all screws securing the back panel using a Phillips #1 screwdriver. Turn each screw counterclockwise and store them safely for reassembly.
-
-
-
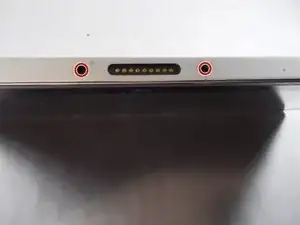
Using a Phillips #1 screwdriver, carefully remove the two side screws. Turn each screw counterclockwise and set them aside in a safe place for later.
-
-
-
Gently pry apart the base from the screen by sliding an opening tool around the entire perimeter. Take care to avoid applying too much force or causing damage.
-
-
-
Carefully remove the back panel from the laptop by loosening all necessary screws and gently prying it open using a plastic tool or your fingers. Ensure no screws are left in place and avoid using excessive force to prevent damaging the panel or the internal components.
-
-
-
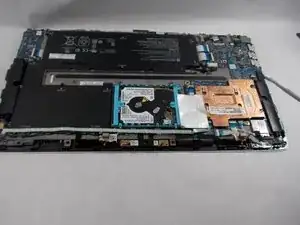
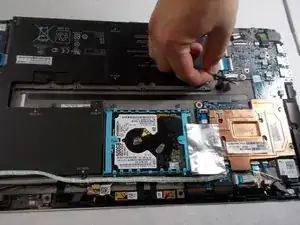
Gently unplug the battery connector from the motherboard by carefully gripping the connector and pulling it straight out. Avoid tugging on the wires to prevent damage. Ensure the connector is fully detached before proceeding with any further steps.
-
-
-
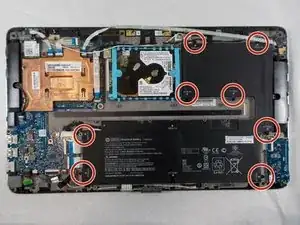
Using a functioning screwdriver i.e Phillips #1 screwdriver, carefully remove the eight screws securing the battery to the device. Unscrew each one slowly and set them aside in a safe spot, like a small container, to prevent loss. Ensure all screws are completely removed and that the battery is fully detached before proceeding to lift it out.
-
-
-
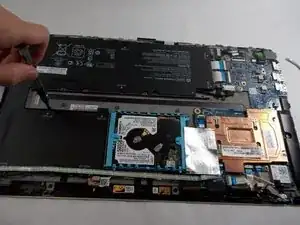
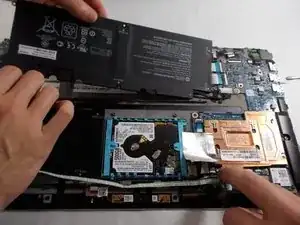
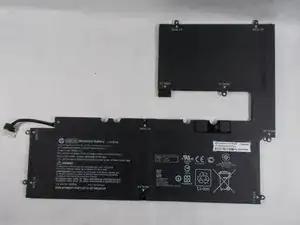
Carefully remove the battery by gently lifting it out of the device. Ensure there are no remaining screws or cables attached before lifting. Hold the battery securely with both hands to avoid dropping or damaging it, and place it on a clean, static-free surface for safety.
-


To reassemble your device, follow these instructions in reverse order.
For optimal performance, after completing this guide, calibrate your newly installed battery.
Take your e-waste to an R2 or e-Stewards certified recycler.