Introduction
This guide is used to replace the audio board with in the computer if you are having issues with the audio o the HP Envy X2-15-C001Dx.
-
-
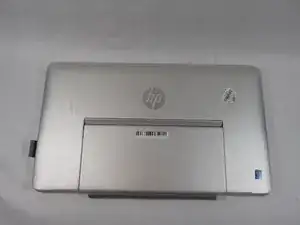
Begin by placing the laptop face down on a flat, soft surface like a table or cloth to prevent scratches. Ensure the device is stable and secure before proceeding with any disassembly steps.
-
-
-
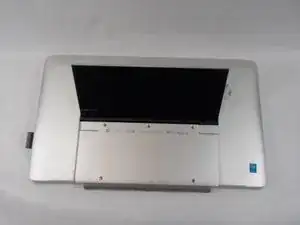
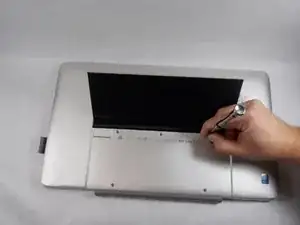
Proceed by carefully lifting up the backstand. Gently detach it from the device, ensuring not to damage any connectors or components. Keep the backstand in a safe place for reassembly later.
-
-
-
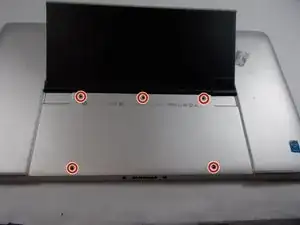
Remove the five screws from the bottom of the HP backplate with a Phillips #1 screwdriver. Turn each screw counterclockwise and store them safely for reassembly. Once all screws are removed, carefully lift the backplate off the device.
-
-
-
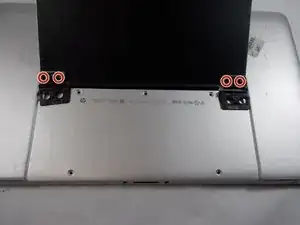
Using a Phillips #1 screwdriver, remove the four screws securing the back stand hinges. Turn each screw counterclockwise and set them aside in a safe location for later reassembly. Once all screws are removed, carefully detach the hinges from the back stand.
-
-
-
Carefully remove the hinges and back stand from the laptop by unscrewing the hinge screws using a Phillips screwdriver. Once all screws are removed, gently lift the hinges and back stand away from the laptop. Ensure you keep the screws organized for reassembly.
-
-
-
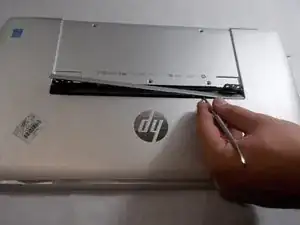
Gently use a spudger to pry off the thin panel where the back stand was attached. Work carefully along the edges to avoid bending or damaging the panel.
-
-
-
Carefully remove all screws securing the back panel using a Phillips #1 screwdriver. Turn each screw counterclockwise and store them safely for reassembly.
-
-
-
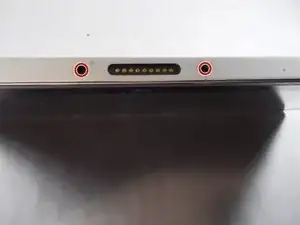
Using a Phillips #1 screwdriver, carefully remove the two side screws. Turn each screw counterclockwise and set them aside in a safe place for later.
-
-
-
Gently pry apart the base from the screen by sliding an opening tool around the entire perimeter. Take care to avoid applying too much force or causing damage.
-
-
-
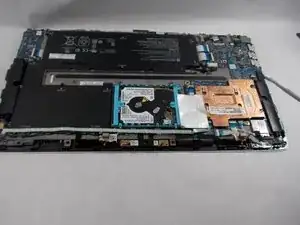
Carefully remove the back panel from the laptop by loosening all necessary screws and gently prying it open using a plastic tool or your fingers. Ensure no screws are left in place and avoid using excessive force to prevent damaging the panel or the internal components.
-
-
-
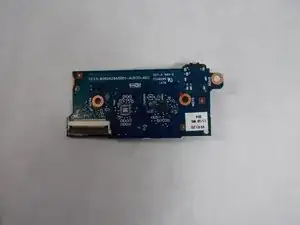
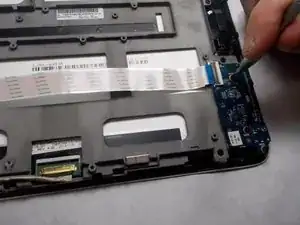
Flip up the black retaining flap securing the audio board's ribbon cable.
-
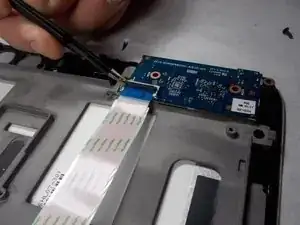
Slide the ribbon cable out of its connector on the audio board.
-


To reassemble your device, follow these instructions in reverse order.