Introduction
-
-
Shut down the laptop.
-
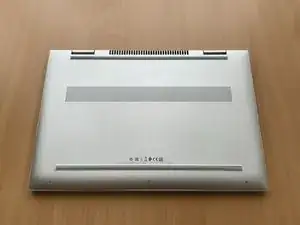
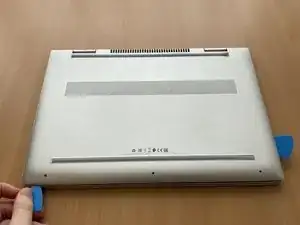
Turn it over and position it so that the display hinges face away from you.
-
-
-
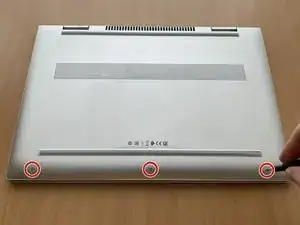
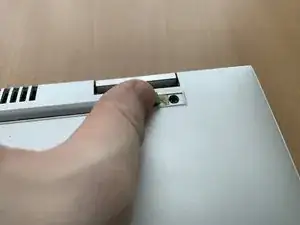
Remove the rubber strip that is close to the display hinges.
-
Remove the adhesive strip along with the rubber to reveal the underlying screws.
-
-
-
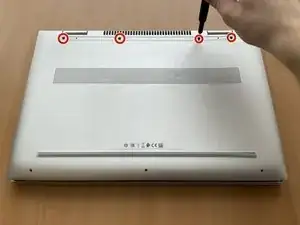
Remove the four Phillips P1 screws that are revealed by removing the rubber strip.
-
Note that the second screw hole from the right is not as deep as the other three.
-
-
-
Using an opening tool and opening picks, separate the bottom housing plate from the rest of the chassis on the left, bottom and right edges.
-
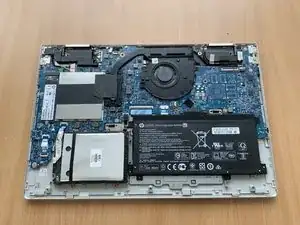
Lift and remove the plate.
-
-
-
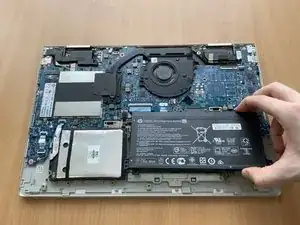
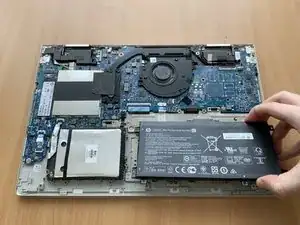
Remove the seven Phillips P1 screws that hold the battery in place.
-
Note that these battery screws have a different length than the P1 chassis screws.
-
-
-
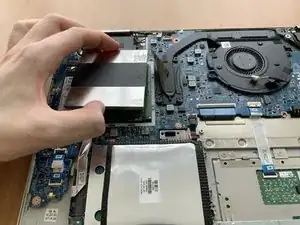
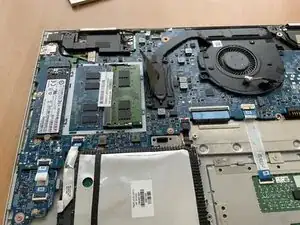
Using both hands, bend outwards the two clips that hold the RAM module.
-
Remove the RAM module to the right and up.
-
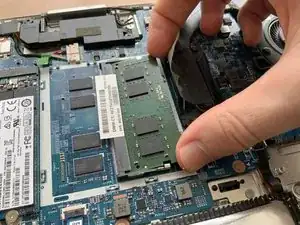
Now insert the new RAM module, pushing it in from the right.
-


To reassemble your device, follow these instructions in reverse order.