
Introduction
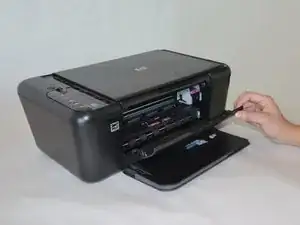
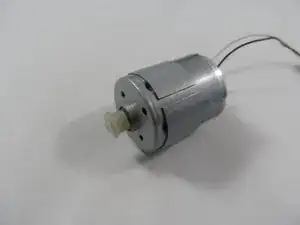
This step-by-step guide will show the user how to access, remove, and replace the paper-roller moter of an HP Deskjet F4480 printer. The paper-roller motor pulls paper into the printer and across the ink cartridges to ensure proper printing. If paper-feeding issues occur, replacing the paper-roller motor may be the solution. This task requires tools.
-
-
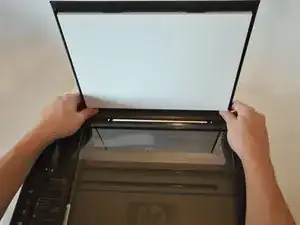
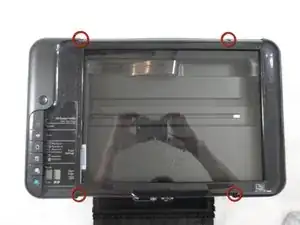
Open the protective lid that is covering the glass. Press gently against the base of the panel to remove the lid from the rest of the printer.
-
-
-
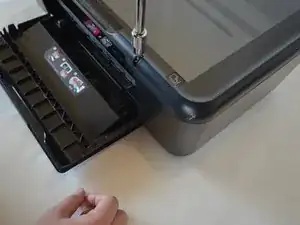
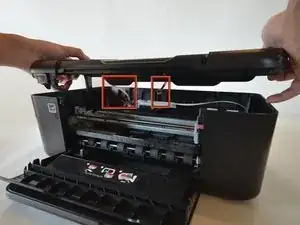
Remove the two cables by gripping each one close to their connection ports on the motherboard and gently disconnecting them.
-
-
-
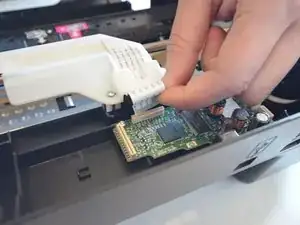
Detach the white ribbon cable.
-
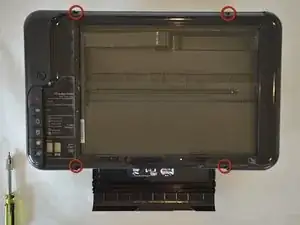
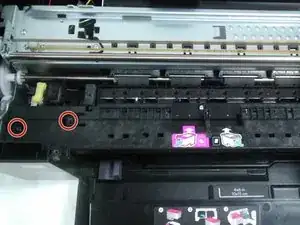
Remove the two 9mm Torx screws on either side of the white bracket.
-
-
-
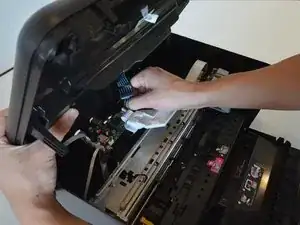
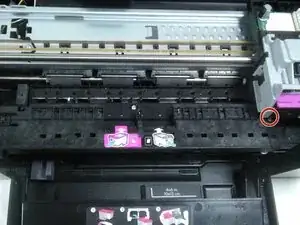
Remove the three black 9mm Torx screws and pull the black panel out from under the ink carriage.
-
-
-
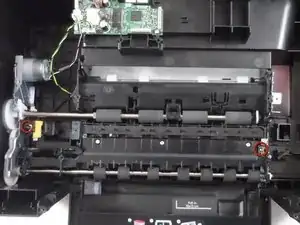
Turn the printer over.
-
Locate the gap at the bottom corner near the product information sticker.
-
Reach a flat head screwdriver inside the gap and unlatch the silver tab.
-


To reassemble your device, with the addition of a new motor, follow these instructions in reverse order.