Introduction
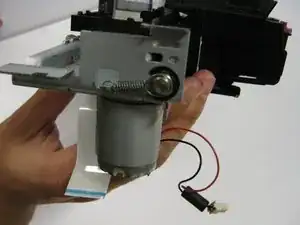
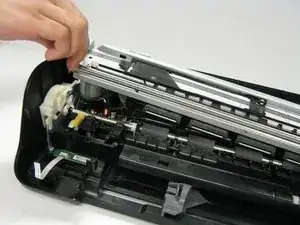
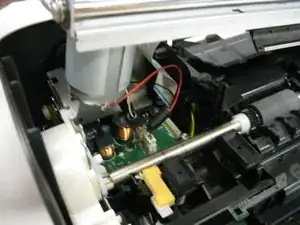
This guide will replace the springs located on the sides of the metal frame that holds the ink carriage. These springs provide stability to the metal rod that supports the ink cartridge carriage.
-
-
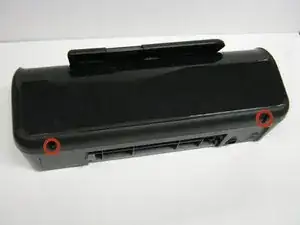
Lay the printer on its back.
-
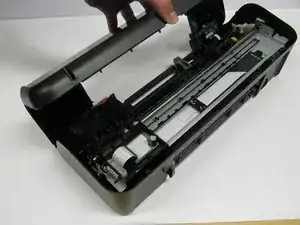
Grab the paper tray by its right side and pull it to the left and up.
-
-
-
Open the frontal access panel by lifting it from the top.
-
Similar to the paper tray, grab it from the right side and pull it to the left and up.
-
-
-
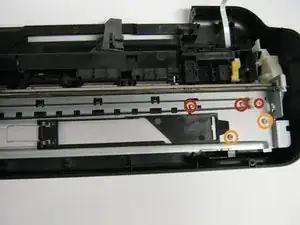
Remove the five 13.0 mm Torx #10 screws found on top of the frame.
-
Remove the four 9.0 mm Torx #10 smaller screws.
-


Conclusion
To reassemble your device, follow these instructions in reverse order.