Introduction
Use this guide to learn how to disassemble your HP Deskjet 6840 printer. You may need to take your printer apart if you're troubleshooting a problem or removing a paper jam.
Tools
-
-
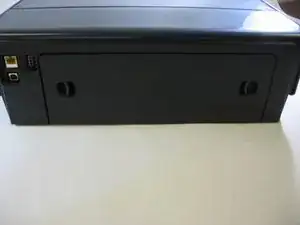
Use two fingers to simultaneously press the two grooves on the back of the printer down and in.
-
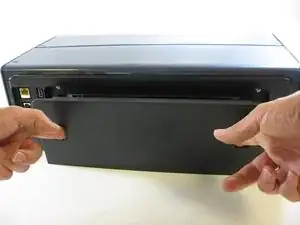
Pull the panel off of the printer.
-
-
-
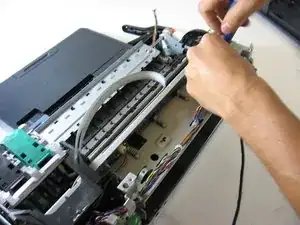
Use a screwdriver to remove each visible screw.
-
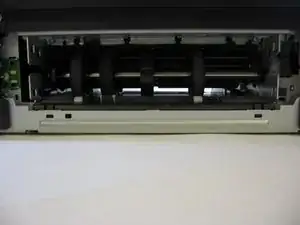
Pull out and remove the rear support structure using two hands.
-
-
-
Carefully remove the shell that encases the internal parts of your printer.
-
Gently remove the shell from the base of the printer by placing your hands at the corners and firmly lifting the shell until it pops off of the base. Do not pry or bend the shell.
-
-
-
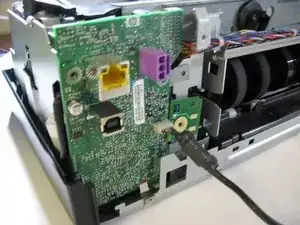
Use a screwdriver to remove the screws from the printer carriage assembly and the green plastic motherboard.
-
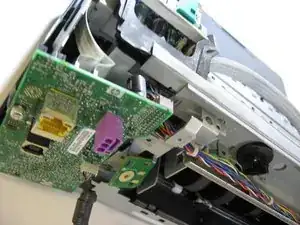
Gently loosen the motherboard from its base, but don't completely pull it out.
-
-
-
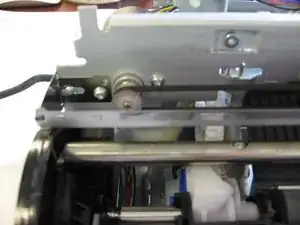
Use a screwdriver to remove the screws from the motor carriage.
-
Remove the screws from the motor housing if you need to replace the motor.
-
Remove the motor from the housing using your fingers.
-
Replace the motor with a new one if needed.
-
-
-
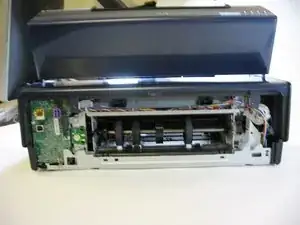
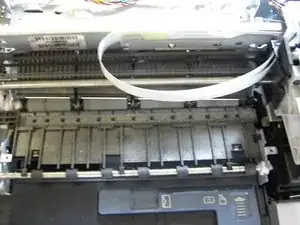
By now, your printer should look like the one in the photograph.
-
Use a screwdriver to remove any remaining screws.
-
To reassemble your device, follow these instructions in reverse order.
