Introduction

This guide explains how to replace the bottom panel of the HP 15-dy2072dx in case of warping, cracks, and any general wear and tear.

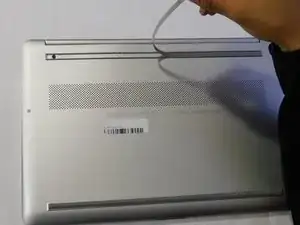
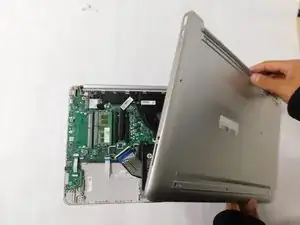
The bottom panel is responsible for covering most internal parts such as the battery, hard drive, memory, and the motherboard. The panel has the device information printed onto it such as the model number.

The panel usually comes equipped with two strips of rubber to allow for the laptop to rest on a hard surface. This is not always the case with secondhand panels.

  1. PMhW5AyEaxKyXtLI
    • Remove both of the rubber strips to uncover the hidden screws.

    • You can use a prying tool to help lift an end.

  2. cv2Oqd5MydWH4A2t
    • Unscrew all 8 Phillips #0 screws on the bottom panel:

    • Two M2.5x6

    • Six M2x6

  3. SDSw66QQkoqIqqPU
    SDSw66QQkoqIqqPU
    iGXQgqaQvouWF5pe
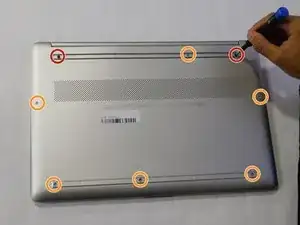
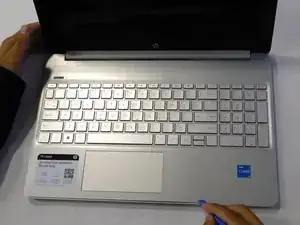
    • Flip the laptop over and open the lid.

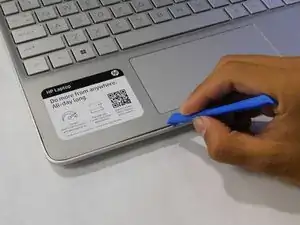
    • Separate the bottom panel from the main body by using the iFixit opening tool.

    • Ensure that the bottom panel is completely separated along the edges.

  4. N5TasLT3E3GW4PdZ
    N5TasLT3E3GW4PdZ
    OJM1NqvV1KpCVsXE
    • If you can lift the laptop like shown in the first picture, the bottom panel is nearly separated.

    • Close the laptop to allow the back edges to fully separate

  5. KXa4nAmuyVn4Q42w
    KXa4nAmuyVn4Q42w
    xt3tPjNKZIdGydUP
    EHgZawoF63pRaqOG
    • Flip the laptop over and carefully remove the lower case.

Conclusion

To reassemble your device, follow these instructions in reverse order.

Zander Herbold

Member since: 05/09/23

646 Reputation

0 comments