Introduction

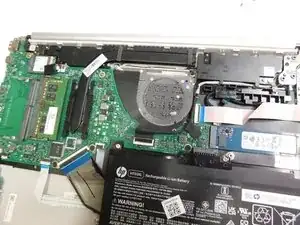
This guides explains how to replace the keyboard on your HP 15-dy2072dx. A replacement may be needed in cases the keyboard stops functioning. Before replacing the keyboard, make sure the problem cannot be solved by replacing a single key.

The keyboard allows the user to enter text, use specific functions, make use of shortcuts.

This guide uses prerequisite guides and each guide will show parts that may have been removed in previous steps still attached. Ignore the discrepancy and focus on each steps taken.

  1. PMhW5AyEaxKyXtLI
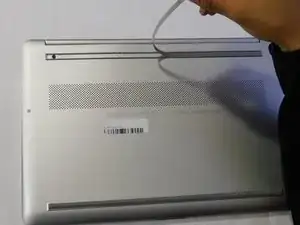
    • Remove both of the rubber strips to uncover the hidden screws.

    • You can use a prying tool to help lift an end.

  2. cv2Oqd5MydWH4A2t
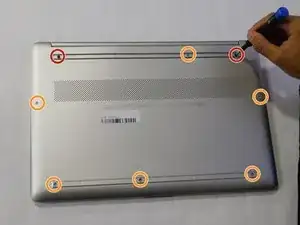
    • Unscrew all 8 Phillips #0 screws on the bottom panel:

    • Two M2.5x6

    • Six M2x6

  3. SDSw66QQkoqIqqPU
    SDSw66QQkoqIqqPU
    iGXQgqaQvouWF5pe
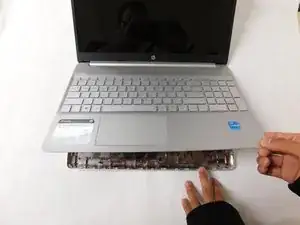
    • Flip the laptop over and open the lid.

    • Separate the bottom panel from the main body by using the iFixit opening tool.

    • Ensure that the bottom panel is completely separated along the edges.

  4. N5TasLT3E3GW4PdZ
    N5TasLT3E3GW4PdZ
    OJM1NqvV1KpCVsXE
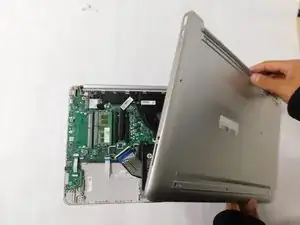
    • If you can lift the laptop like shown in the first picture, the bottom panel is nearly separated.

    • Close the laptop to allow the back edges to fully separate

  5. KXa4nAmuyVn4Q42w
    KXa4nAmuyVn4Q42w
    xt3tPjNKZIdGydUP
    EHgZawoF63pRaqOG
    • Flip the laptop over and carefully remove the lower case.

  6. 4ALBNqoTv2XrXnum
    4ALBNqoTv2XrXnum
    CZsPSamJHKAson6s
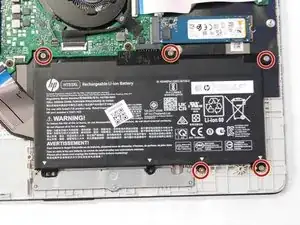
    • Remove the five M2x6 screws that secure the battery with a Phillips #0 screwdriver.

  7. HWZtORQIL31igslr
    HWZtORQIL31igslr
    sAGfFDRDG5tAAvXH
    OQ1tIVahbf1MD4RY
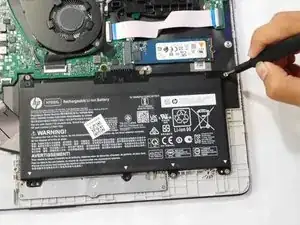
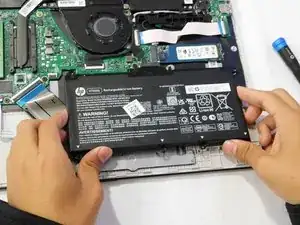
    • Grab the sides of the battery and gently pull the battery until it disconnects from the connector on motherboard.

    • Lift the battery up and out.

  8. vTdSewM4IiMNYKvn
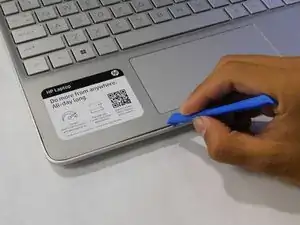
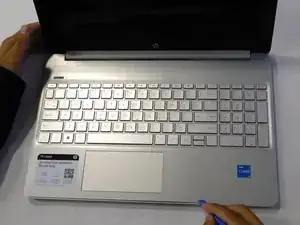
    • Find the trackpad.

  9. EDyXOirXoUMpVHYb
    EDyXOirXoUMpVHYb
    UbjtNUWgPG5PCDMs
    oUEyuTpCQ2gxYplv
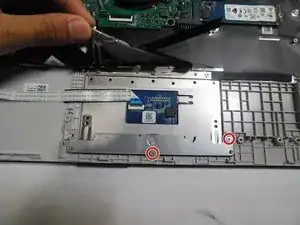
    • Unscrew the two M2x6 Phillips screws securing the trackpad.

  10. UHKL2SixZ2ZSMtcl
    UHKL2SixZ2ZSMtcl
    1B2w1SNS1OulsNhM
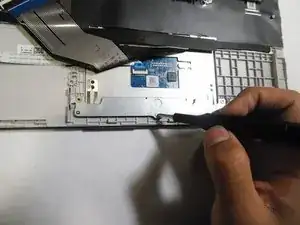
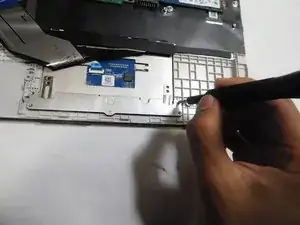
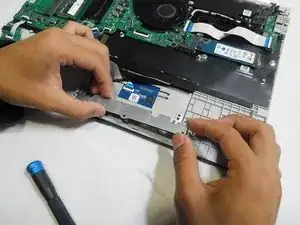
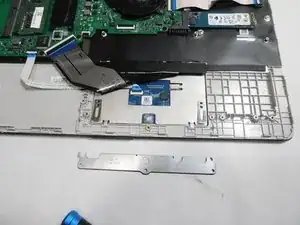
    • Remove the metal bracket.

  11. KoEKnKLLCgtAP5Gh
    KoEKnKLLCgtAP5Gh
    W4g6wUKulYsiBunM
    asYYrKYhmvNLWNVv
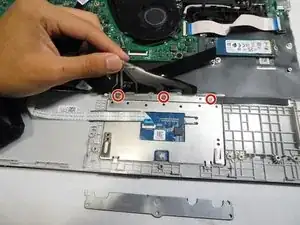
    • Lift the black ribbon covering the screws.

    • Unscrew the top three M2x3 Phillips screws.

  12. BrONJsIQ4tjOFgIu
    BrONJsIQ4tjOFgIu
    TmWLVwJTNlAEbHxn
    oBhstAT5iieW6NMo
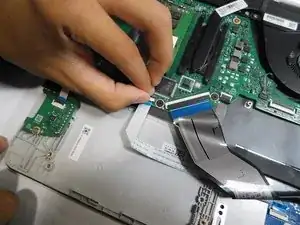
    • Flip up the locking flap holding the trackpad ribbon in place.

    • Pull the ribbon straight out of its socket.

  13. OA62JmbciRLUqDly
    OA62JmbciRLUqDly
    ywZlemT34HIGWfIH
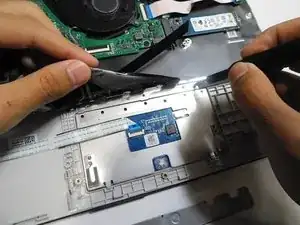
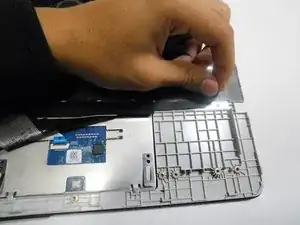
    • Peel back the sticky black strip holding the trackpad in place.

  14. ylm2IbipWcdMBCuY
    ylm2IbipWcdMBCuY
    a6VWAEDKPtZ6QKBJ
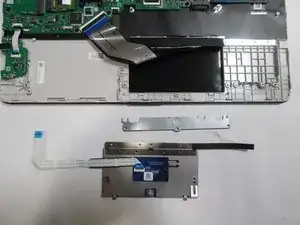
    • Remove the trackpad from the laptop.

  15. B4Htj5LP1a3rgm5x
    B4Htj5LP1a3rgm5x
    A6MOMGmYc4RWSA4I
    ANuCKuw4BvXgSWVX
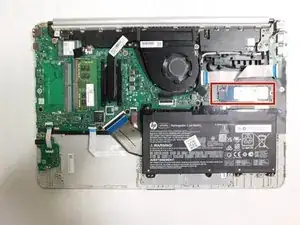
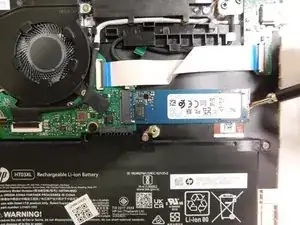
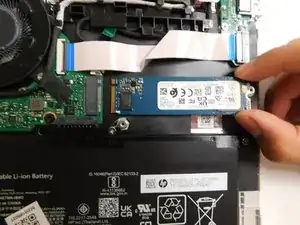
    • Locate the storage drive.

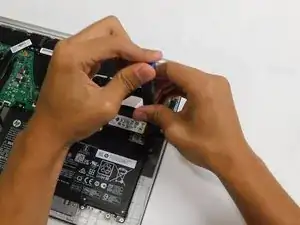
    • Unscrew the single screw holding the drive in place.

    • The screw is a M2x3 mm Phillips head screw.

  16. f1CoolTalrRen6Qf
    f1CoolTalrRen6Qf
    dMeOkAaRAB1bErRL
    IMZQwnEAdbYsqyIL
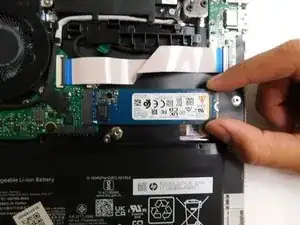
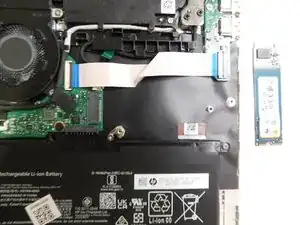
    • Grab the drive by its side and gently pull it out.

  17. oZS3VIDUA1sS6dJA
    oZS3VIDUA1sS6dJA
    1vlKAIcgEjppxMgV
    rfqSChP6phbjQYvG
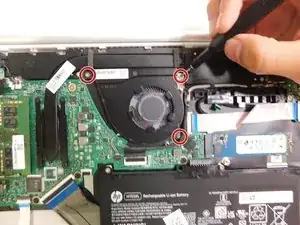
    • Use a Phillips #0 screwdriver to unscrew the three screws that secure the fan.

    • These screws sizes are M2x6.

  18. dAMasBLZFHrlDa1O
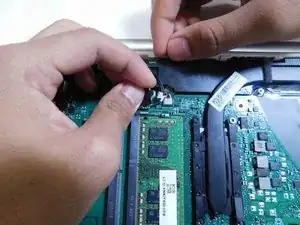
    • Grip the cord that connects the fan to the motherboard and gently pull out to disconnect the cable from the connector.

    • Alternatively, we recommend using a tool to push the connector out of its socket to avoid damaging the wires.

  19. iyLVYaeRJjZrJ4px
    iyLVYaeRJjZrJ4px
    uQ3Z1SIWTeFgP4nV
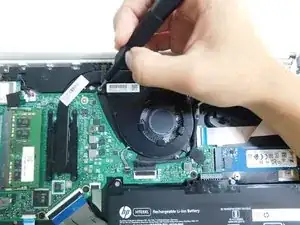
    • Gently lift the fan to remove it from the case.

  20. LWUSlATgE3GYyHqF
    LWUSlATgE3GYyHqF
    StOplFadgMJg5r1k
    ZYwGsIYU26JwGJX2
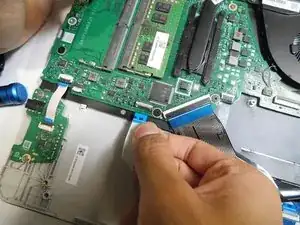
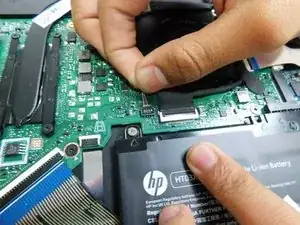
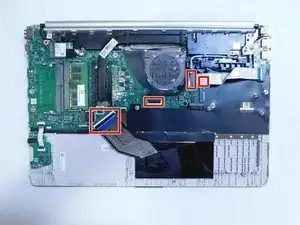
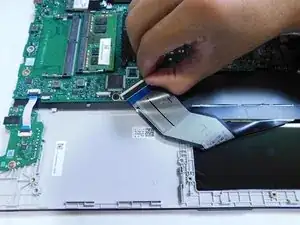
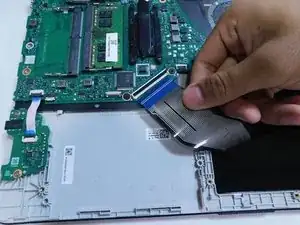
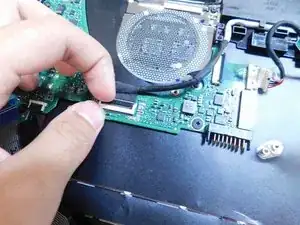
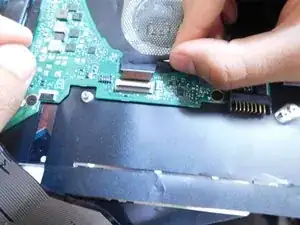
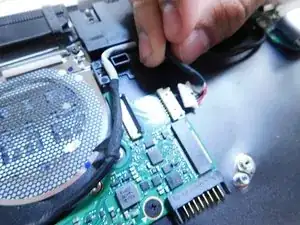
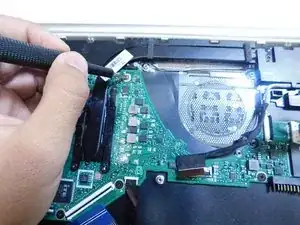
    • Disconnect all the ribbon cables from the motherboard.

    • Ensure to flip up the locking flaps before attempting to pull the ribbon out.

  21. eMQSI5xk2AJMwOpC
    eMQSI5xk2AJMwOpC
    G6CP1rQYAOHUlBRR
    • Continue disconnecting the ribbon cables.

  22. dupYBAsutoFfc3LE
    dupYBAsutoFfc3LE
    OmVlWEqLUMCcuisK
    • Continue disconnecting the remaining ribbons.

  23. YTAwNR6leZ4SBtyv
    YTAwNR6leZ4SBtyv
    XDDVl3VAjDbwGeCU
    • Disconnect the connector.

  24. 3IVI6JpTuNCWUjqx
    3IVI6JpTuNCWUjqx
    KF1Np21MYbmYnY4x
    KChfvVGMw2csNHOV
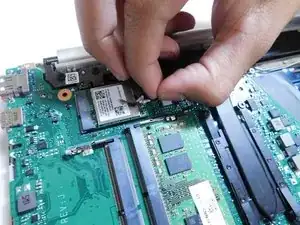
    • Peel off the black sticker covering the silver connectors near the top of the motherboard.

    • Remove the two silver colored round connector from the motherboard by pulling them up.

    • The connector should have a tag on them with number 1 and 2 on them.

  25. R42t3I1ZxvAUynaT
    R42t3I1ZxvAUynaT
    UJsUcUclldgrqqpO
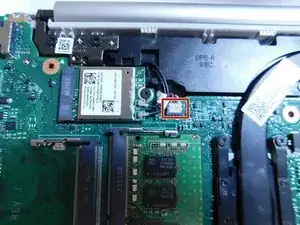
    • Pull up on the last connector on the motherboard next to the connectors removed in the previous step.

  26. CMiq2eQmnjXOtWTV
    CMiq2eQmnjXOtWTV
    iNZNi6tHsrcFpHUF
    VW21AEYKRUeK2tqQ
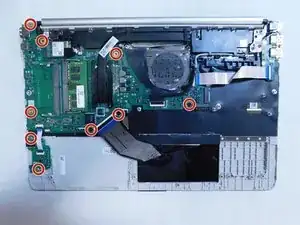
    • Unscrew all M2x3 Phillips screws holding the motherboard in place.

  27. ukQPewQnKaTjHuKR
    ukQPewQnKaTjHuKR
    5eFpYOdQxXlA4Ube
    • Remove the motherboard from the case.

  28. vAcB1iw1nIEFCI2F
    vAcB1iw1nIEFCI2F
    SG1EOqhJDWTA1mnx
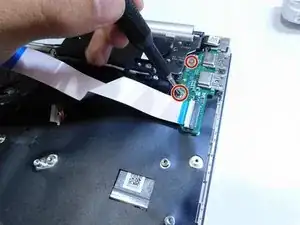
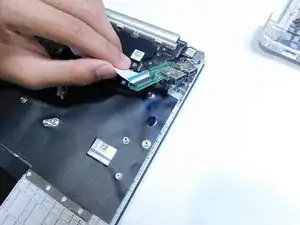
    • Unscrew the two M2x3 Phillips screws.

    • Remove the I/O board from the case.

  29. ZmNubmitINQHDTPw
    ZmNubmitINQHDTPw
    mZCkvjeI2K35XkLt
    dtVwQ54SA1lxhb43
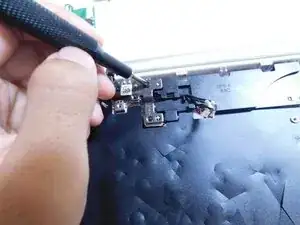
    • Unscrew the three M2x6 Phillips screws from the left metal hinge.

    • Lift the hinge.

  30. cZojef5OkW4pxQRt
    cZojef5OkW4pxQRt
    iBm4qjTu3nhkNfSG
    • Unscrew the two Phillips screws.

    • One is on the left side near where the fan was removed.

    • The other is near the right laptop metal hinge.

  31. FKJCQMpFMrCm2ZyU
    FKJCQMpFMrCm2ZyU
    lEDnyCXVuAVx5WXf
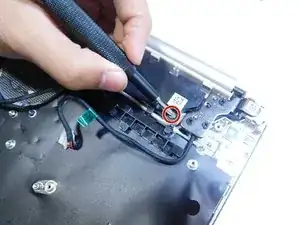
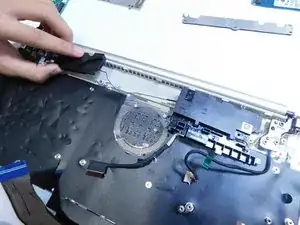
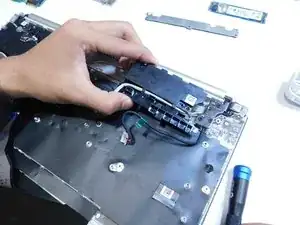
    • Remove the black boxes from the case.

    • Disconnect the power cable (white cable with a black flag at the end).

    • The black boxes is still connected to the case through a black wire, do not attempt to remove the wire.

  32. h6LrlcFZKmEwIixI
    h6LrlcFZKmEwIixI
    4y4aJPFdTwZLoxWo
    EMrBHec4dpbE3Ccb
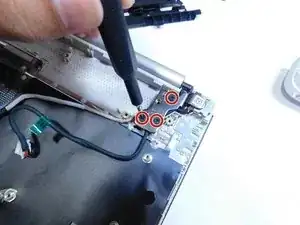
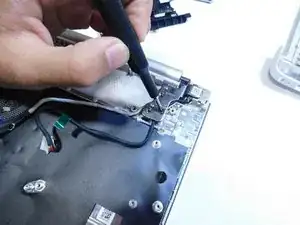
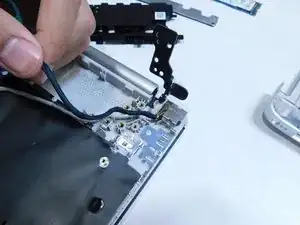
    • Unscrew the three screws on the right-side metal hinge.

    • Lift the hinge.

  33. kJeKhUKt2W1QBy2D
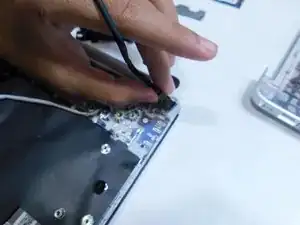
    • Remove the power port from the case by pulling it straight up.

  34. 2E5fvQXkZlgJBNSQ
    2E5fvQXkZlgJBNSQ
    rIVR55BVbEQwBIsG
    WRiJhLWwIvxZgoxI
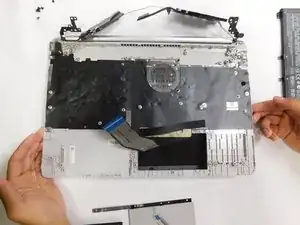
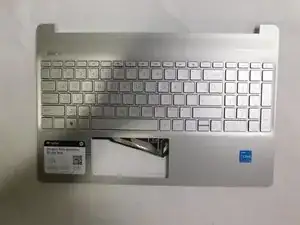
    • Remove the keyboard from the laptop.

    • The keyboard is a type where it is directly integrated into the frame so you will need to replace the whole frame.

Conclusion

To reassemble your device, follow these instructions in reverse order.
Zander Herbold

Member since: 05/09/23

646 Reputation

0 comments