Introduction
This guide will show you how to replace the display assembly for an HP 15-dy2024nr.
Indications of a bad screen include a large crack in the screen, no response, dim light, large rainbow lines, and dots.
Before removing any part of the computer ensure that the laptop is turned off and disconnected from any power source.
Tools
-
-
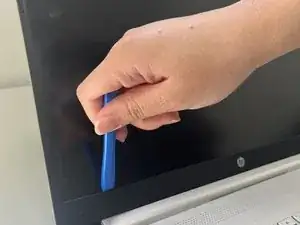
Peel the inner edge of the bezel using an opening tool and gently snap both edges away from the glass.
-
Go around the perimeter and begin snapping the tabs underneath.
-
-
-
Use the opening tool to unsnap the bezel along the hinge cover.
-
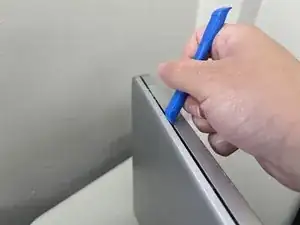
Close the laptop and turn it sideways.
-
Separate the bezel along the bottom edge using the opening tool.
-
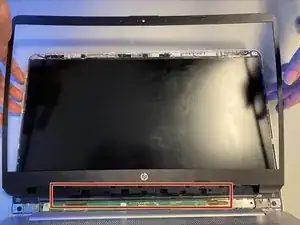
Remove the bezel and place it aside.
-
-
-
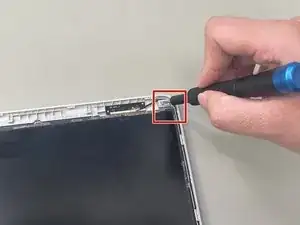
Remove the 1.8 mm screws from the top and bottom corners of the screen using a Phillips #1 screwdriver.
-
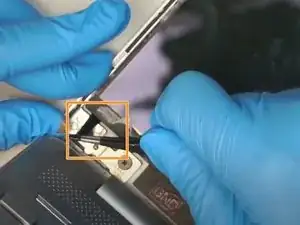
Use a pair of tweezers to pull out the adhesive tape from the bottom left and right corners of the screen.
-
Remove the LCD and gently place it on the keyboard with both hands.
-
-
-
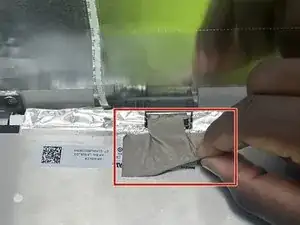
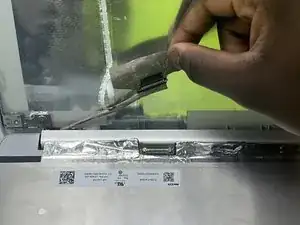
Gently peel off the tape securing the video connector.
-
Disconnect the video cable.
-
Remove the old screen.
-
To reassemble your device, follow these instructions in reverse order.


