
Introduction
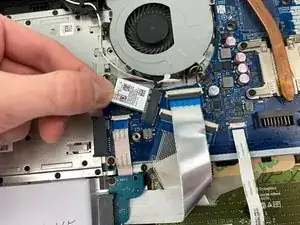
The HP-15db0015dx is a versatile laptop designed for everyday use, offering reliable performance in a compact form factor. If you're experiencing issues with wireless connectivity, such as unstable or non-functioning Wi-Fi, it could be a sign that the WLAN module (wireless network card) is faulty and requires replacement. This guide will walk you through the steps necessary to safely remove and replace the WLAN module to restore full wireless functionality. Before starting, it's important to understand that the WLAN module enables your laptop to connect to Wi-Fi networks, making it a critical component for internet access. Make sure to power down your device and disconnect all power sources before proceeding to avoid potential damage.
-
-
Power off the device before starting.
-
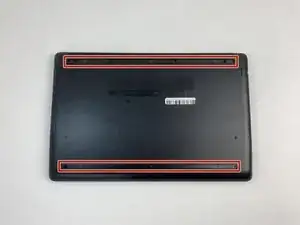
Remove the rubber strips that hide the screws using the spudger.
-
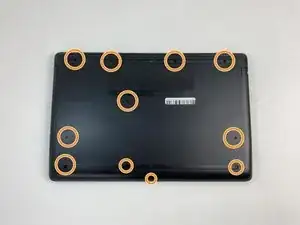
Flip the device and unscrew the eleven screws with a Phillips #0 screwdriver.
-
-
-
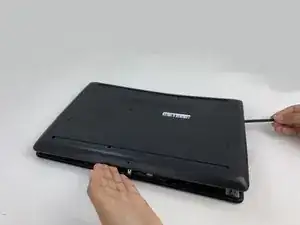
Use the spudger tool to pry open the back cover.
-
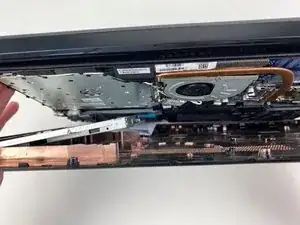
Lift the back panel to access the inside.
-
Slide the CD drive to the left, and remove.
-
-
-
Unscrew the three battery screws with a Phillips #0 screwdriver.
-
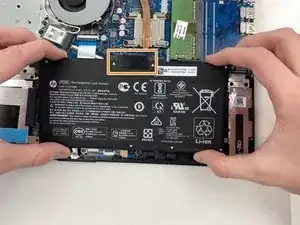
Lift the battery up, disconnecting the connector first.
-
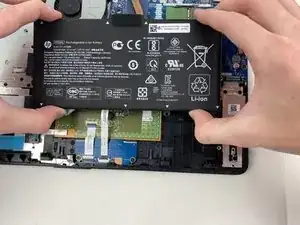
Push forward and remove the battery.
-


To reassemble your device, follow these instructions in reverse order.
How can I remove the rubber strips? Which screwdriver head should I use?
Alex Watkins -